How to Make a Raspberry Pi Android Desktop
There are tons of operating system options for the Raspberry Pi. These range from Linux distributions (distros) like Raspbian and Ubuntu to Windows 10 IoT Core and even retro gaming and home theatre PC (HTPC) images. While Android is commonly found on phones and tablets, you can easily make an Android desktop with a Raspberry Pi. Learn all about making a Raspberry Pi Android desktop!
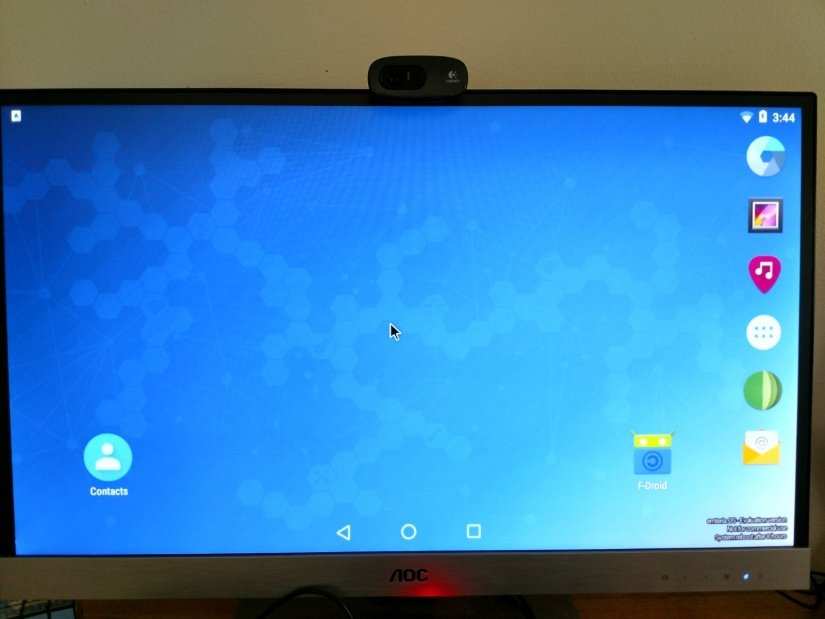
Android on the Raspberry Pi: What You’ll Need
Getting started with a Raspberry Pi Android box is pretty simple. You’ll need a Raspberry Pi board, microSD card, compatible power supply, and some method to control the operating system. This might be a keyboard and mouse, or a touchscreen. You’ll also want a case. The Raspberry Pi 3 B+ can run Emteria OS or an unofficial Lineage OS build. If you're installing Android on the Raspberry Pi 4, an unofficial Lineage OS Android 9.0 Pie build is available.
Raspberry Pi Android box parts list:
- Raspberry Pi (Raspberry Pi 3 B+ or Raspberry Pi 4 recommended)
- microSD card
- Power supply
- Case (optional, recommended)
- Peripherals (keyboard, mouse)
- Touchscreen (optional)
- Image mounting software (Like Etcher)
- Android OS for the Raspberry Pi (Emteria OS or an unofficial Lineage OS image)
Total cost: $35+
Depending on what you have lying around, you might only need the Raspberry Pi board. You can buy all of the parts separately or an all-in-one kit.
RTAndroid Raspberry Pi Installation: emteria.OS on the Raspberry Pi
RTAndroid created a new project, emteria.OS. It’s an Android image for the Raspberry Pi which runs Android 7.1.2. First, head over to the Emteria website and snag the latest release. Before you download Emteria, you’ll need to create a free account.
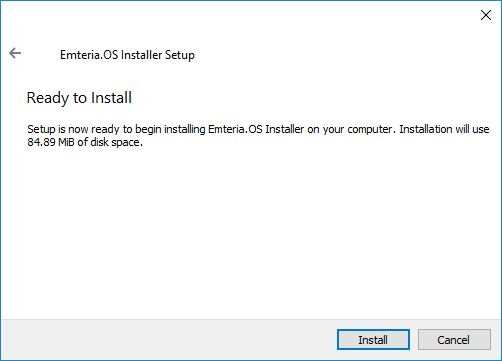
Download the appropriate installer for your desktop operating system. You can pick from Linux, Windows, or macOS. With the installer downloaded, run that EXE. Walk through the brief setup wizard.
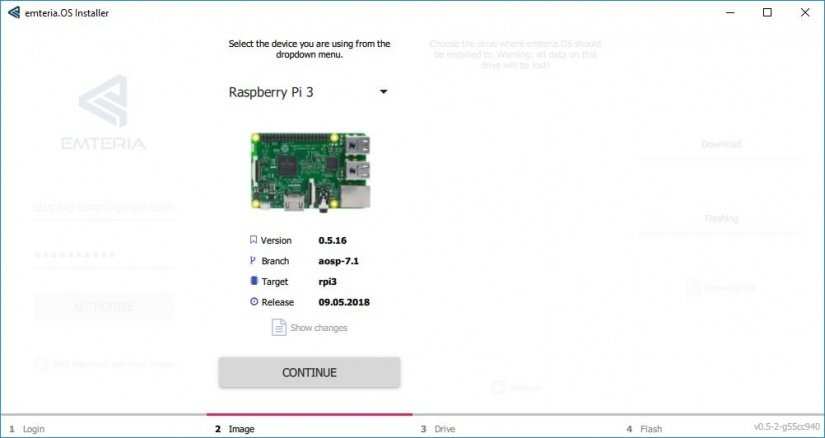
Once you’ve finished installing the installer, launch it. You’ll need to login with the free account you created earlier. Now, in the dropdown, you can select your device. Pick Raspberry Pi 3 and hit continue.
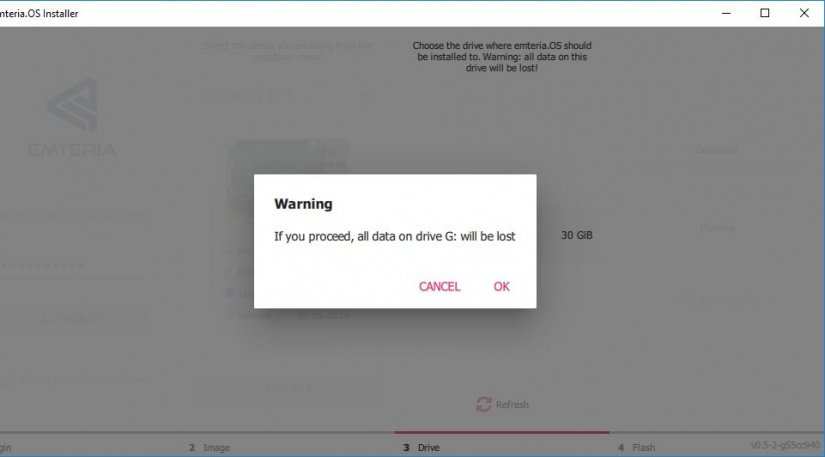
Next, choose the drive where you wish to mount your OS. Wait as the operating system flashes to your microSD card.
After it’s done flashing, you can pop your microSD card in and boot up your Raspberry Pi. Proceed through a few steps of basic set up.
You’ll need to set the date and time, enter a Wi-Fi password if you’re not using Ethernet, and enter the Emteria username and password you created earlier to activate the license.
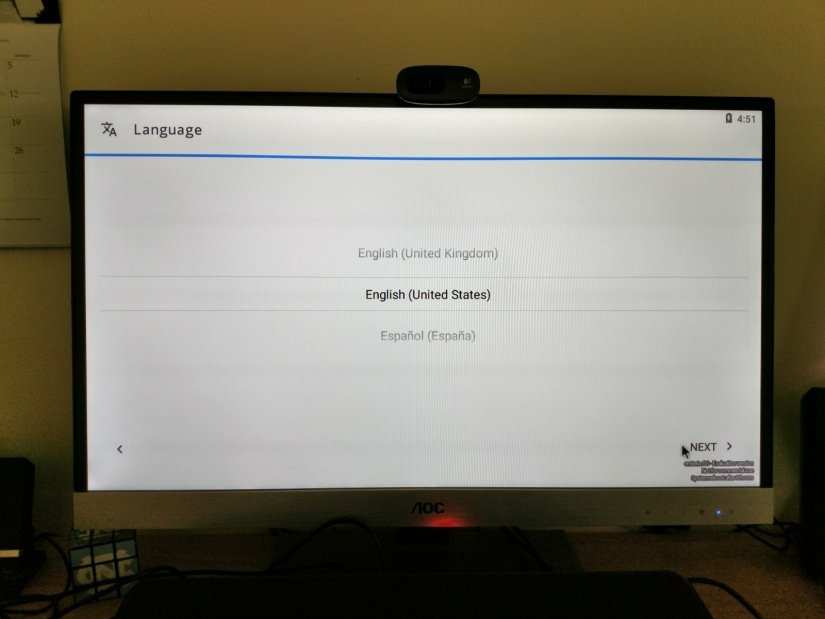
When you finish slogging through the brief setup portion, you’re ready to begin using Emertia OS in full.
Emteria OS review: Emteria on Raspberry Pi: Hands-on
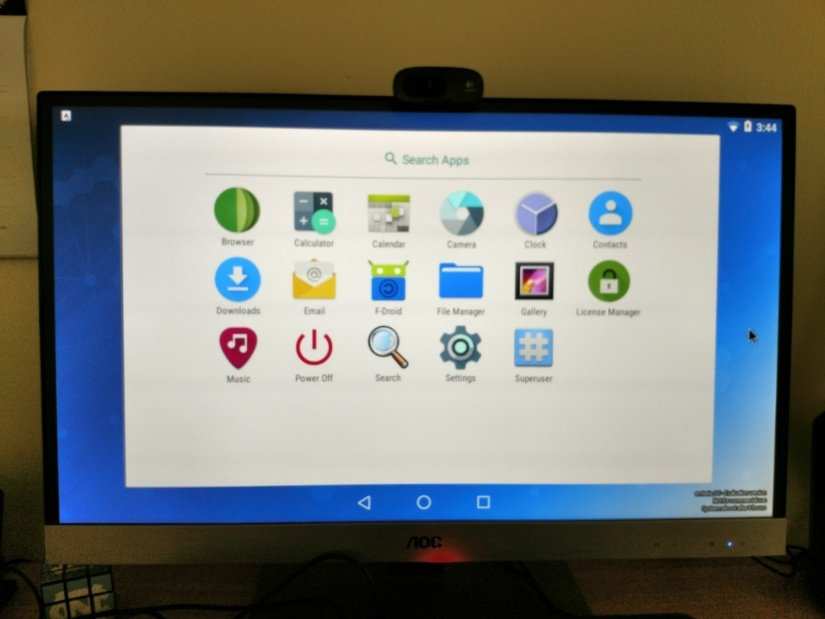
As is, it’s pretty barebones but includes the essentials. There’s a file manager, web browser and apps to view pictures, music, and more. There’s no Google Play access. Instead, you can sideload apps by downloading the APK directly on the device or by installing APKs from an external drive.
I was pleasantly surprised that Emteria on Raspberry Pi 3 B+ boards worked out-of-the-box. The Raspberry Pi 3 B+ debuted on March 14, 2018 (or Pi Day 2018). When it dropped, the Raspberry Pi 3 B+ broke compatibility with a few popular operating systems including RetroPie and Recalbox. Still, there’s a workaround for installing RetroPie on the Raspberry Pi 3 B+.
Navigating Emteria OS on the Raspberry Pi with a keyboard and mouse felt intuitive. It’s a snappy experience with no lag. The version of Emteria Android which comes at download is Android 7.1.2.
Neat functionality you’ll find in Emteria Android for the Raspberry Pi is wide-ranging app compatibility, hardware-accelerated video, and even NFC support. While a keyboard and mouse totally suffice for running Emteria OS, you may also use a number of supported touchscreen options.
Ultimately, Emteria Android for the Raspberry Pi is a solid solution for making a Raspberry Pi Android desktop. With Android running on the Pi, you can use your device for a low-powered HTPC, game console, and more. Some apps might not work properly sans touchscreen, although the vast majority should function fine.
Raspberry Pi Android Build: Unofficial LineageOS for Raspberry Pi 4
LineageOS is a popular Android release. Though it’s not available on the Raspberry Pi officially, there is an unofficial Raspberry Pi LineageOS release.
Navigate to developer KonstaKANG’s website and download LineageOS 14.1 for the Raspberry Pi 3. Or, for the Raspberry Pi 4, download the Lineage OS Raspberry Pi 4 image. After the ZIP folder is downloaded, extract the contents. You'll be left with an IMG file.
Using a program such as Etcher, mount the image file to a microSD card. From here, it’s as simple as placing the microSD card into your Raspberry Pi and booting it up.
Hands-on with LineageOS on the Raspberry Pi 4
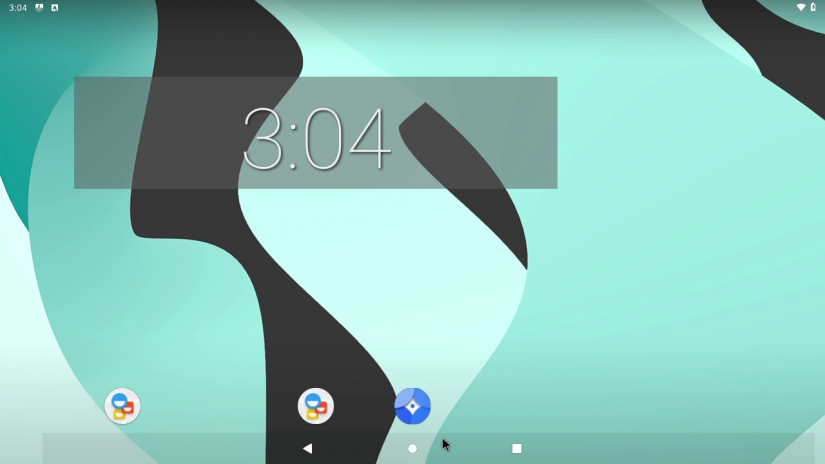
Like with Emteria OS, you’ll need to configure the operating system slightly with some basic set up. Notably, you’ll have to enter your Wi-Fi credentials. LineageOS is fairly basic as well, and you’ll have to sideload most apps you’d like to run. Since both LineageOS and Emteria both run Android 7, the user interface was similar. Emteria is tiered, and the free version works fine. However, it will perform a mandatory reboot every eight hours if left on. I don’t plan on running my Pi 24/7, so that’s not an issue for me. Still, it’s a consideration for some users. Ultimately, I found few differences in LineageOS and Emteria.
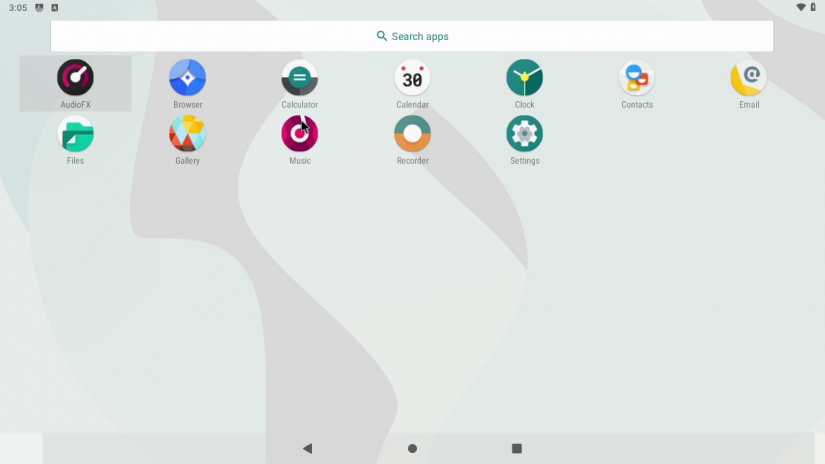
The Raspberry Pi 4 Lineage OS release runs Android 9.0 Pie. It's fairly well done, and out of the box Wi-Fi and Bluetooth work. Its renderer isn't suitable for gaming or even video streaming since it uses Google's SwiftShader renderer. Graphical performance therefore suffers. Still, I was able to install the Aptoide app store, and there's even a way to install the Google Play store on the Raspberry Pi 4. I appreciated the ease of use, and was impressed at the functionality of Lineage OS on the Raspberry Pi 4 despite its limitations. It's a bit uneven at times, but browsing the web and even streaming 720p videos via its built-in web browser or YouTube works fairly well. Single-board computers like the Odroid XU4 feature extremely polished Android builds and ironically since it's got easily the largest community of any SBC on the market, the Raspberry Pi traditionally hasn't benefitted from a really robust Android image. Especially with the impressive specs of the Raspberry Pi 4, I hope that this unofficial Lineage OS Raspberry Pi 4 image continues to see development. And hopefully more Android OSes for the Raspberry Pi emerge.
Make an Android Desktop with a Raspberry Pi: Final Thoughts
Cobbling together a do-it-yourself (DIY) Android PC with a Raspberry Pi is fairly simple. All you’ll need is a Raspberry Pi board, microSD card, and appropriate image. Although Linux distros on the Raspberry Pi are far more common, there are plenty of reasons to use an Android build. For Android developers, it’s another test environment. If you’d like to create your own inexpensive yet powerful media center PC, a Raspberry Pi running Android is a viable solution.
If you add a touchscreen, you can utilize touch controls when using a Raspberry Pi Android OS. That’s a huge advantage the Raspberry Pi boasts, especially considering the bevy of touchscreens and compatible cases. Essentially, you can create your own mini tablet with a Raspberry Pi running Android. Plus, it’s a neat way to game on a Raspberry Pi by playing Android games. You can even add software such as Octoups for gamepad or keyboard and mouse support.
Although the Raspberry Pi is the most popular single-board computer (SBC) on the market, it’s far from the only choice. The Odroid XU4 is an awesome SBC with excellent operating system choices including an Android image.
Looking for a Raspberry Pi alternative? Try these 10 boards including the Odroid XU4!







Leave your feedback...