How to Install Lakka on ASUS Tinker Board
The ASUS Tinker Board and ASUS Tinker Board S are two of the top Raspberry Pi competitors on the market. A slew of ASUS Tinker Board operating systems (OSes) offer the ability to use the small but mighty single-board computer (SBC) for a variety of projects, from a basic Linux desktop to an Android TV box, and even a music or file server. Because of its robust power, the Tinker Board provides a fertile retro gaming landscape with the ability to emulate even many PlayStation Portable (PSP) and Nintendo 64 (N64) games. One of the most fun projects on the Tinker Board is a retro gaming console. Learn how to install Lakka on the ASUS Tinker Board for a capable do-it-yourself (DIY) emulation console!
What is Lakka and What can Lakka Emulate?
The Lakka frontend is based on RetroArch, and mimics a vanilla RetroArch installation. Upon booting into Lakka, you're greeted with a user-interface (UI) similar to the XrossMediaBar (XMB) from Sony's PlayStation 3 (PS3). Unlike RetroPie, Recalbox, or Batocera which utilize the EmulationStation frontend, Lakka keeps overhead pretty low. However, you don't even need to install cores. Emulator cores come baked into Lakka.
Controllers work out-of-the-box without the need to button map. There are tons of different systems that Lakka can emulate. These range from the 2048, Nintendo Entertainment System (NES), and Super Nintendo (SNES) to the N64, PSP, and Sega Dreamcast. When comparing Lakka vs. RetroPie, retro gaming OSes such as RetroPie, Recalbox, Batocera, and Slash TV are a bit more versatile since there's home theatre PC (HTPC) use with the likes of Kodi or apps like Netflix, Plex, and Amazon Prime. But Lakka is incredibly user-friendly, requiring little to no set up.
What can Lakka emulate:
- 2048
- 3DO
- Atari 2600
- Atari 7800
- Atari Lynx
- Cave Story
- Dinothawr
- Doom
- FB Alpha
- GameBoy
- GameBoy Color
- Game Gear
- Lutro
- Sega Master System
- Sega Mega Drive
- NES
- SNES
- Neo Geo Pocket
- Nintendo 64
- PCEngine
- PCEngine CD
- Sony PlayStation 1
- PSP
- Sega 32X
- Sega CD
- Vectrex
- WonderSwan Color
What is the ASUS Tinker Board?
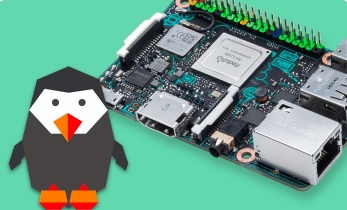
The ASUS Tinker Board is a maker board similar to the Raspberry Pi. This credit card-sized device comes with all necessary components onboard: RAM, CPU, GPU, and more. Just add an operating system on either a microSD card or eMMC module. For its CPU, the ASUS Tinker Board uses a Rockchip quad-core RK3288 processor. It's outfitted with 2GB of DDR3. Graphical performance comes via an ARM Mali T760 GPU. There's a microSD card slot and eMMC module for OS installation.
On the networking side, there an Ethernet port and wireless 802.11 b/g/n with Bluetooth 4.0. Plentiful I/O (input/output) options include four USB 2.0 hosts, a 40-pin GPIO header, and 15-pin MIPI CSI as well as DSI headers. There's a 2-pin PWM and S/PDIF contact pin too.
The ASUS Tinker Board S steps up to an ARM Mali T764 GPU, adds Gigabit Ethernet, and features a 16GB eMMC module.
ASUS Tinker Board/ASUS Tinker Board Specs:
- Rockchip Quad-Core RK3288 processor
- ARM Mali T760 GPU
- 2GB DDR3
- microSD card slot
- LAN
- 802.11 b/g/n Wi-Fi, Bluetooth 4.0
- 4 x USB 2.0 headers
- 1 x 40-pin GPIO header
- 1 x 15-pin MIPI DSI
- 1 x 15-pin MIPI CSI
- 1 x 2-pin PWM, S/PDIF contact pin
Tinker Board S adds:
- ARM Mali T764 GPU
- Gigabit Ethernet
- 16GB eMMC
How to Install Lakka on the ASUS Tinker Board
When installing Lakka on Tinker Board, there's pretty little required to get started. You'll need either an ASUS Tinker Board or Tinker Board S, microSD card or eMMC module for a boot medium, compatible power supply (PSU), and an optional but recommended case. One of the main benefits to using an ASUS Tinker Board is that it boasts the same form factor as the Raspberry Pi 2, 3, and 3 B+. As such, there are loads of potential cases. I suggest the RetroFlag NES, SNES, Super Famicom, or Sega Megadrive cases but there are tons of choices. Plus, you'll need peripherals such as a keyboard, mouse, and gamepad.
On the software side, running Lakka on the ASUS Tinker Board needs, most obviously, a Lakka TV download. Additionally, you'll require some sort of image mounting software such as Etcher, a decompression program like 7Zip, and an internet connection.
Lakka ASUS Tinker Board parts list:
- ASUS Tinker Board or Tinker Board S
- Lakka Tinker Board image
- ASUS Tinker Board case
- Compatible PSU
- Peripherals (keyboard, mouse, game controller
- microSD card or eMMC module
- Internet connection
- Image mounting software (i.e. Etcher)
- Decompression software (i.e. 7Zip)
Total cost: $65+ USD. The Base ASUS Tinker Board retails for about $65 while its older sibling SBC in the ASUS Tinker Board S clocks in around $90. Depending on what you have laying around, you might be set with just the cost of a board. Or, you may need to shell out for everything from the Tinker Board itself to a case, microSD card, and power supply.
Lakka TV Download - Get the Lakka Tinker Board Image
First up, head over to the Lakka website and head under Get Lakka.You'll be prompted to select your host operating system, Linux, macOS, or Windows. Select the correct option, then find the ASUS Tinker Board Lakka image. Download the Lakka image. Since it's an img.gz file, you may need to extract the compressed image with a program like 7Zip. I was able to mount the IMG.GZ straight to a microSD card with Etcher however.
With your microSD card or eMMC module hooked up to your host PC, run your image mounting software. Select your Lakka TV download, point to your preferred boot medium, and burn the OS. When Lakka finishes mounting to your SD card or eMMC module, remove the boot device, pop it into your Tinker Board/Tinker Board S, and power it on.
Lakka Set Up - Add ROMs, Connect to the Internet, and More
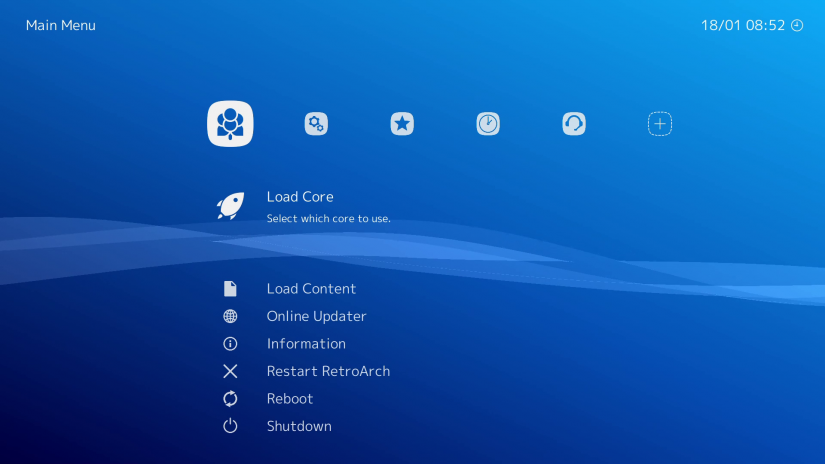
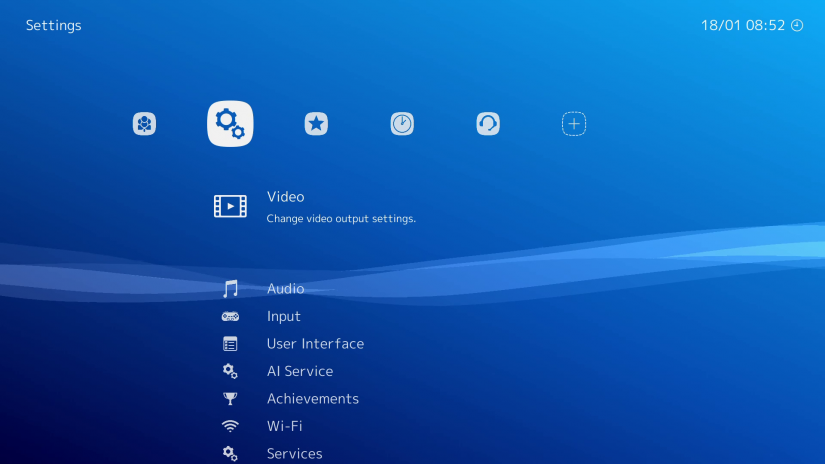
Since Lakka BIOs are already installed, you won't need to go through the process of installing any emulators or loading BIOs. Similarly, Lakka doesn't even require configuring a controller. Instead, you're ready to merely add your ROMs, connect to the internet, and start gaming.
As a first step, it's best to connect to the internet. If you're using Ethernet, merely plug your Ethernet cable in. For Wi-Fi, navigate to Settings > Wi-Fi and locate your wireless network. Then, enter your password.
Lakka doesn't come with any games pre-installed, so you'll need to load your own (note: here at Electromaker we definitely support retro gaming, but we do not condone piracy so please only use ROMs for games that you own a legal copy of). Adding ROMs on Lakka is pretty simple. You can quickly load a ROM in Lakka by heading to Load Content then navigating into the directory where your desired game file is located.
Or tab over to Scan Directory. From here, select an external drive or folder on your microSD card where you've got ROMs stored. When you've selected your preferred folder, pick the Scan this Directory option. I used a 256GB flash drive with my RetroPie mount folder on it.
You might wish to use SSH or enable a samba share. Under Settings > Services toggle SSH enable or samba enable. Then, in a file browser under your Network tab, you should see a Lakka icon. Open it up, and there's a conveniently labeled ROMs folder. Drop your ROMs here.
For the best configuration, I suggest using subfolders for systems, such as ROMs/Atari 2600, ROMS/PSP, and so on. The easiest solution is using an external drive such as a flash drive or external harddrive, but you can store your ROMs internally on a microSD card or eMMC module.
Since I'm a bit of a box art fiend, I toggled on the option to download box art: Main Menu > Online Updater > On-demand Thumbnail Downloads.
Lakka for Tinker Board Review
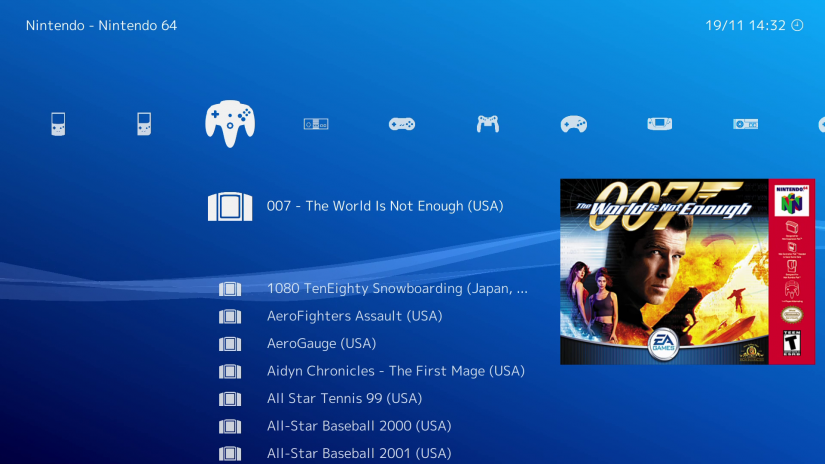
By far one of the easiest methods for retro gaming on the ASUS Tinker Board is Lakka. There's superb controller support out-of-the-box, and you don't even need to load BIOs or install emulator cores. Adding ROMs in Lakka is a breeze. Unlike options such as RetroPie, you can just dump your ROMs in pretty much any directory, then import them. Still, I recommend organizing ROMs into sub-folders by system.

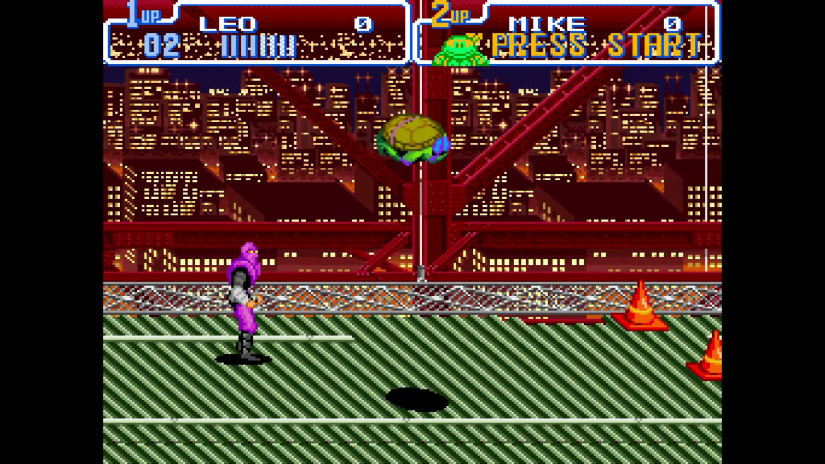
Performance is much better than on a Raspberry Pi 3 or 3 B+. The ASUS Tinker Board handles N64 emulation incredibly well. It played most games I threw at it such as "GoldenEye 64" and "Hexen" flawlessly. PlayStation 1 games like "Wu-Tang: Shaolin Style" and "Blade" ran buttery smoothe. Older systems such as Atari 2600, NES, and SNES titles like "Turtles in Time" and "Yoshi's Island" ran like a champ.
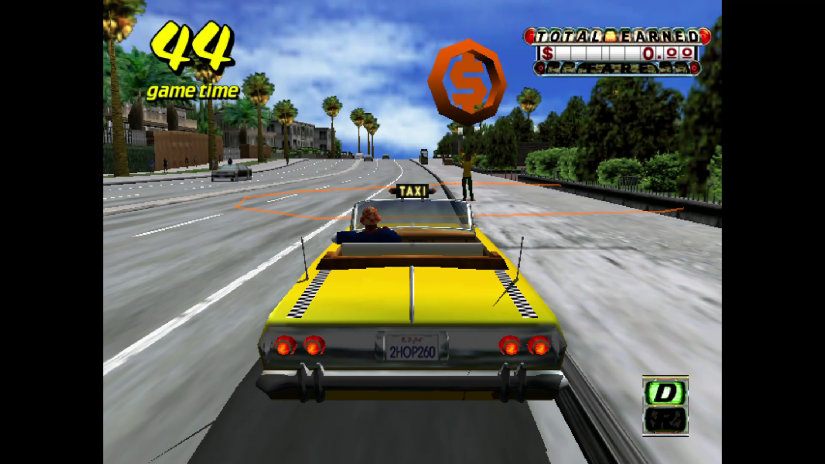
PSP Tinker Board performance is a mixed bag. Some games like "Little Big Planet" and "Monster Hunter" are solid. "God of War: Chains of Olympus" isn't playable without toggling frameskip on.
Where Lakka really shines is its ease of use. It's configured for use at first boot, no downloading BIOs or button mapping gamepads. That's a massive time saver. Plus, it's user-friendly while offering tons of settings for adding shaders, tweaking video and audio settings, and a host of other customization. There's a pleasant balance of hardcore emulation options and simple plug-and-play gaming.
Should You Use Lakka on the ASUS Tinker Board?
 I'm a huge fan of Lakka, having used it on a ton of different boards, from the Raspberry Pi to the RockPro64. The Tinker Board is solid for emulation. You won't be able to run every N64 or PSP game, but it plays a ton of different games. The only downside is that there's no Kodi media center built in for HTPC use. But elements such as box art displaying for many games without the need to scrape makes Lakka a worthy contender on the Tinker Board. I'm also partial to Slash TV, an Android TV OS for the Tinker Board that includes a slew of different emulators and apps built-in for gaming, streaming, and everything in between.
Your turn: What single-board computers and distros are you using?










Leave your feedback...