ASUS Tinker Board Android Installation and Review - Android on Tinker Board
The ASUS Tinker Board is a phenomenal Raspberry Pi competitor. As a Raspberry Pi alternative, the ASUS Tinker Board boasts eMMC compatibility, a thriving community, and tons of different operating system (OS) options. Likewise, the Raspberry Pi benefits from a massive community, phenomenal hardware, and software support, plus an affordable price. Thus, while each board definitely carries its own set of pros and cons, the two boards are pretty much even. There are loads of ASUS Tinker Board projects, from a retro gaming console to a basic Linux PC, and even a music server. Learn how to make an ASUS Tinker Board Android desktop for gaming, home theatre PC (HTPC) functionality, and more!
What is the ASUS Tinker Board?
The ASUS Tinker Board is a single-board computer (SBC) that comes with its RAM, CPU, GPU, and all components baked in. Simply add a compatible ASUS Tinker Board OS and you're ready to go. At its core, the ASUS Tinker Board includes a Rockchip RK3288 Cortex-A17 quad-core system on a chip (SoC), an ARM Mali-T764 GPU with 4K video output support, and 2GB of DDR2. There's 802.11 b/g/n Wi-Fi, Bluetooth 4.0, a 40-pin GPIO header, 15-pin MIPI CSI slot, and micro USB power port. Opting for the ASUS Tinker Board S adds HDMI-CEC, a 16GB eMMC, low-voltage input detection, and audio auto-switching.
ASUS Tinker Board specs:
- Rockchip RK3288 Cortex-A17 quad-core SoC
- ARM Mali-T764 GPU with up to 4K video support
- 2GB DDR3
- 802.11 b/g/n Wi-Fi
- Bluetooth 4.0
- 4 x USB 2.0 ports
- 15-pin MIPI CSI slot
- 40-pin GPIO header
- micro USB port for power
ASUS Tinker Board S (same as ASUS Tinker Board plus):
- 16GB eMMC
- HDMI-CEC
- Low-voltage input detection
- Plug-in detection, audio auto-switching
How to make an ASUS Tinker Board Android PC
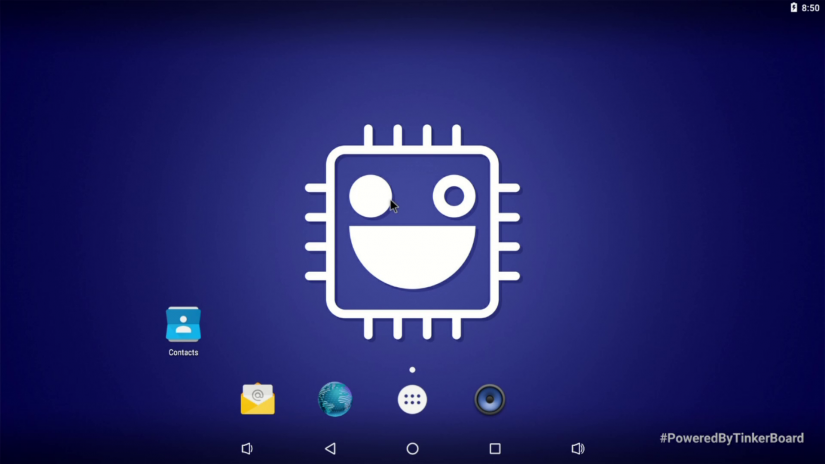 An ASUS Tinker Board Android PC is pretty simple and easy to make. First up, you'll need either the ASUS Tinker Board or ASUS Tinker Board S. Additionally, you'll need a boot medium, either microSD card or eMMC module depending on whether or not you opted for the ASUS Tinker Board vs ASUS Tinker Board S. An ASUS Tinker Board case is optional but recommended. Aside from a case, boot medium, and the Tinker Board itself, an Android Tinker Board desktop requires a compatible micro USB power supply, Android image, peripherals such as a keyboard and mouse, as well as internet connectivity through Wi-Fi or Ethernet.
What you'll need for an ASUS Tinker Board Android PC:
- ASUS Tinker Board or Tinker Board S
- ASUS Tinker Board case
- Boot medium (microSD card, eMMC module)
- Peripherals (keyboard, mouse)
- Compatible power supply
- Etcher (or other image mounting software)
- Internet connectivity
Begin by heading over to the official ASUS Tinker Board page and downloading the TinkerOS Android image. It's an IMG file zipped, so you'll first need to unzip the compressed image. Once that's complete, use a program such as Etcher to mount your Android ASUS Tinker Board image to your microSD card or eMMC module. When the mounting process completes, pop your boot medium out and place it into your ASUS Tinker Board. Then, power on your device.
Hands-on with Android on the ASUS Tinker Board
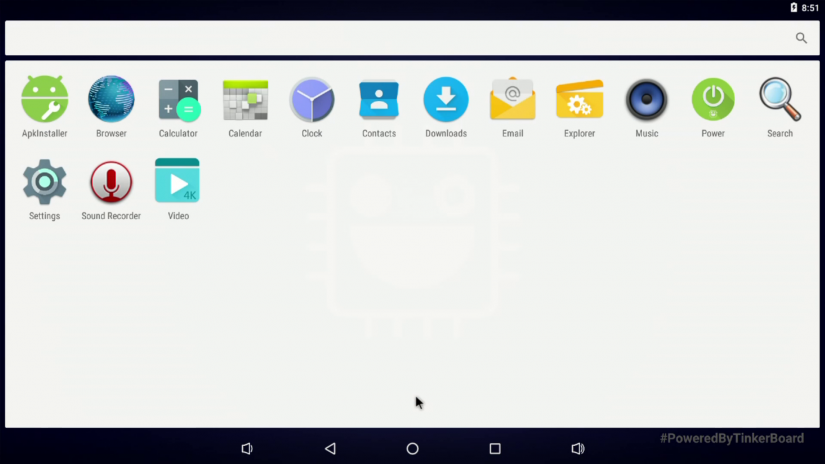 TinkerOS Android is pretty minimal with just a few default apps pre-installed. There's web browser, calculator, video player, music player, clock, and a few other apps. At that, it's a fairly stock Android experience. While TinkerOS Android is a tablet or touchscreen-optimized version of Android, it looks sharp on a projector, TV, or monitor. It's different than the Android TV OS Slash TV build for the Tinker Board which is preloaded with tons of apps such as Netflix, Kodi, and RetroArch plus runs Android TV for a 10-foot user interface. Navigation of TinkerOS Android with a keyboard or mouse works extremely well.
Although there's no Google Play Store or other app store such as Aptiode, it's fairly easy to sideload Android apps as well as an app store. For ASUS Tinker Board Android Play Store functionality, first open Settings > Menu > Special Access >Install unknown apps. Then, you should be ready to install apps from unknown sources.
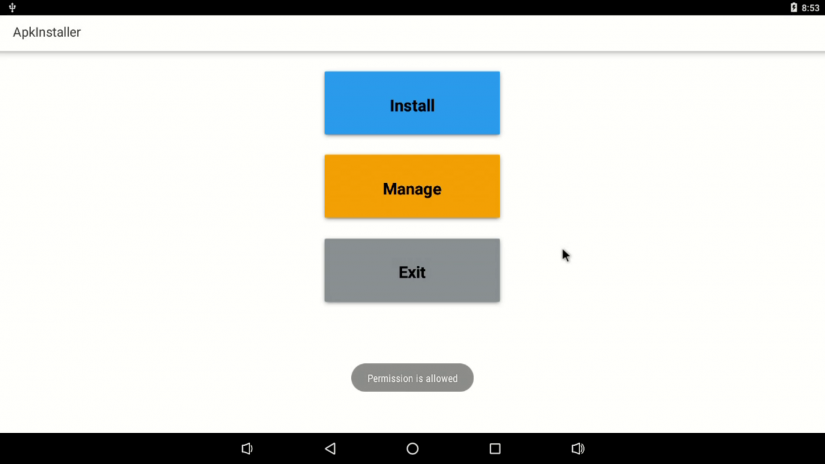
After that, launch the APKInstaller app, and when asked to grant external storage read/write access, select Ok.
When prompted to allow APKInstaller to access photos, media, and files on your device, hit allow.
Now, you can pick Intall, Manage, or Exit. Choose Install, and navigate to the folder containing your APK. I found it easiest to download on a separate PC, then install from a flash drive connected to my ASUS Tinker Board. Once you select Install, you'll be able to select your location: Internal memory, TF card, or USB memory.
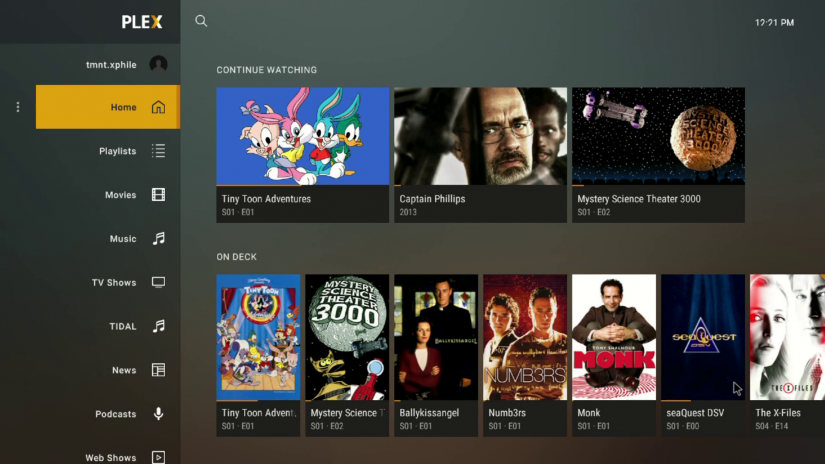
 The overall experience with Android on the ASUS Tinker Board is pretty enjoyable. I appreciated the ease of use for TinkerOS Android, and the stock Android image. Despite the lack of an app store, an APK installer makes it a breeze to sideload apps including an app store such as Aptiode or the Play Store. I installed a few different apps including Plex, Netflix, and RetroArch. Streaming video and local video playback works like a champ on the Tinker Board. I streamed a few 1080p movies from Plex and Netflix, and quality was top-notch.
Likewise, gaming on the ASUS Tinker Board is pretty smooth. Native Android gaming runs well, and retro gaming from most systems up through the Nintendo 64 (N64) is superb. Even many PlayStation Portable (PSP) ROMs handle on the Tinker Board.
![asus tinker board android - plex streaming in android]() ASUS Tinker Board Android Review and Getting Started - Final Thoughts
ASUS Tinker Board Android Review and Getting Started - Final Thoughts
TinkerOS Android remains one of my favorite Android Tinker Board OS options. Despite its tablet-optimized user interface, Android on the Tinker Board displays well on larger screens and control with a keyboard, mouse, or gamepad is excellent. The best use case for an ASUS Tinker Board Android PC is for HTPC use, native Android and retro gaming, as well as general web browsing. Developers may appreciate the ability to test out Android apps in an Android sandbox. A polished ASUS Tinker Board operating system, TinkerOS Android is a fantastic choice for transforming your Tinker Board into a full-fledged Android media centre. For more ASUS Tinker Board fun, check out Practical Tinker Board: Getting Started and Building Projects with the ASUS Single-Board Computer by Liz Clark!


 ASUS Tinker Board Android Review and Getting Started - Final Thoughts









Leave your feedback...