Zelda Princess Hilda Led Staff Powered By Arduino
About the project
Arduino Gemma and Neopixel LEDs to give some life to my 3D Printed Princess Hilda Staff: Zelda Link Between Worlds.
Project info
Difficulty: Moderate
Estimated time: 2 hours
License: GNU General Public License, version 3 or later (GPL3+)
Items used in this project
Hardware components
Story
Overview
I had my birthday party at the National Video Game Museum and everyone dressed up as their favorite video game character! I designed and 3D printed the parts, soldered some NeoPixels to a Arduino Gemma, wrote some quick code for the Neopixels using the Arduino IDE - and magic! Princess Hilda's staff from The Legend of Zelda: Link Between Worlds had some extra glow. Neopixels make everything better!
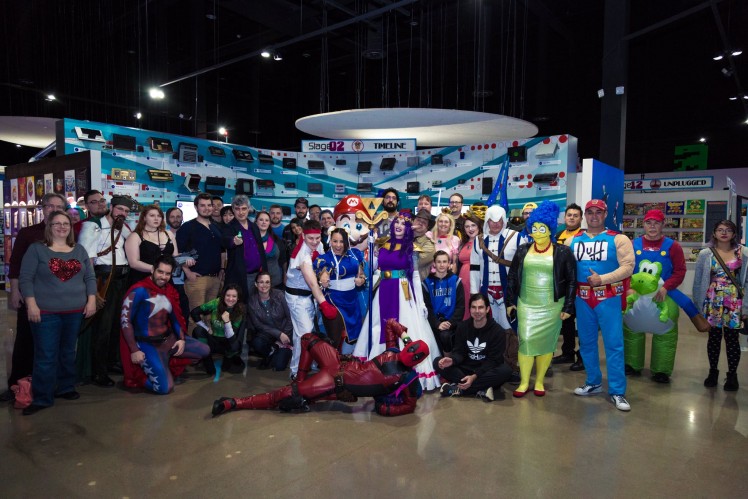 1 / 4 • I had my Birthday Party at the National Video Game Musuem in Frisco, TX. Everyone dressed up as their favorite video game characters. This is how i made my Princess Hilda from Zelda: Link Between Worlds
Hardware Decisions
I decided to use an Arduino Gemma and Neopixel Ring for the lower part of the staff, and 2 Neopixel sticks and Gemma for the Triforce (top part of the staff). Both are small and great for wearables and cosplay props. I'm big on up-cycling of my electronics; I will scavenge parts from old projects and make something new!
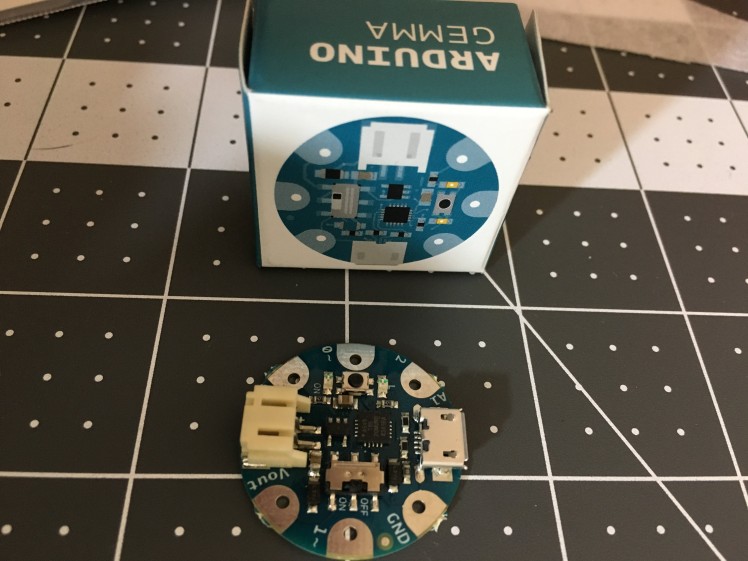 Arduino Gemma
3D Printing
I modeled the parts in Fusion360 and 3D Printed the staff pieces using a translucent filament. I had an acrylic rod running through the middle of the staff, which made the Neopixel ring perfect for the job.
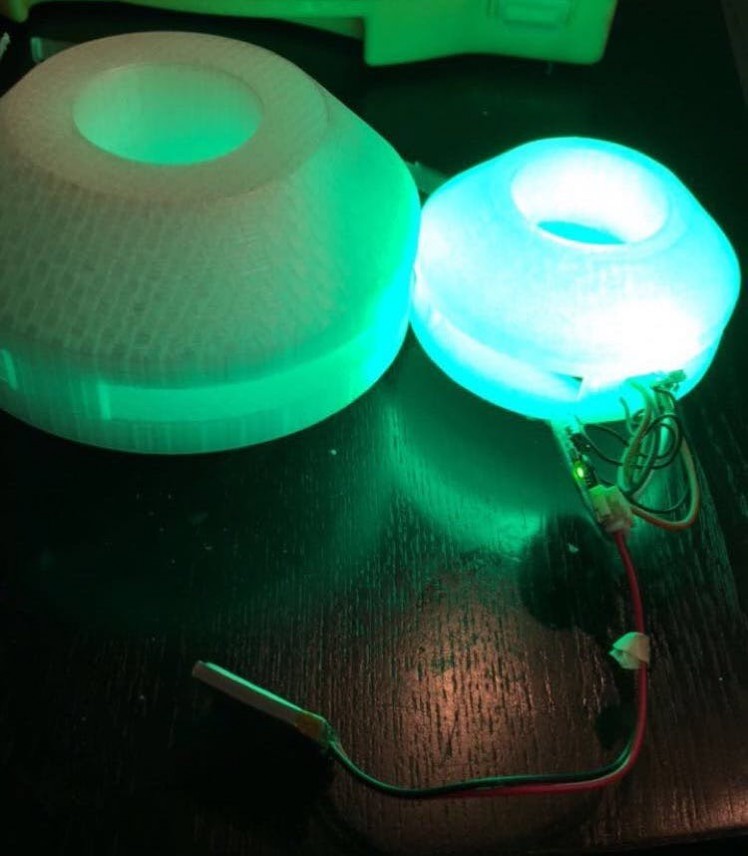 1 / 5 • (1st prototype on the left) 3D Printed with ABS Transparent Filament
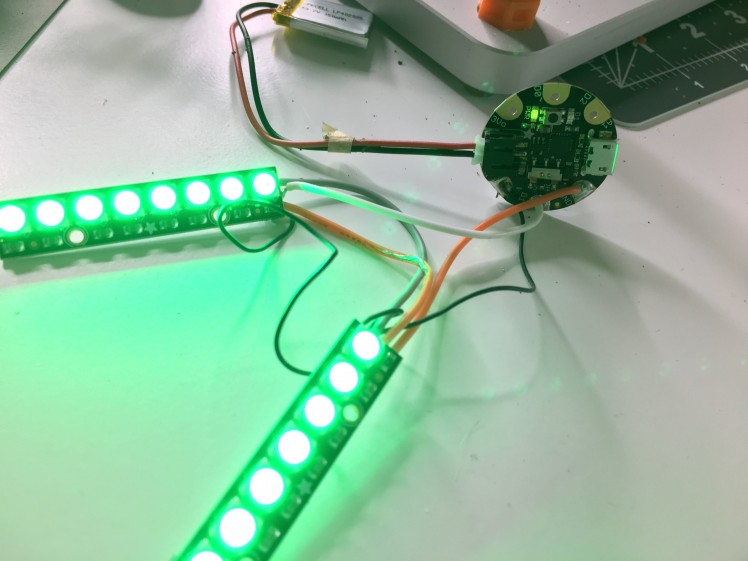 1 / 4 • Neopixel Sticks for the Triforce
I'm not an expert, but I'm not afraid to be a beginner! Questions? Just ask!




Leave your feedback...