


Xiao Esp32 S3 Based Mini Desktop Mood Lamp

Made by vin-vout-io / 3D Printing / Art / Lights
About the project
Make an aesthetic mood lamp for your desktop easily
Project info
Difficulty: Easy
Platforms: Seeed Studio, Espressif
Estimated time: 1 hour
License: GNU General Public License, version 3 or later (GPL3+)
Items used in this project
Hardware components

Story
Welcome back! Today, I have an aesthetic project to share: a mini desktop mood lamp. This project combines design and creativity to produce a beautiful RGB lighting setup that will brighten up your workspace. Let’s dive in!
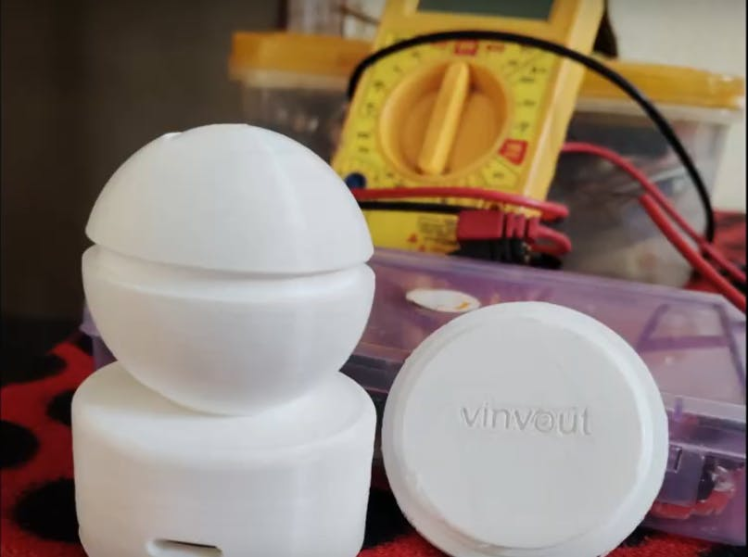
The Idea Behind the ProjectI’ve always loved creating projects, but I noticed that many of my earlier designs lacked a polished finish. Determined to improve, I started learning more about design and fabrication, culminating in this mini desktop lamp. It’s my first 3D-printed design, and though not perfect, it’s a significant step forward.
1 / 2
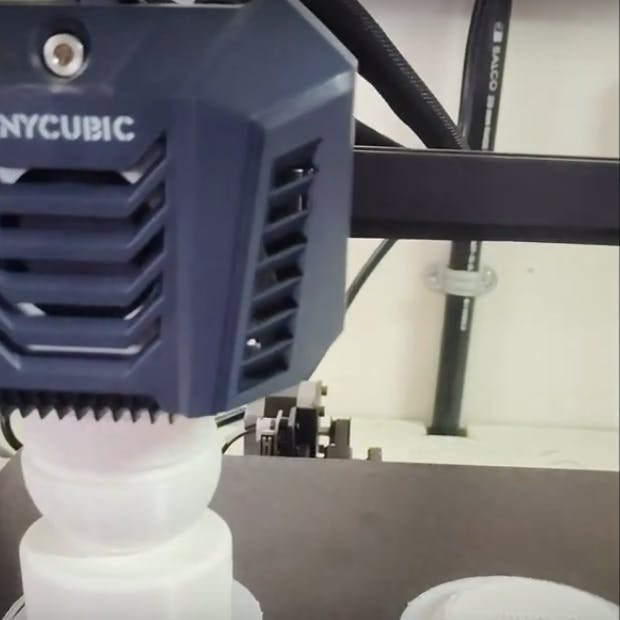
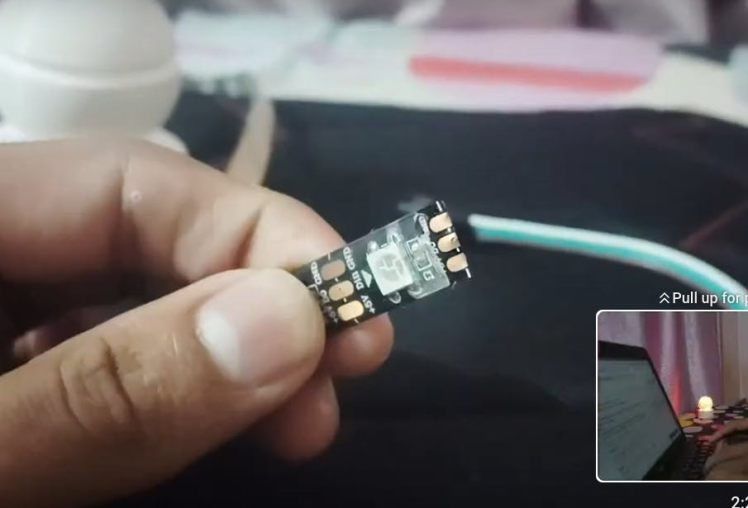
Initially, I planned to use an ATtiny85 microcontroller for this lamp, but then I remembered my ESP32-S3 sitting idle. Its advanced features made it the perfect candidate for stepping up the project
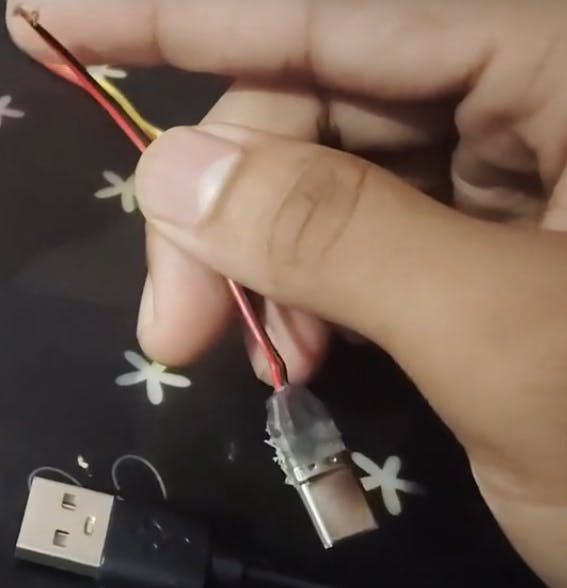
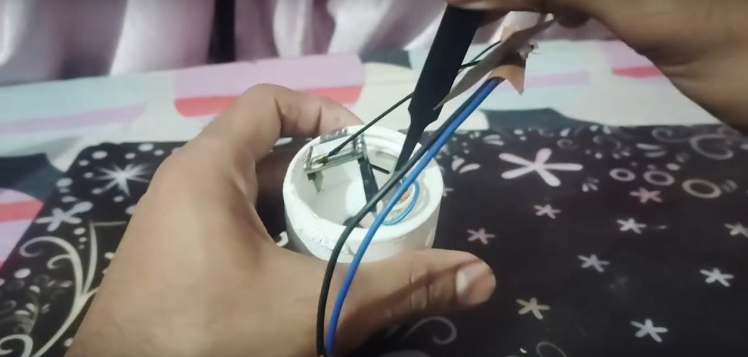
Challenges in the Design ProcessBeing my first foray into 3D design, there were some inevitable hiccups. The most notable issue? The hole for the USB port wasn’t aligned properly. My solution? A bit of ingenuity and some brute force. I trimmed the coating and made the USB port fit snugly. I also adjusted the wire lengths for a more seamless assembly.
1 / 2
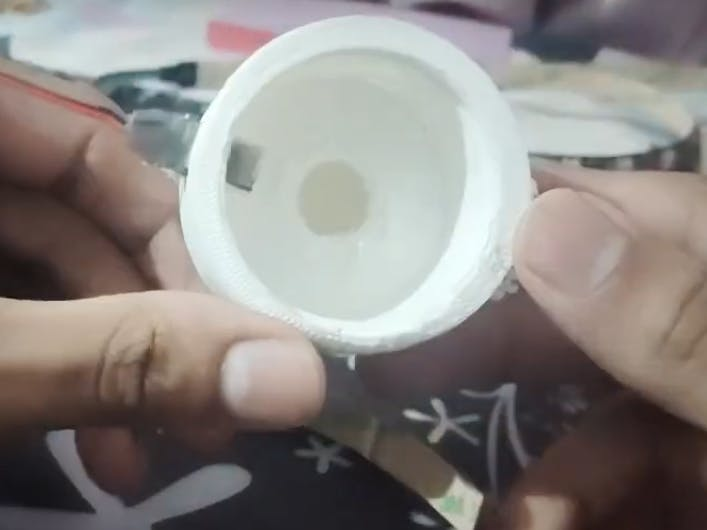
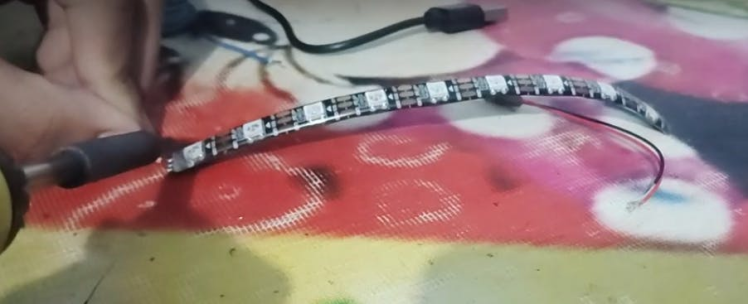
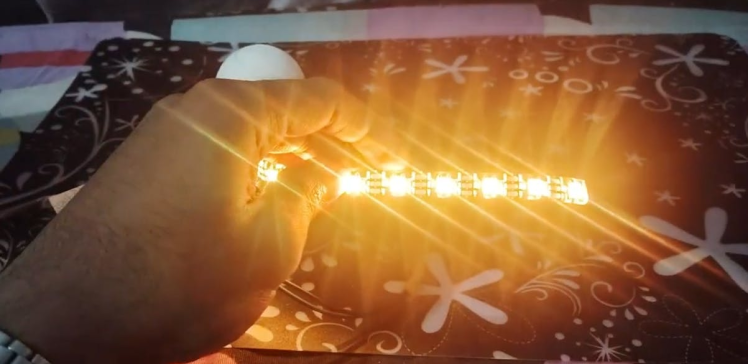
The next step was adding the LED strip. I used nine LEDs for the lamp, soldering the VCC, ground, and data pins together. The connection to the ESP32-S3 was straightforward:
- 5V to power the LED
- Ground to the common ground
- Data pin connected to any GPIO pin on the ESP32-S3

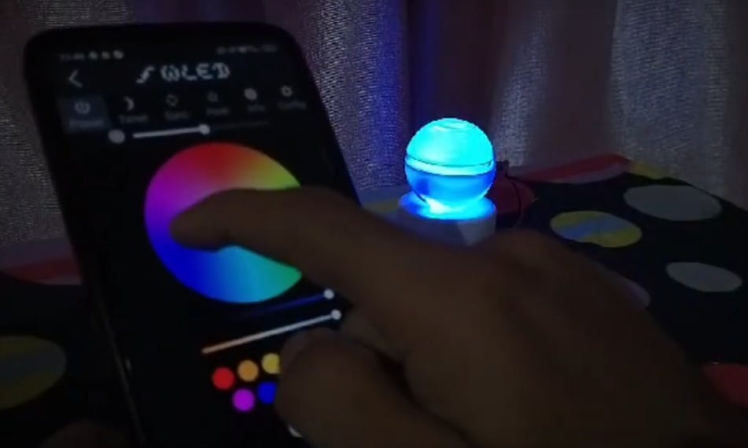
To control the LEDs, I installed the WLED firmware on the ESP32-S3.
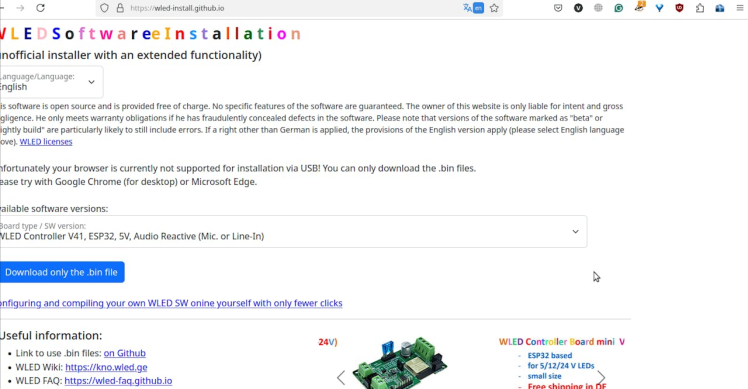
If you're new to WLED, you might encounter some installation challenges with the initial website you see. I recommend visiting wled-install.github.io for problem-free installation. For additional help, check out the 30-second video linked below.
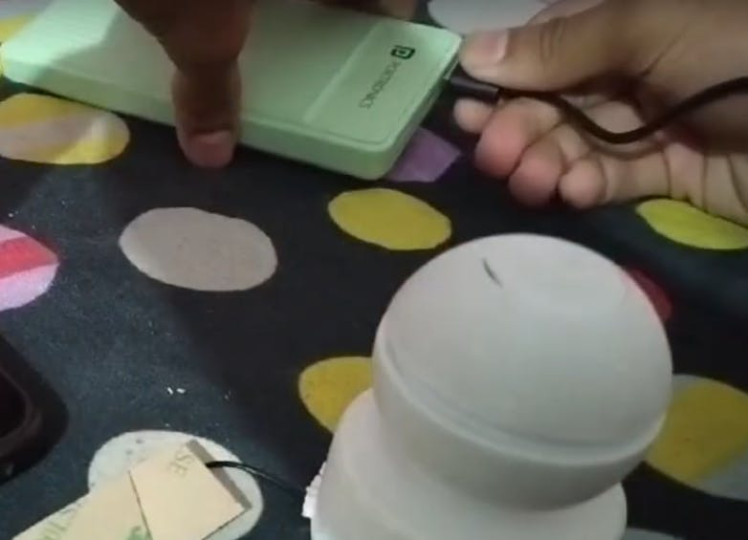
Troubleshooting and Final TouchesAfter a bit of troubleshooting, I got the LEDs working perfectly. Inserting them into the lamp was surprisingly easy. The most aesthetic part of the process (of course was taping and wiring everything neatly). With that complete, the lamp was ready to shine.
1 / 4
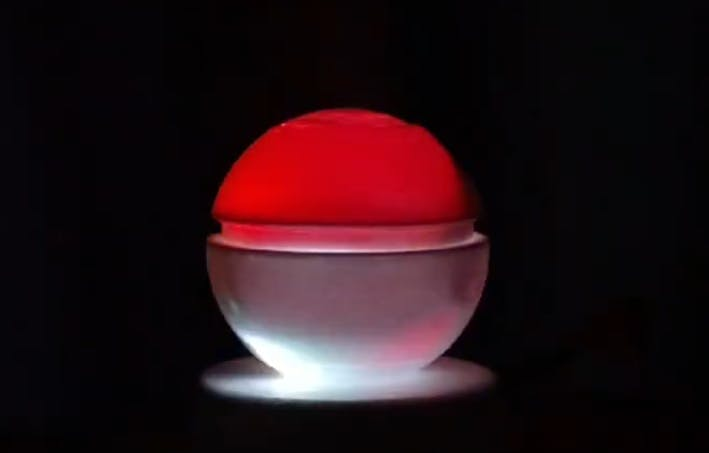
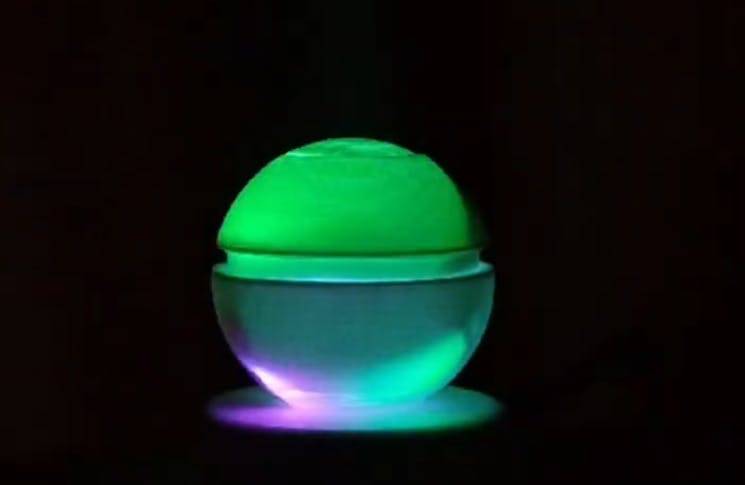
For power, you can use a 5V adapter or even a power bank. Once powered, the lamp can be controlled via your phone or another device. WLED’s functionality makes it easy to customize the lighting effects, and the results are stunning—even more so in person than on camera.
One of the highlights of this lamp is its plethora of effects. The sphere design enhances the visuals, making some effects look absolutely mesmerizing. Whether you’re working late or just want to add ambiance to your space, this lamp is a perfect companion.
1 / 4

This project is dedicated to all the amazing people who work tirelessly, day and night. I hope this inspires you to start your own journey into making aesthetic and functional projects.
If you’d like to learn more about WLED or see a detailed video tutorial.
Happy making!
Credits
Related products


Leave your feedback...