Use A Raspberry Pi And A Relay To Control A Lamp
About the project
Ever wonder how can you control a lamp with a Raspberry PI? We will dive into the specifics and see that's not that hard. But a lot of attention is necessary when working with mains voltage
Project info
Difficulty: Moderate
Platforms: Raspberry Pi
Estimated time: 1 hour
License: GNU General Public License, version 3 or later (GPL3+)
Items used in this project
Hardware components
Story
I've always wanted to see how could a Raspberry PI could contribute to the IoT movement and home automation.
So, I've decided to start by the basics and turn a light on and off with a Raspberry PI and after that work from there.
WARNING
NEVER, BUT NEVER operate the mains cables with them connected to the wall socket. Do this project at your own responsibility. I've done it and I'm still here - I have been careful.
The Relay
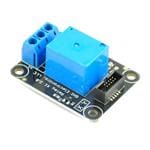
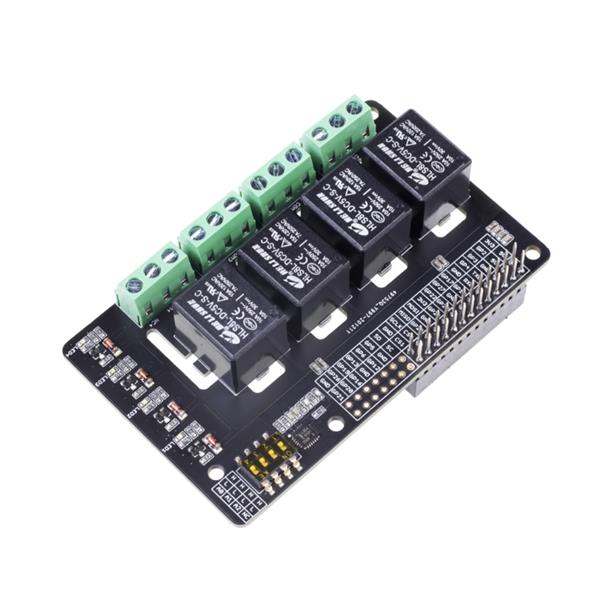
A relay is switch operated electrically. They can be really really useful for some projects. It can be connected to a range of microcontrollers . The one I’m going to use is a SRD-05VDC-SL-C with 2 channels. It can drive great loads, such as 7A/240VAC,10A/125VAC,10A/28VDC.
PIN definitions

This relay has 2 channels. We can connect there devices in one of two ways:
- Always on until we activate the channel (light turns off); NC - Normally close
- Always off until we activate the channel (light turns on); NO - Normally open
The pinout of the relay:
- NO - Normally Open (connectes when INT1 - if channel 1 - is set to 0v) - active low
- COM - Common PIN (source PIN - starts connected to NC and connects to NO when 0v applied)
- NC - Normally Close (connected - disconnects when INT1 is set to 0v) - active low
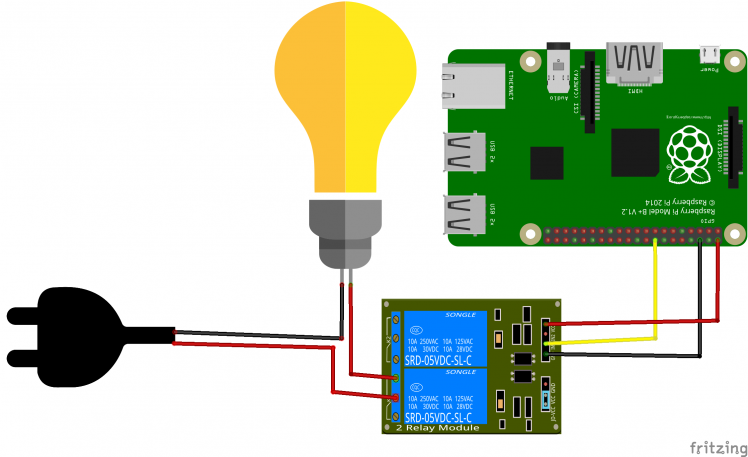
PINOUT connections for the Raspberry PI
Relay RPI
VCC 5v
IN2 Control PIN for relay channel 2
IN1 Control PIN for relay channel 1 - PIN 16 - BCM23
GND Ground
This particular relay will activate when the voltage on the control PIN will be below 2.0v (GND). This relay is active low
Here's a great article from Make: Magazine on relays! It's a must read
Schematics
Here's the connections
Code
Finally, let's write some code that will allow us to turn the light on and off.
We will create a infinite loop that will turn on the lamp, wait 2 seconds (or the time you'll set) and turn the light off. Wait another 2 seconds and turn it back on again. This is just to see how it all works
Install the necessary libraries
- sudo apt-get install python-rpi.gpio
Now, create a file with .py extension using your favorite editor (mine is VIM)
vi relay.py
- import RPi.GPIO as GPIO
- import time
- # PIN connected to IN1
- relay_pin = 23
- # Set mode BCM
- GPIO.setmode(GPIO.BCM)
- #Type of PIN - output
- GPIO.setup(relay_pin,GPIO.OUT)
- try:
- while True:
- #set low
- print ("Setting low - LAMP ON")
- GPIO.output (relay_pin,GPIO.LOW)
- time.sleep(2)
- #set high
- print ("Setting high - LAMP OFF")
- GPIO.output (relay_pin, GPIO.HIGH)
- time.sleep(2)
- except KeyboardInterrupt:
- GPIO.cleanup()
- print ("Bye")
Run it
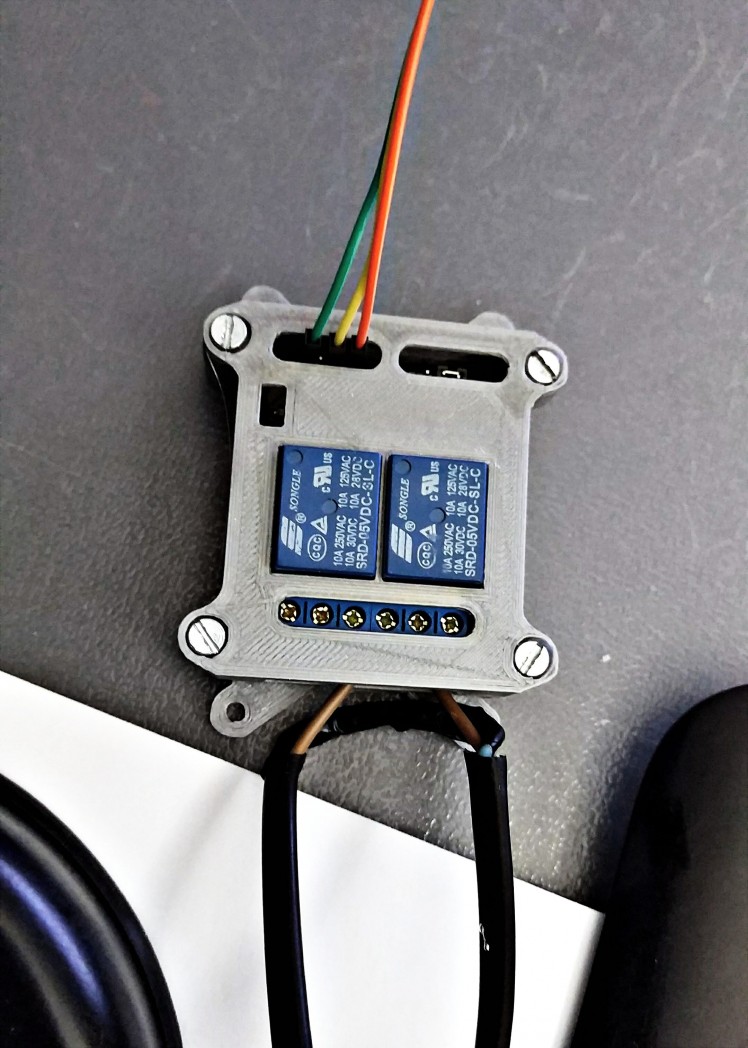
Connect the power cable to the wall socket (beware of the relay - you can print it a housing. This one from thingiverse fits perfectly) and run the example. Your lamp will turn on and off.
Next time we'll use Flask (running on the raspberry PI) to create a web page and control the lamp using a dynamic web page
Credits

feiticeir0
Linux and Raspberry PI lover!Systems Administrator, programmer, kind of a Nerd! Love to create things that may or not work, but could save the world someday ! 🤓







Leave your feedback...