

Simple Voice Automation With Dfrobot Beetle Esp32 C6

About the project
Will guide you to build a simple voice automation system with Beetle ESP32 C6.
Project info
Difficulty: Easy
Estimated time: 1 hour
License: GNU General Public License, version 3 or later (GPL3+)
Items used in this project
Hardware components

Story
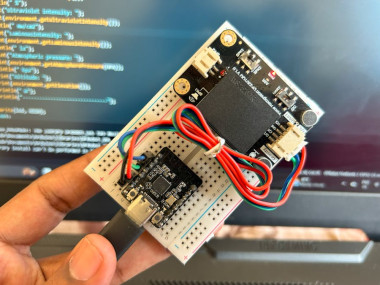
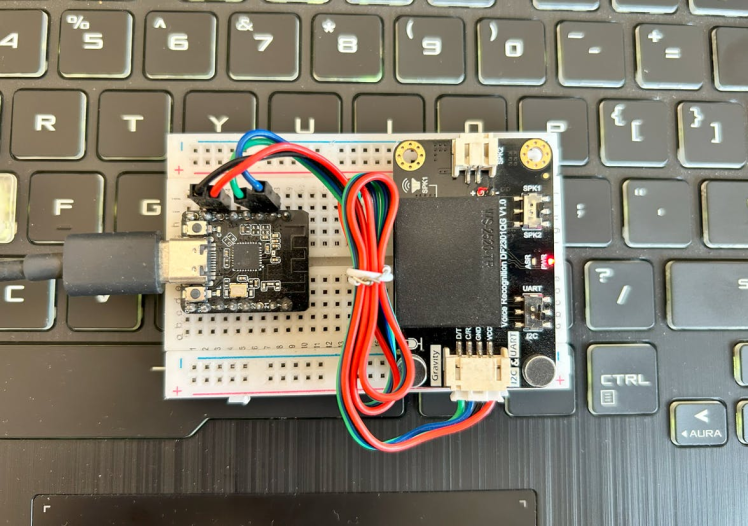
Let'ss create an offline voice-controlled LED system using the DFRobot Beetle ESP32 C6 and the DFRobot Offline Voice Learning Sensor. This project combines hardware components and programming to create an interactive system that responds to voice commands. Here’s a detailed step-by-step guide:
Project OverviewBuild a voice-controlled LED system that turns on and off NeoPixel lights based on spoken commands. The DFRobot Gravity Offline Voice Recognition Sensor will listen for voice input, and the Beetle ESP32 C6 will process the commands and control the LED.
Get PCBs for Your Projects Manufactured
You must check out PCBWAY for ordering PCBs online for cheap!
You get 10 good-quality PCBs manufactured and shipped to your doorstep for cheap. You will also get a discount on shipping on your first order. Upload your Gerber files onto PCBWAY to get them manufactured with good quality and quick turnaround time. PCBWay now could provide a complete product solution, from design to enclosure production. Check out their online Gerber viewer function. With reward points, you can get free stuff from their gift shop. Also, check out this useful blog on PCBWay Plugin for KiCad from here. Using this plugin, you can directly order PCBs in just one click after completing your design in KiCad.
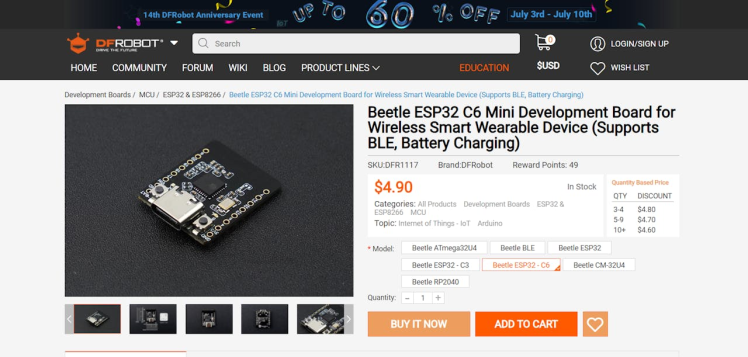
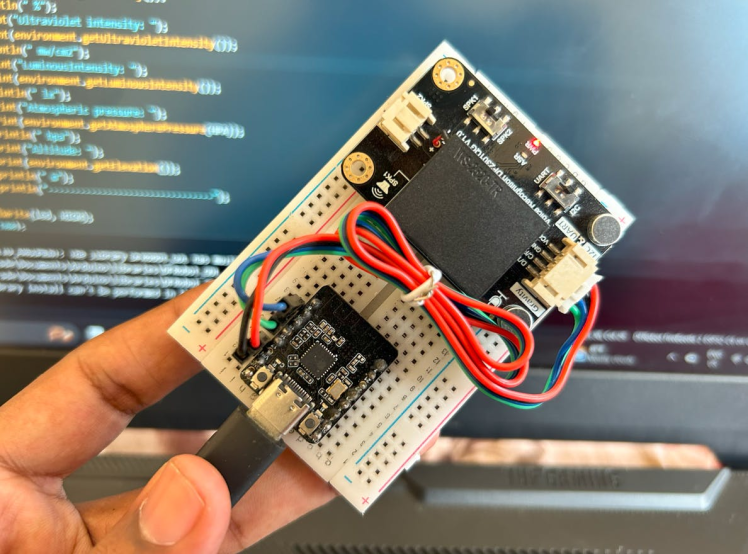
Components Needed- DFRobot Beetle ESP32 C6: This compact ESP32 board will serve as our microcontroller.
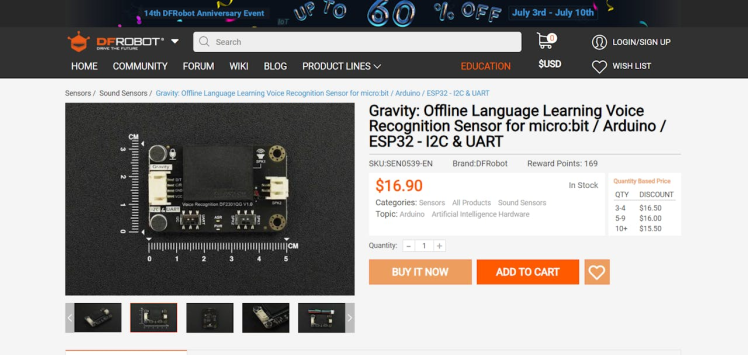
- DFRobot Gravity Offline Voice Recognition Sensor: An offline voice recognition module with built-in command words and self-learning capabilities.
- Breadboard and Jumper Wires: For connecting the components.
- Connect the DFRobot Gravity Sensor to the Beetle ESP32 C6 using jumper wires.
- If you haven’t already, download and install the Arduino IDE.
Follow these steps to add the ESP32 board to your Arduino IDE:
- Open the Arduino IDE.
- Go to File > Preferences.
- In the “Additional Boards Manager URLs†field, add the following URL:
https://dl.espressif.com/dl/package_esp32_index.json - Click OK.

- Go to Tools > Board > Boards Manager.
- Search for “esp32†and install the “esp32†package.
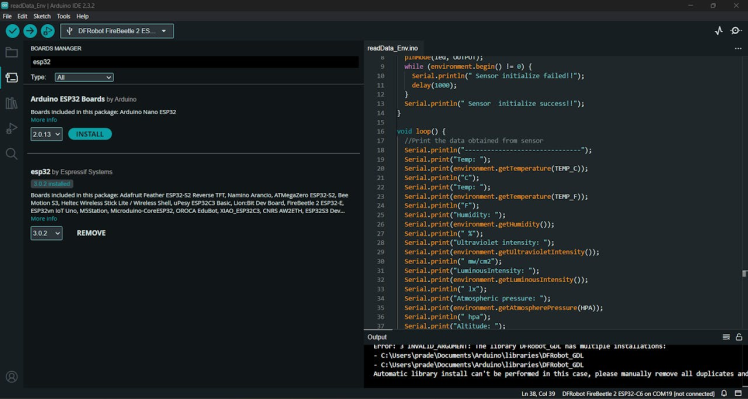
- Select the Beetle ESP32 C6 as your board under Tools > Board.

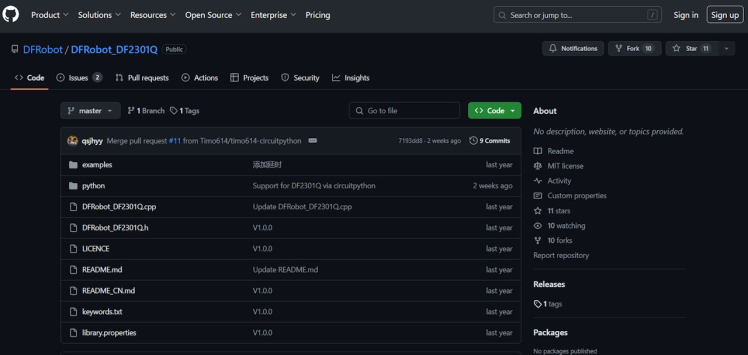
- Visit the DFRobot Voice Recognition Sensor tutorial for detailed steps.
- Download the DFRobot Voice Recognition Library from the DFRobot website.
- Create a new Arduino sketch (File > New).
- Copy and paste the following sample code into your sketch:
#include "DFRobot_DF2301Q.h"
DFRobot_DF2301Q_I2C DF2301Q;
int led = 15;
void setup() {

    Serial.begin(115200);
    pinMode(led, OUTPUT);
    while (!(DF2301Q.begin())) {
        Serial.println("Communication with device failed, please check connection");
        delay(3000);
    }
    Serial.println("Begin ok!");
    DF2301Q.setVolume(7);
    DF2301Q.setMuteMode(0);
    DF2301Q.setWakeTime(15);
    uint8_t wakeTime = 0;
    wakeTime = DF2301Q.getWakeTime();
    Serial.print("wakeTime = ");
    Serial.println(wakeTime);
    DF2301Q.playByCMDID(23);  // Common word ID

}

void loop() {

    uint8_t CMDID = 0;
    CMDID = DF2301Q.getCMDID();
    Serial.print("CMDID = ");
    Serial.println(CMDID);
    if (CMDID == 5) {
        digitalWrite(led, HIGH);
    }
    if (CMDID == 6) {
        digitalWrite(led, LOW);
    }

}- The DFRobot Gravity Sensor comes with 121 built-in fixed command words. You can also add 17 custom command words.
For example:
- Turn on the lights
- “Change color to blue
- “Dim the lights
- Connect your Beetle ESP32 C6 to your computer via USB.
- Select the Arduino IDE's appropriate COM port and board (ESP32 Dev Module).
- Click the Upload button to upload the sketch to your Beetle ESP32 C6.
- Power up your system.
- Speak the predefined voice commands to control the led
With this setup, you'll have an offline voice-controlled LED system that responds to your spoken commands. Feel free to expand the project by adding more custom commands or integrating other devices!
Credits
Related products


Leave your feedback...