Simon Says Game - 3d Printable | Arduino Nano | Diy Project
About the project
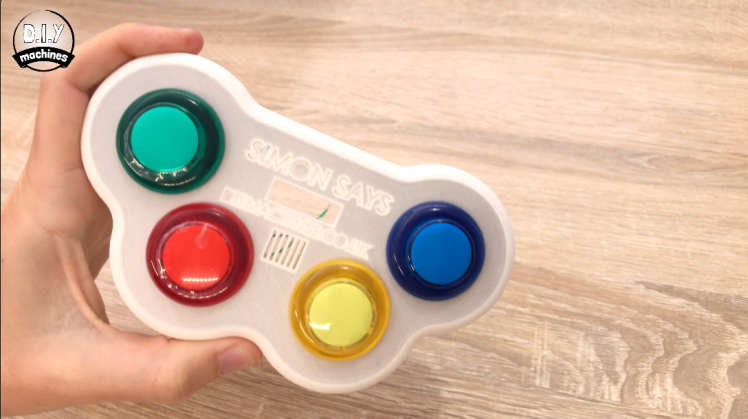
Print, assemble and program your own Simon Says game. How much of the randomly generated colour pattern can you memorise and repeat back? Not sure, then why not make one and find out. With an Arduino Nano at its core this project also incorporates an OLED screen, passive buzzer and some big bright buttons.
Items used in this project
Hardware components
View all
Hand tools and fabrication machines
Story
Step 1: Video Instructions
If you prefer watching a video then here it is, otherwise continue on for the full written instructions.
Step 3: 3D Printed Parts
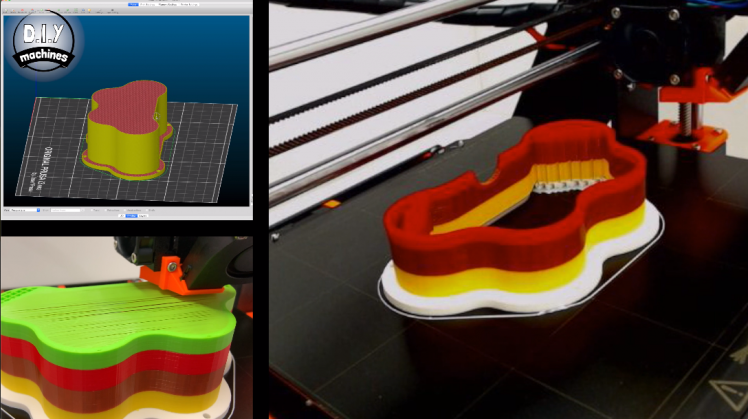
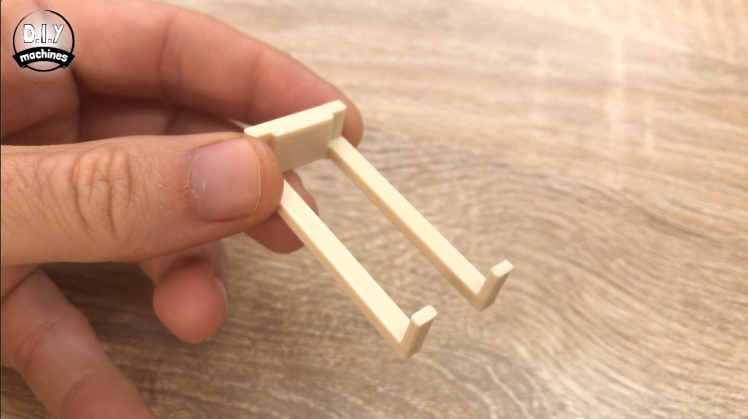
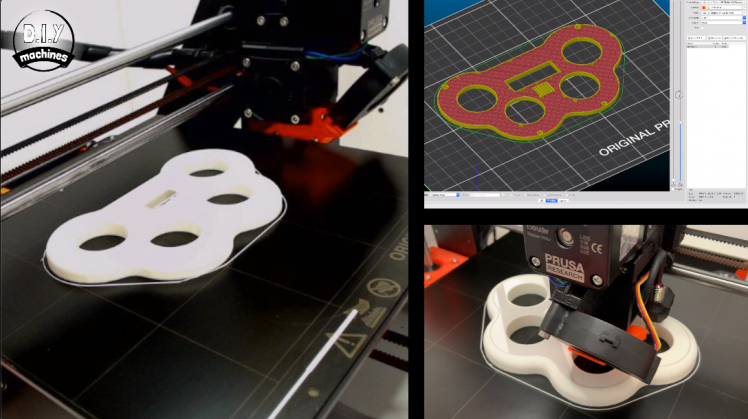
You can download the files for the 3D printed parts on Thingiverse: https://www.thingiverse.com/thing:3723181
There are three parts to print, a lid, a base and an Arduino stand off. I've printed all of mine in PLA and at a layer height of 0.15 millimetres.
The first part to print is the main body. Mine took about 8 hours to print. To get the multiple colours I changed the filament manually several times during the print.
The second part is the top lid. Again mine took about three and a half hours and I used two different colours of filament.
The third part is just a small standoff for the Arduino Nano, it prints very quickly and requires only a small amount of plastic.
Whilst you wait for your prints to complete we can start to work on the buttons.
Step 4: Prepare the Buttons
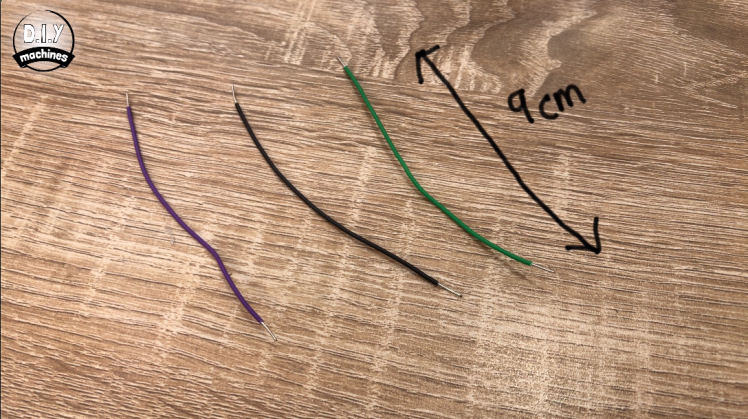
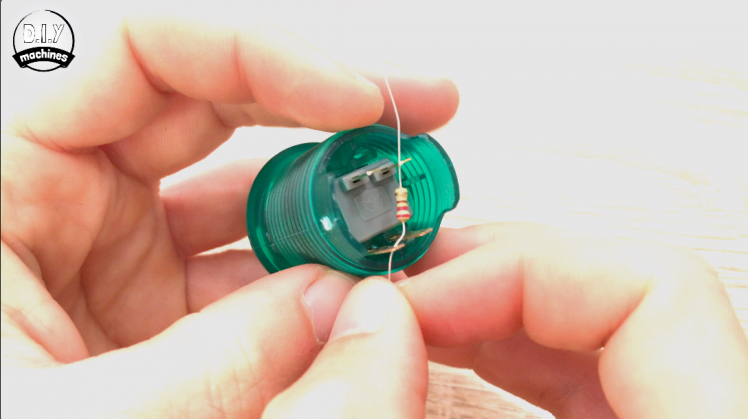
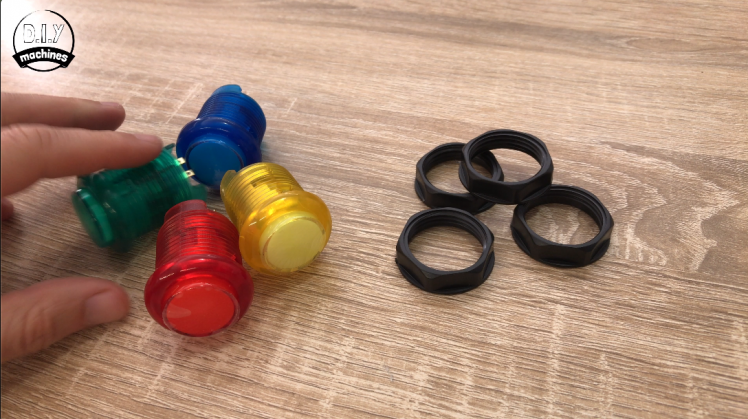
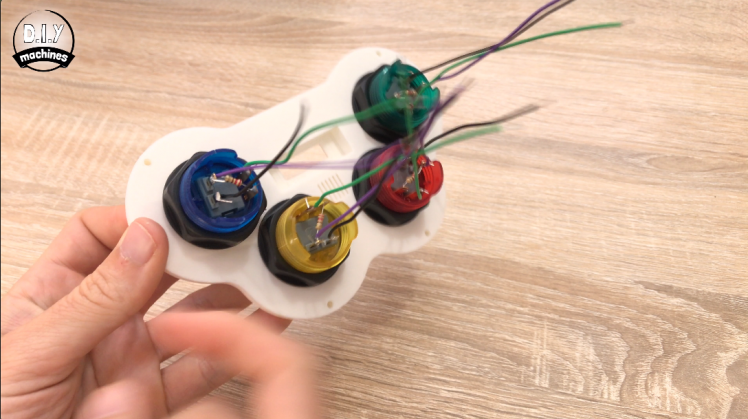
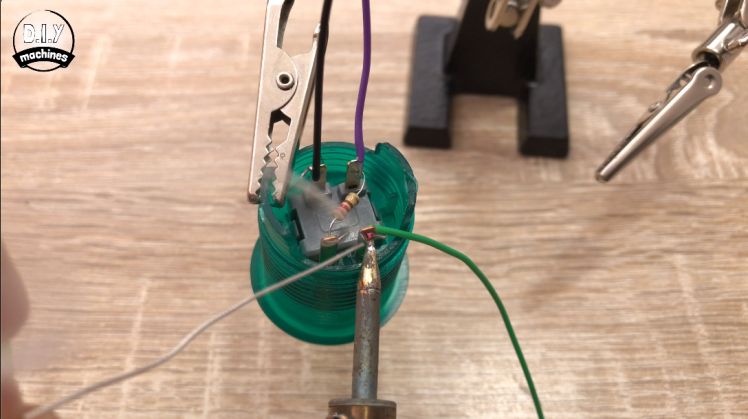
We need to solder three wires and a resistor to the base of each of these buttons. I'll show you how.
Let's start with the resistor, if you orientate your button so that you can see the underside and that the legs coming out of the grey plastic are at the top, we can then put our resistor between the top right and bottom left pin and solder it into place. Don't forget to trim off any excess wire.
Next prepare three wires each about nine centimetres long. Ideally this should be done with three different colours. I'm going to use purple, black, and green. If you have the same colours that's great, but if not you can use any colours you have available just remember to take a note of which colours you switched for which whilst you work.
We will solder the purple wire to the top right alongside the resistor, the black wire is attached to the top left leg and finally the green to the bottom right leg.Repeat these same steps for the other three buttons.
Now we can carefully insert our four buttons into our printed lid. Slide the wires through then the button and screw the collar up from underneath to hold it into place. The order of the colours and which colours you use doesn't matter.
Step 5: Preparing OLED Screen
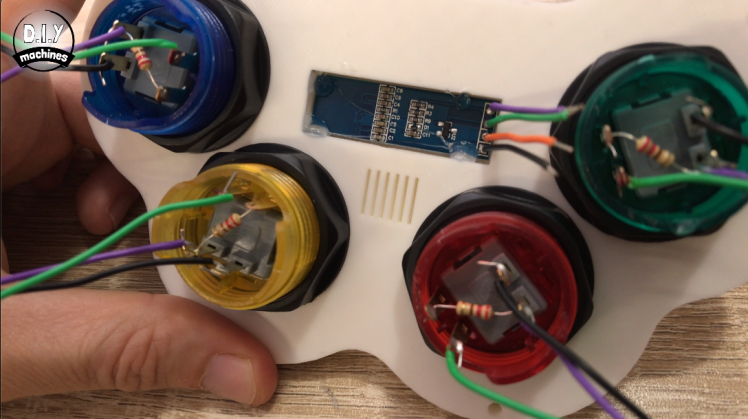
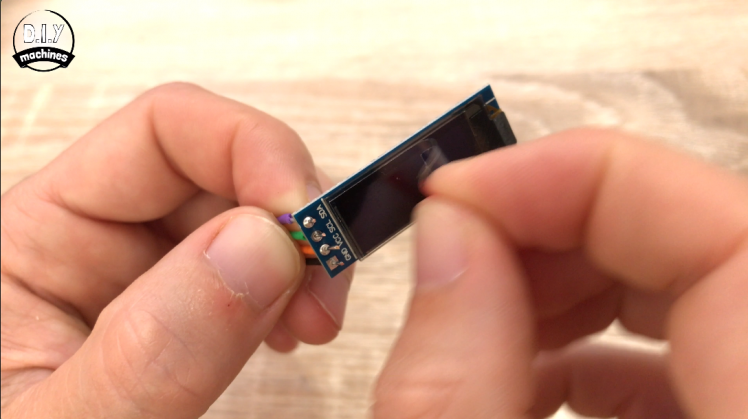
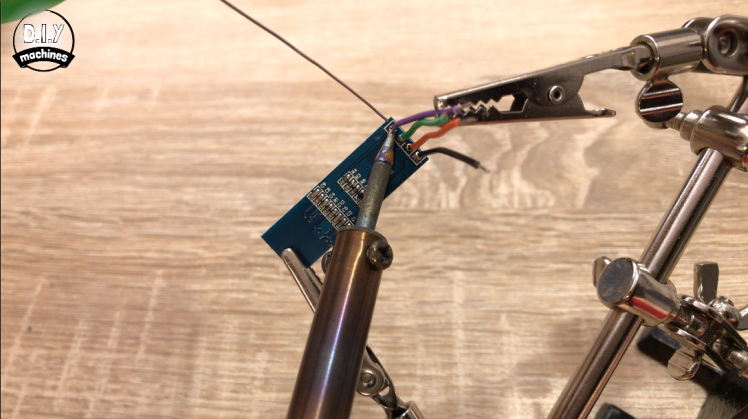
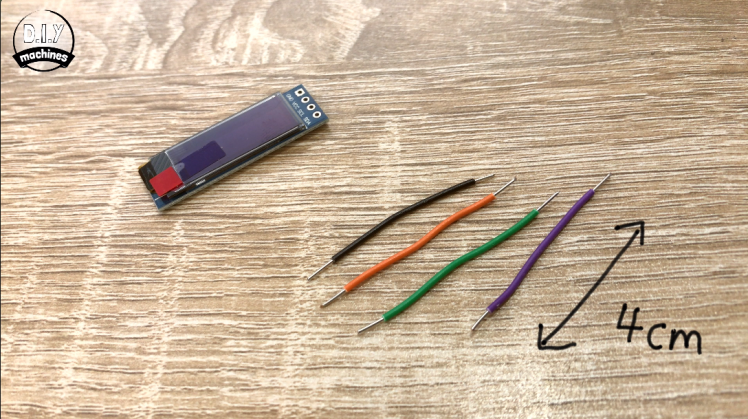
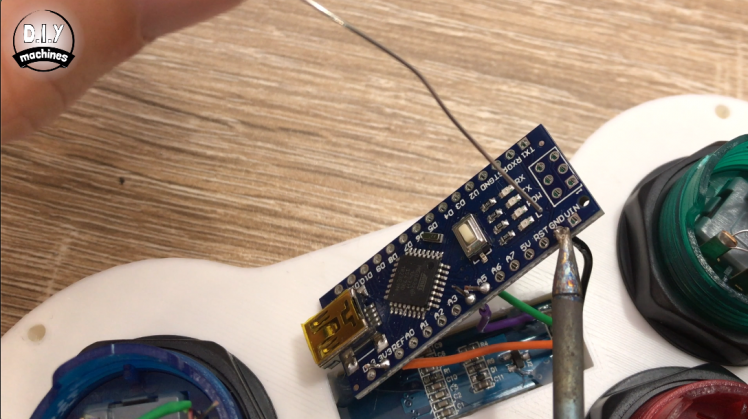
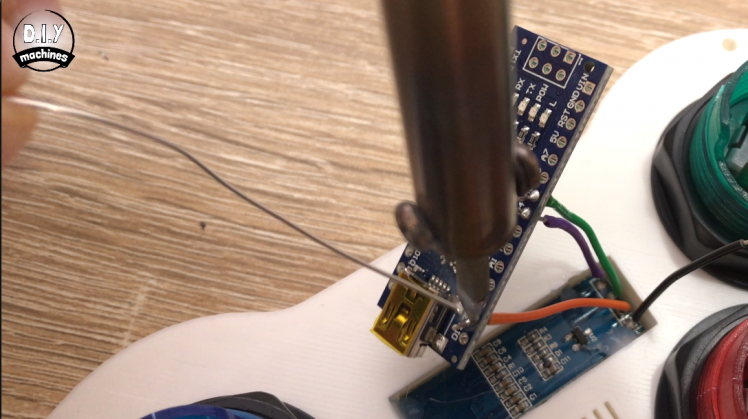
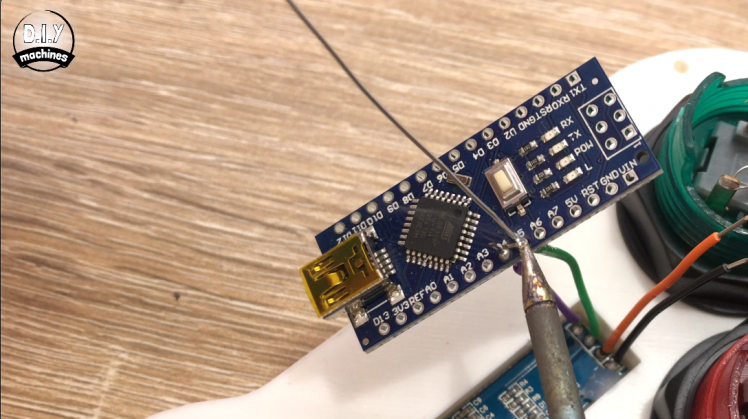
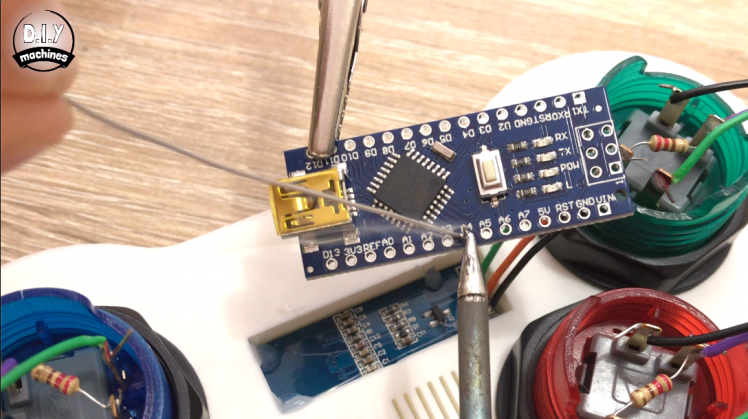
Now we can take the OLED screen and four short wires each about 4 centimetres long and solder them onto the pins from behind the display. Once this is complete, remove the screen protector and use some hot melt glue to glue the screen into position. T o ensure it is the right way up the pins need to be on the right-hand side when viewed from behind.
Let's start connecting some wires to our Arduino Nano. Connect the wire from the screens SDA and solder it to A4 on the Arduino from its underside. The SCL lead goes to A5, VCC to 3.3 volts and GND to ground
Step 6: Upload the Code
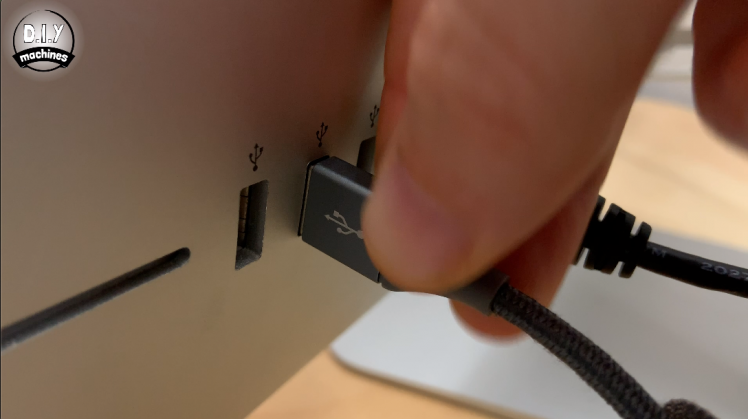
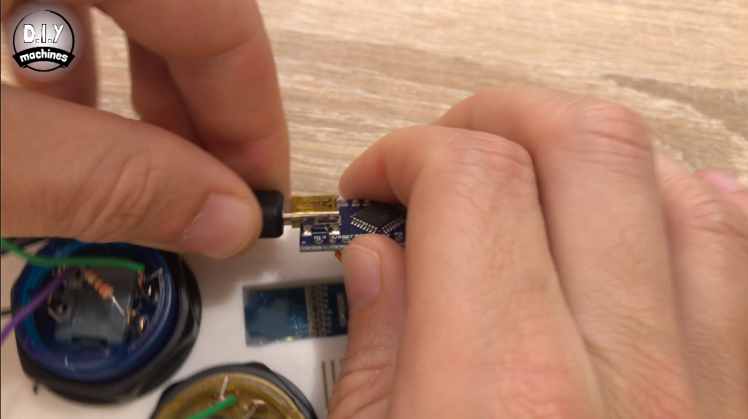
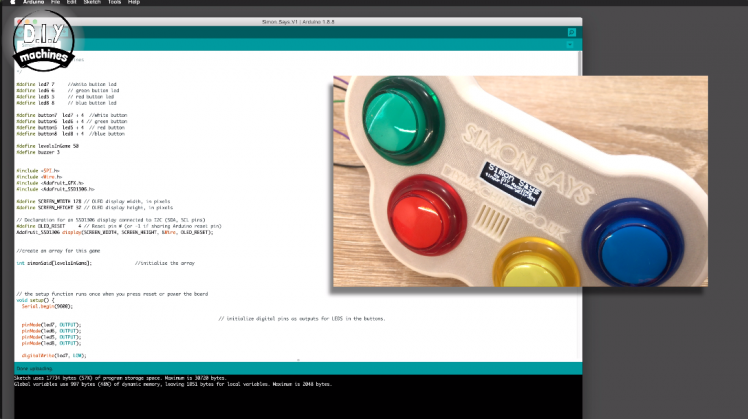
Whilst we still have relatively easy access to the Arduino USB port we should upload the code to it. First you'll need to plug in the USB cable to your Arduino Nano and then the other end to your PC.
You'll find the link to the code here: http://www.diymachines.co.uk/diy-arduino-simon-sa...
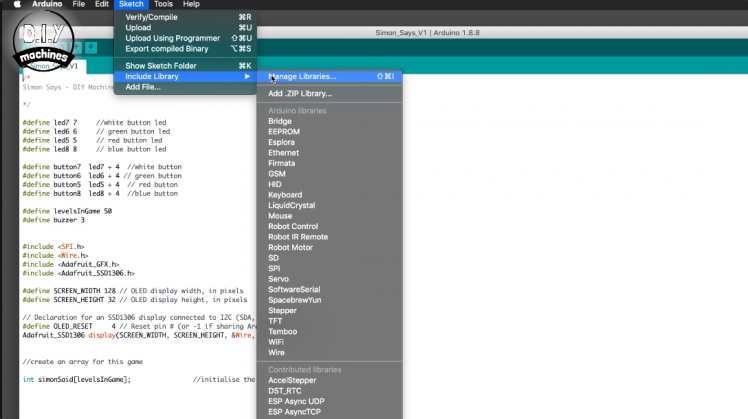
Before you can upload the code you need to make sure you have two required Adafruit libraries installed in your Arduino library. You may already have these but it's worth checking as there might be updates as well. You need the Adafruit SSD_1306 and the adafruit_gfx libraries.
To install these open the library manager by going to sketch -> include library and manage libraries. First search for SSD_1306 and install it and then repeat the same for the GFX. Once complete open the game's code and upload it to the Arduino. If everything went as intended then you should see some text print to the OLED screen.
Step 7: Fit the Arduino
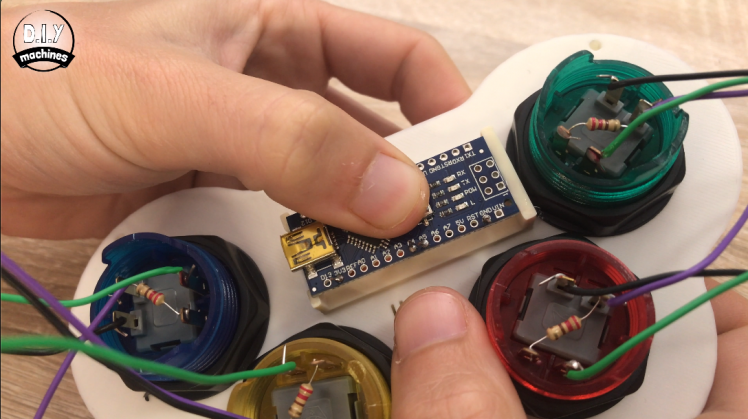
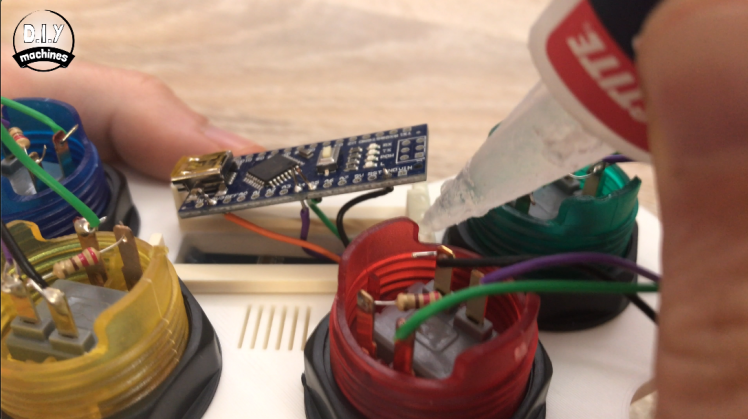
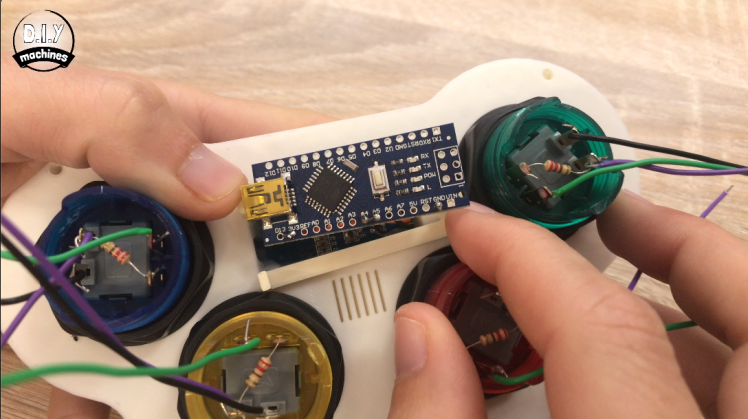
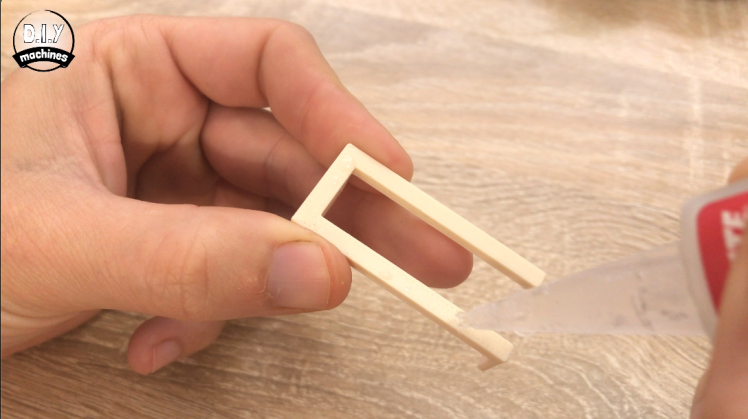
If that's working properly we'll take the small Arduino stand off that we printed earlier, glue it to the underside of the lid and then the Arduino Nano on top of this. When you glue you Arduino to the base make sure you leave plenty of space around the pins as we'll be adding other wires later on.
Step 8: Install Power Switch
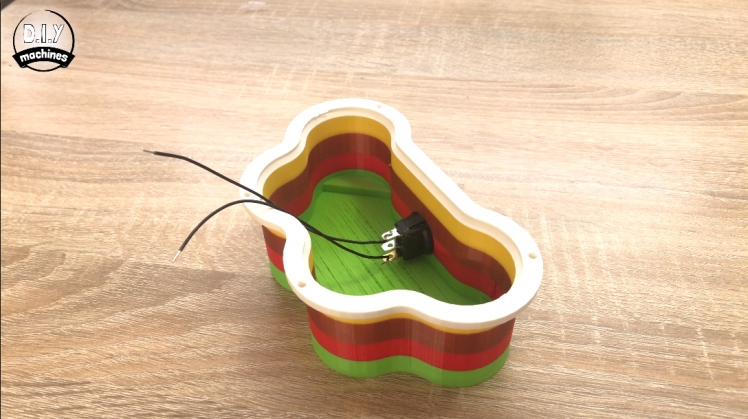
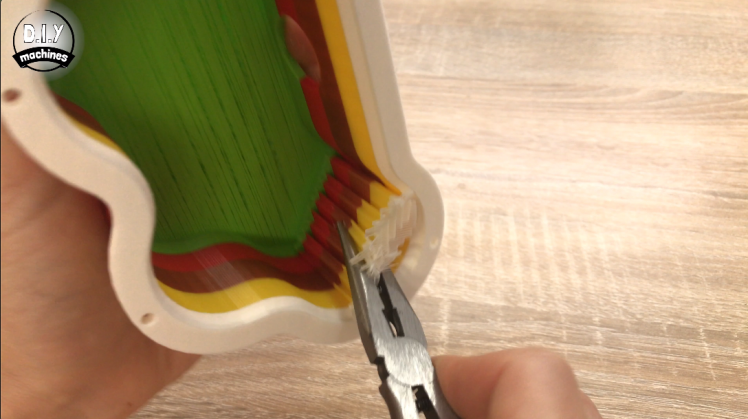
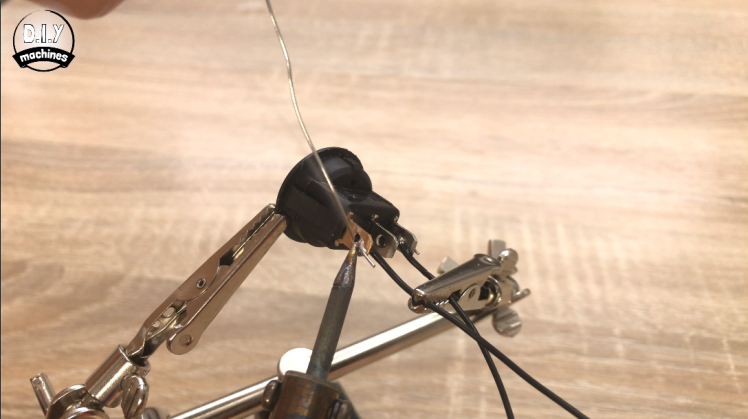
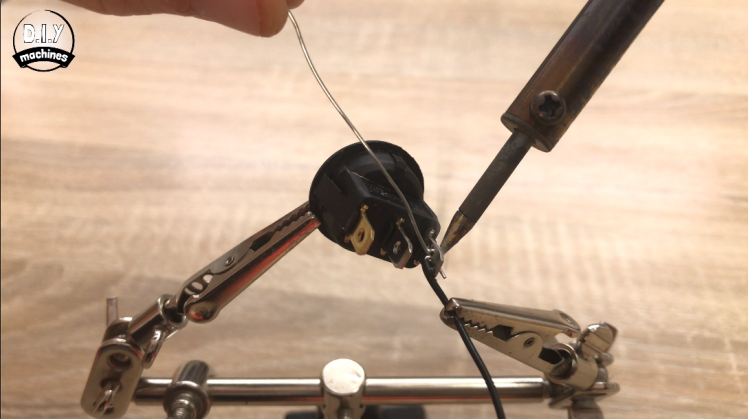
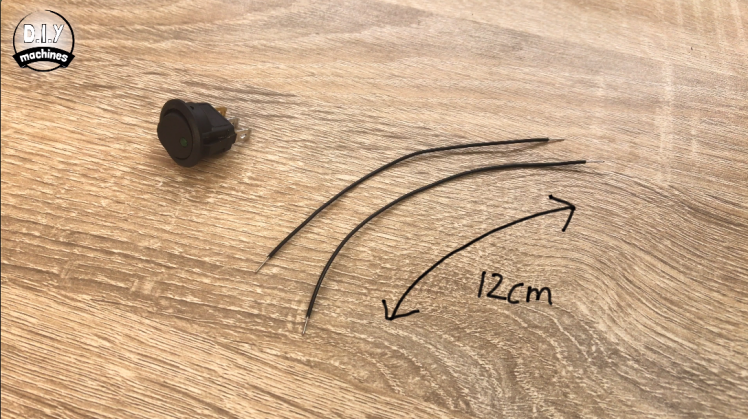
Next take the power switch and two 12 centimetre lengths of wire. Solder one end of each wire to the two outside legs of the switch. Remove any supports that might still be remaining from the largest of our 3d prints. With the gold leg towards the bottom, carefully but firmly push the button into place.
Step 9: Adding Battery Holders
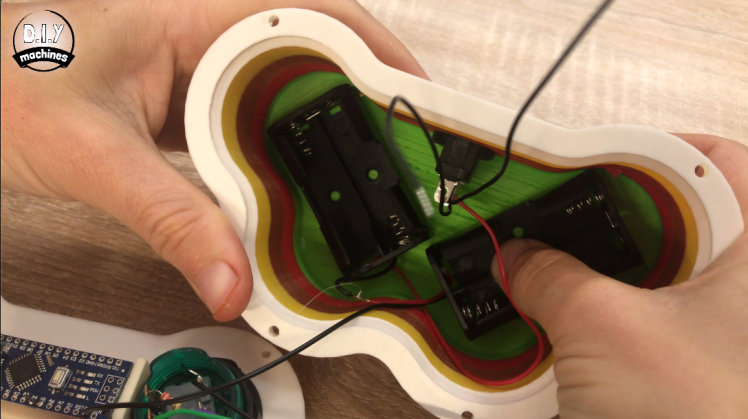
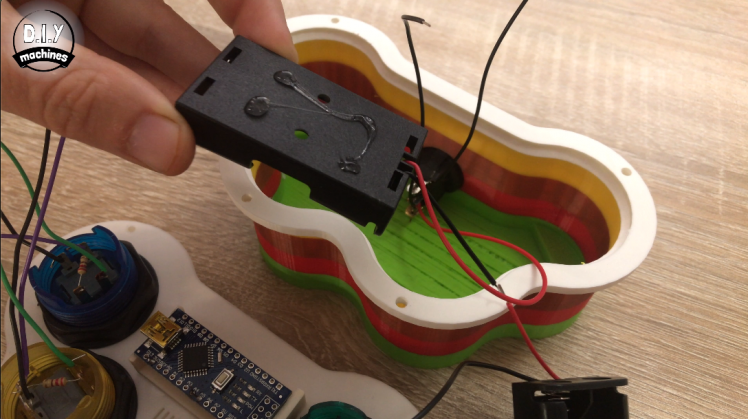
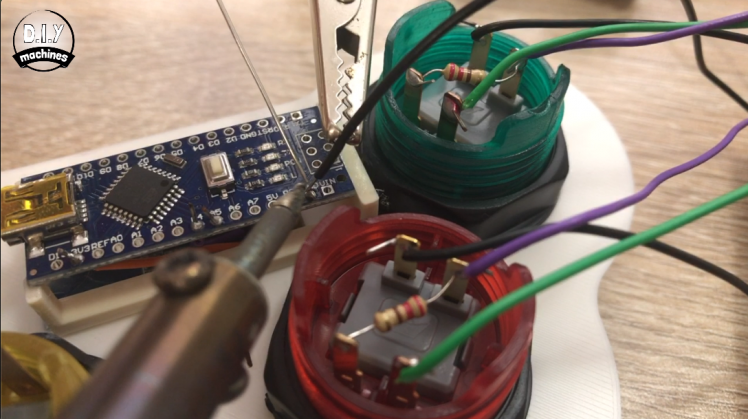
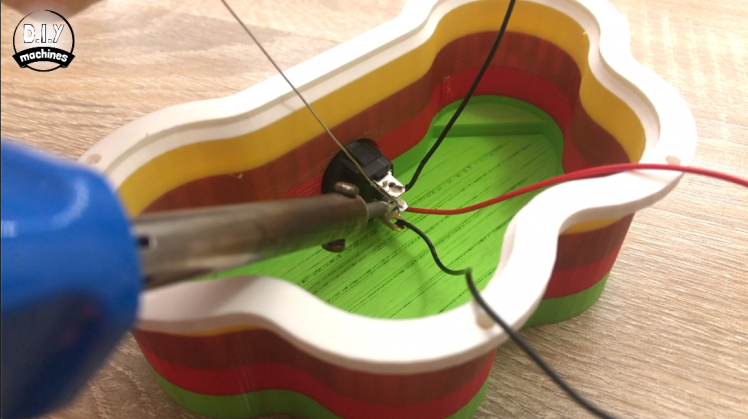
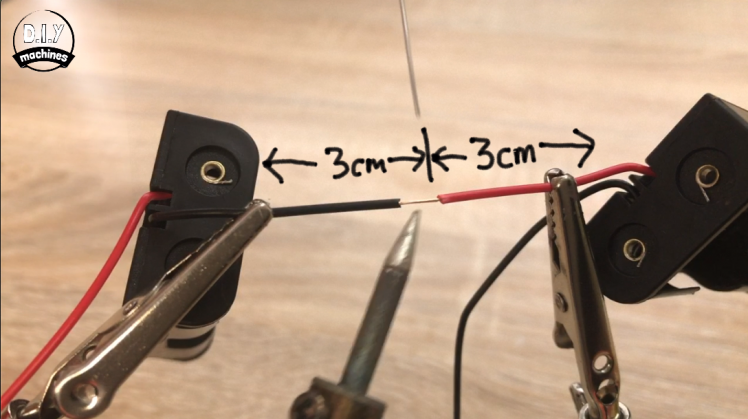
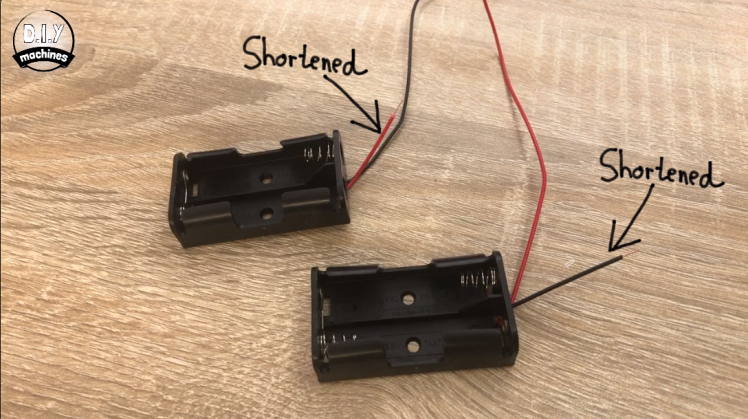
Take the two battery holders and solder together the positive wire from one and the negative wire from the other after shortening them to about three centimetres. Next solder the remaining positive wire to the centre leg on the power switch. we solder the remaining negative wire to one of the ground pins on the Arduino. I'm soldering it with the display as we have a limited amount of ground pins available. Use some hot melt glue to glue the two battery holders into the base of our printed enclosure.
Step 10: Let's Get Grounded
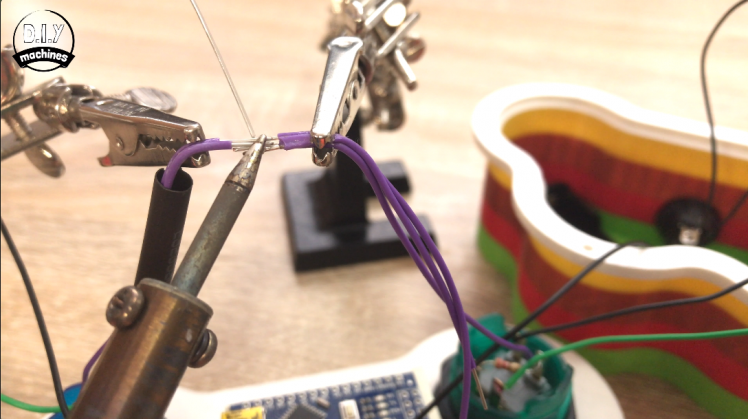
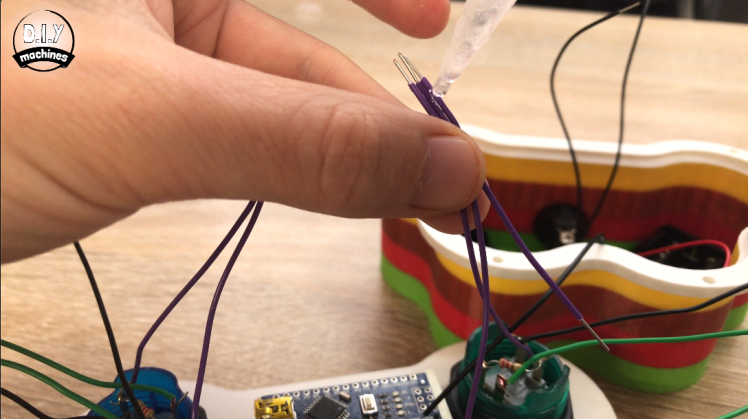
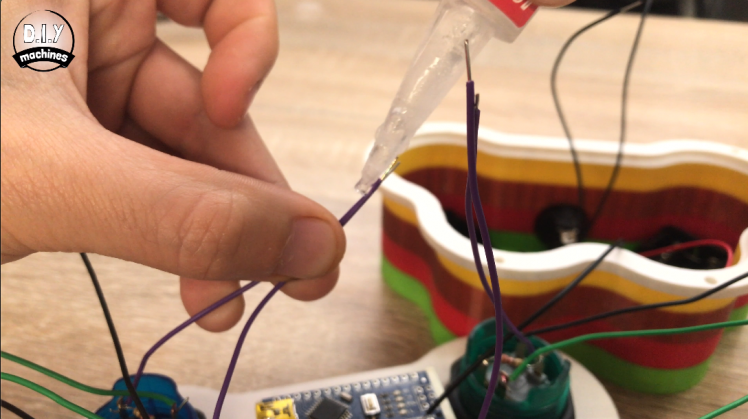
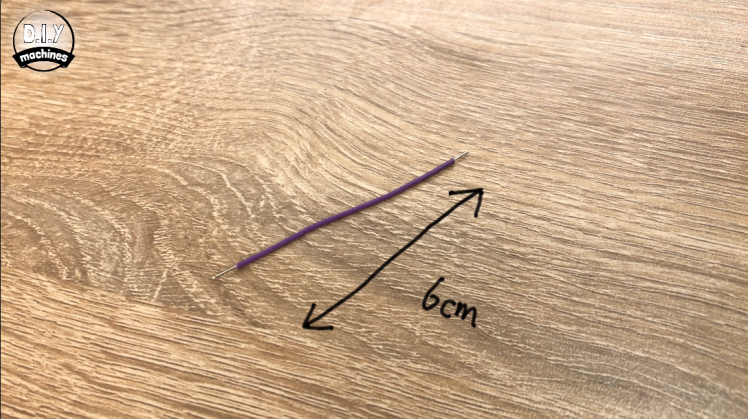
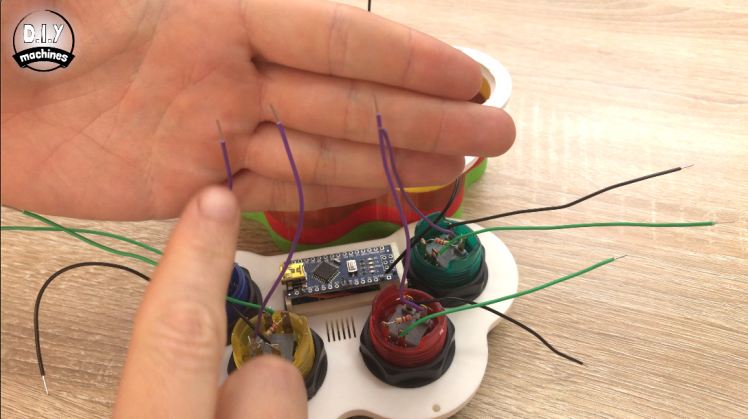
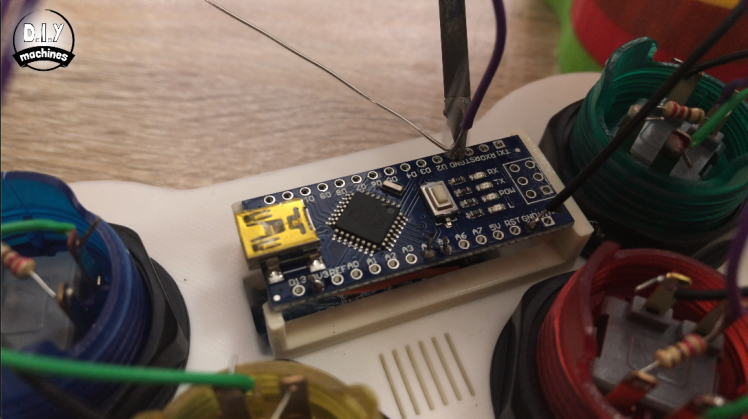
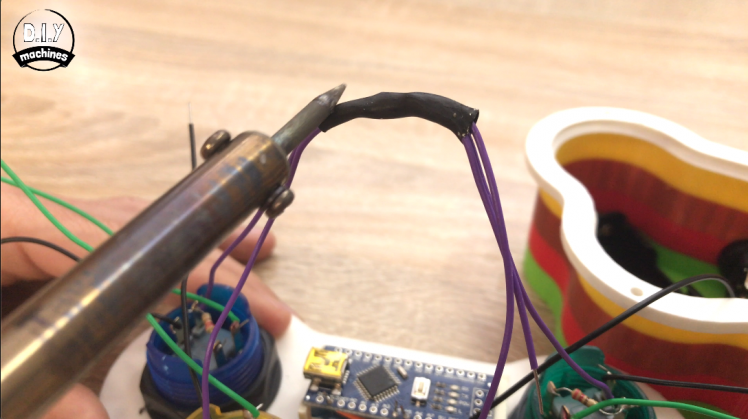
We have four ground wires come in from the back of our buttons, in my case these are the purple wires that are soldered to the same leg as our resistor. I will join these together with an additional piece of six centimeter wire so that we can connect all four of these to a single ground pin on the Arduino as we have a limited number.
Once we have soldered them together I'm going to use a piece of heat shrink tubing to insulate the connection. If you have some that's great, but if not you can just use some insulation tape and wrap this around the joints.
To do this take the two ground wires from the two buttons on the left and use a bit of superglue to hold them together side by side. Do the same with the two ground wires from the other two buttons and then to this bundle glue into position the additional six centimetre wire we're using. Once both sides have dried slide over the heat shrink tubing if you're using this. Then solder all five wires together. At this point you can shrink your heat shrink tubing around the joint or wrap some insulation tape if that's what you're using.
Solder the additional wire that we've added to a ground pin on the Arduino Nano.
Step 11: Finish the Buttoning Up
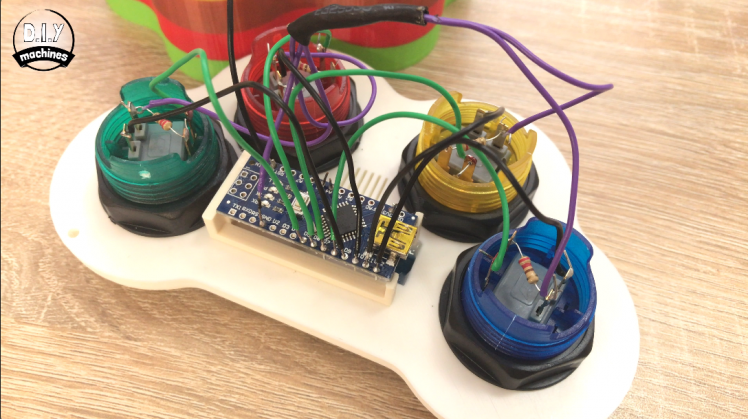
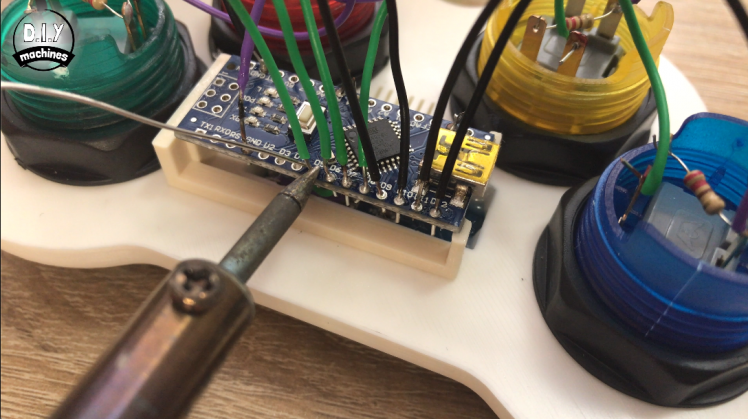
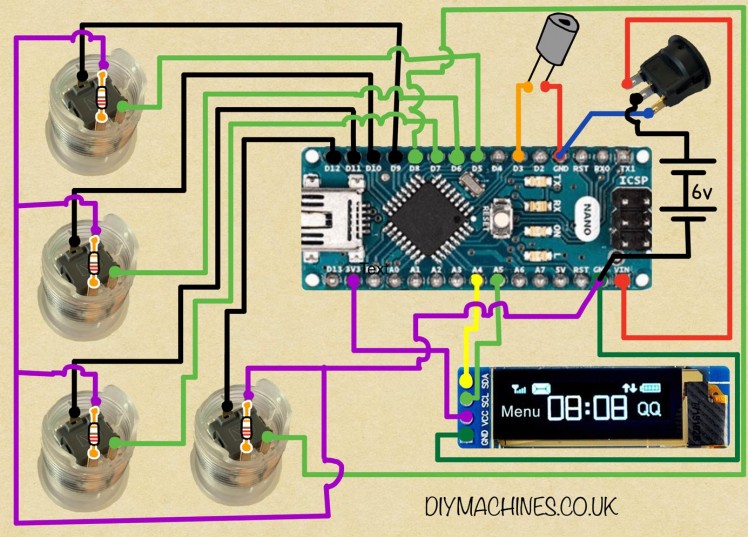
Now we'll solder the positive wires for the LED and the button itself to the various pins on the Arduino for me these are the black and green wires. Check the circuit diagram if you're unsure which wire you should be soldering to which pin.
Take the first button and send the black wire to D12 and the green wire to D8. Solder these in place. It doesn't matter which order you do these buttons as long as these pairs wires go together. Your next pair want to go to D11 and D6. The pair after that is D10 and D5. And finally the last pair wants to go to D9 and D4.
Step 12: Let's Get Buzzing
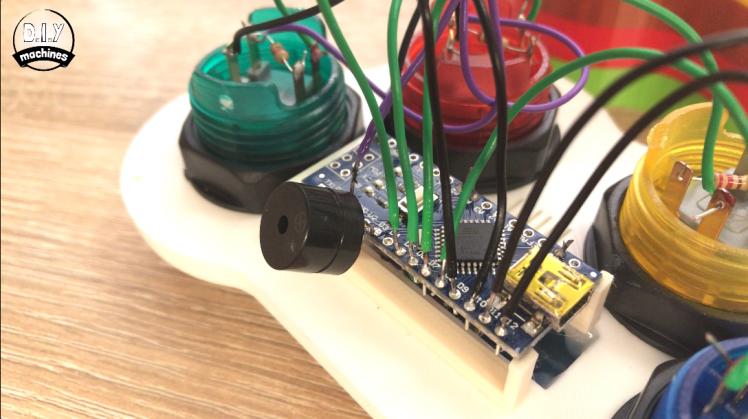
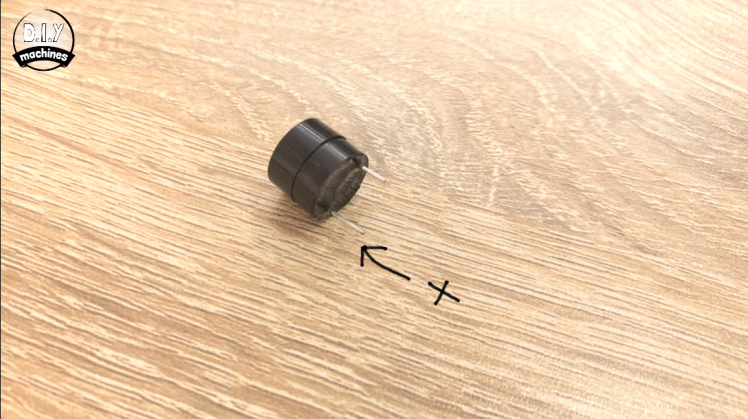
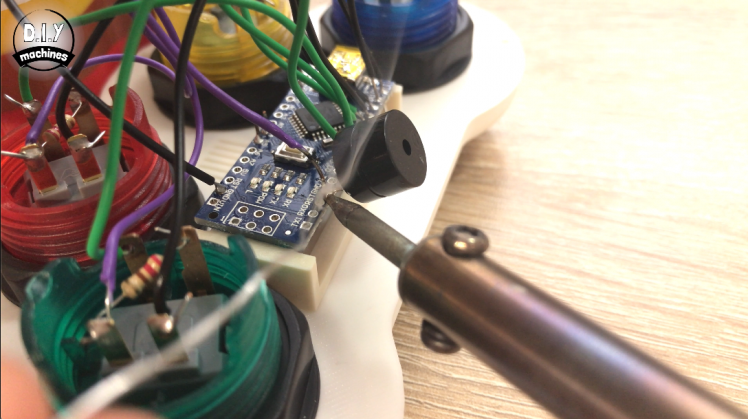
Next up is the buzzer, the buzzer has two legs on it. Solder the longer positive one to D3 and the shorter one to a nearby ground connection.
Step 13: Finish the Power Supply
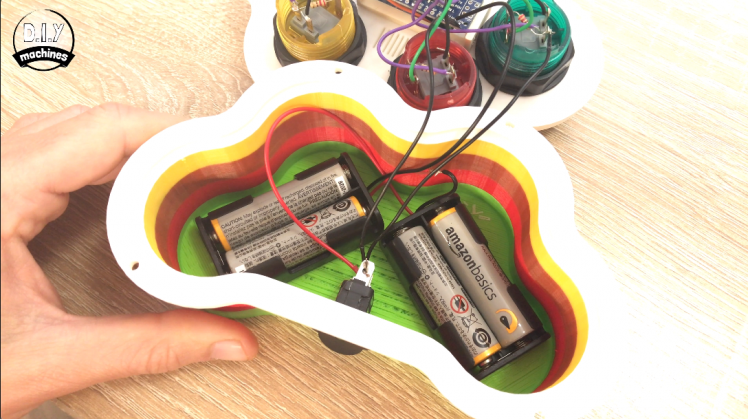
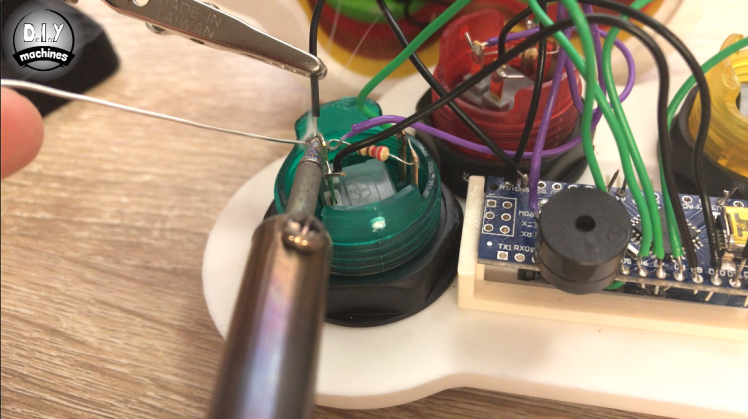
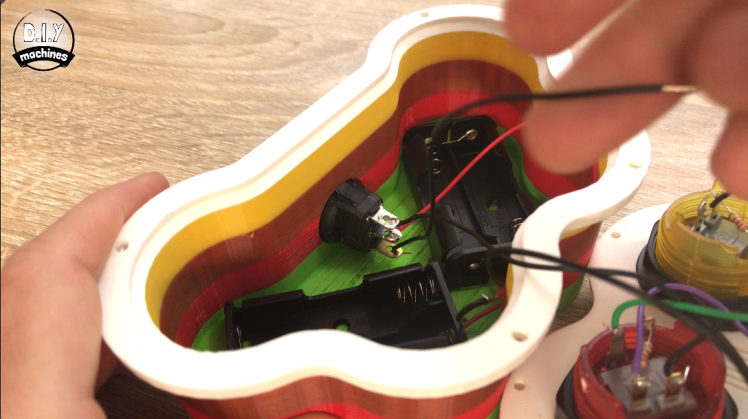
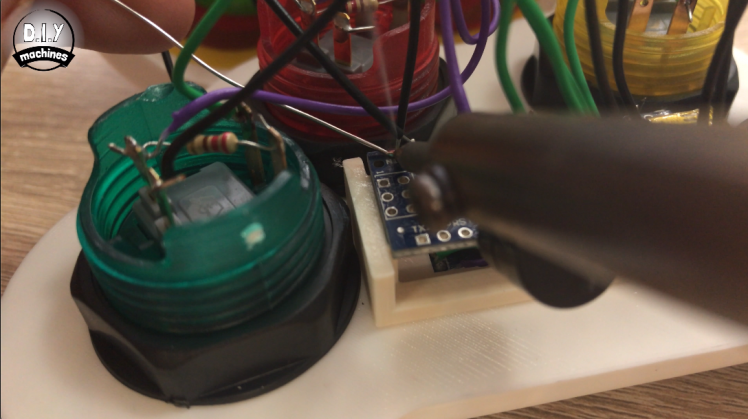
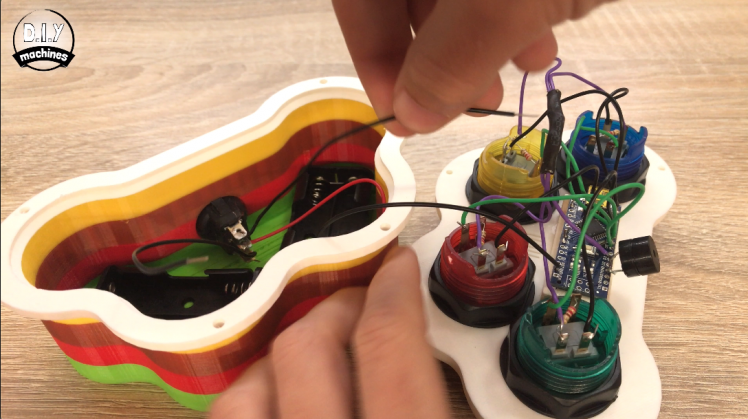
Now take the wire from the top side of the power switch and solder this to the VIN connection on the Arduino Nano. This is where the power will be coming from our batteries. Now we'll take the third and lowest wire on the back of the switch and connect this to a ground connection. I'm connecting this to the ground connection on the back of one of my buttons. We're almost there. Put four AA batteries into the battery holders.
Step 14: Bolt the Lid Shut
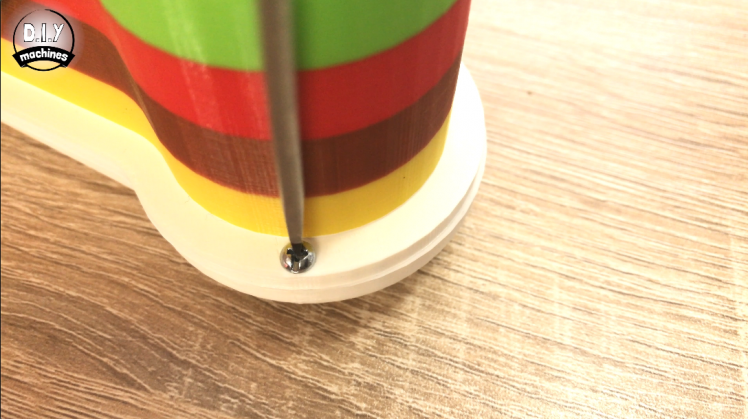
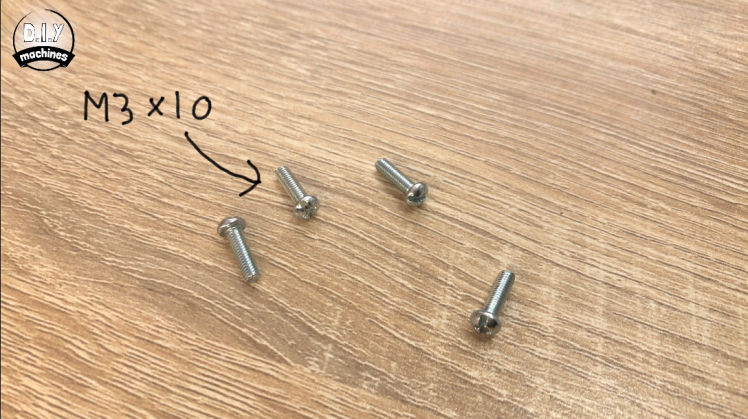
Use our four M3 by 10mm bolts to seal the enclosure shut. We're using bolts instead of glue so that you can change the batteries in the future if you need to. That's it - go ahead and take it for a spin.
Step 15: Finished

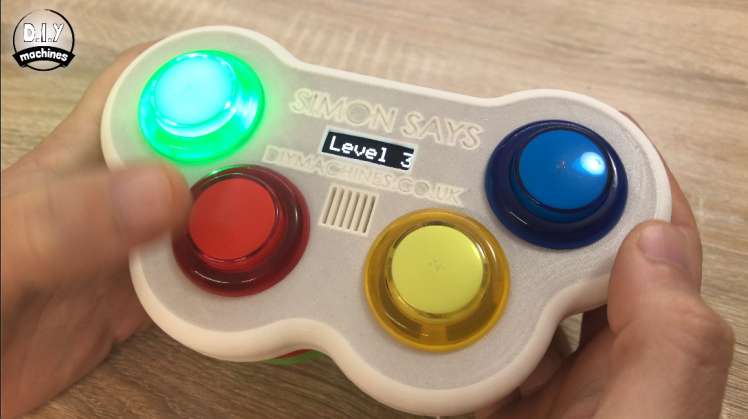
Thanks for taking a look at my tutorial. I hope you've enjoyed this project. If you have please think about checking out some of my other projects, don't forget to subscribe to DIY machines on here and YouTube and share this project with anyone you know who might like to build one of their own. Otherwise until next time chow for now!
Subscribe to my Youtube channel: https://www.youtube.com/channel/UC3jc4X-kEq-dEDYh...
Support me on Patreon: : https://www.patreon.com/diymachines
INSTAGRAM: https://www.instagram.com/diy_machines/?hl=en
FACEBOOK: https://www.facebook.com/diymachines/






Leave your feedback...