Items used in this project
Hardware components
View all
Story
Why.
First up thanks to DFRobot for sending me the parts for this!
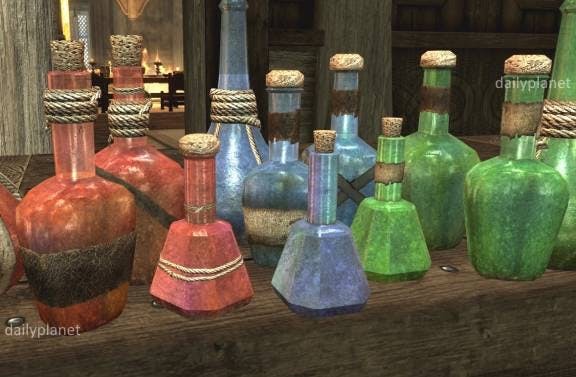
So I was thinking about potions and stuff in games and the varied colours of them, red for health, blue for magic and green for stamina usually.
I thought it would be awesome to make a light up one – with fully customisable 255/255/255 RGB colour customisation with a rotary encoder – so I suggested the idea to DFRobot and they kindly agreed to send me some parts.
I also had a maple syrup jar laying around that I thought would look great lit up.
Key Goals:
- Make an LED ‘potion’ that lights up.
- Make it fully adjustable throughout 3 channels of colour.
Stuff.
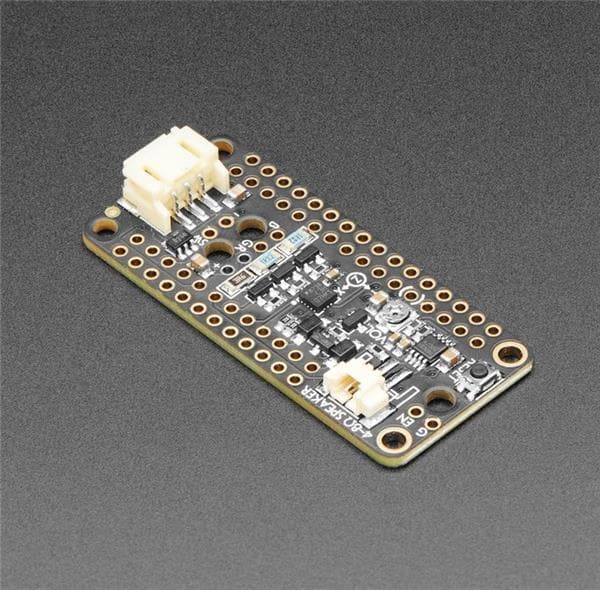
- Arduino Pro Mini
- Rotary Encoder
- Neopixel Stick
- Maple Syrup Jar
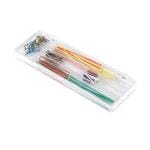
- Elegoo LED Kit
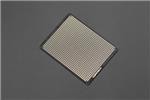
- Protoboard
- Wire
- Coin Cell Battery Holder x3
- CR2032 Batteries
- Resistor Kit
- Cloudy Lemonade
- USB Mains plug
- USB to TTL cable
Build.
The basic plan is to have the encoder plugged into an Arduino, have the push button switch between R/G/B with an LED to indicate what mode its on and then be able to rotate the encoder to change the values of each; to get the fully custom (in theory 16 million+) colours.
The parts:
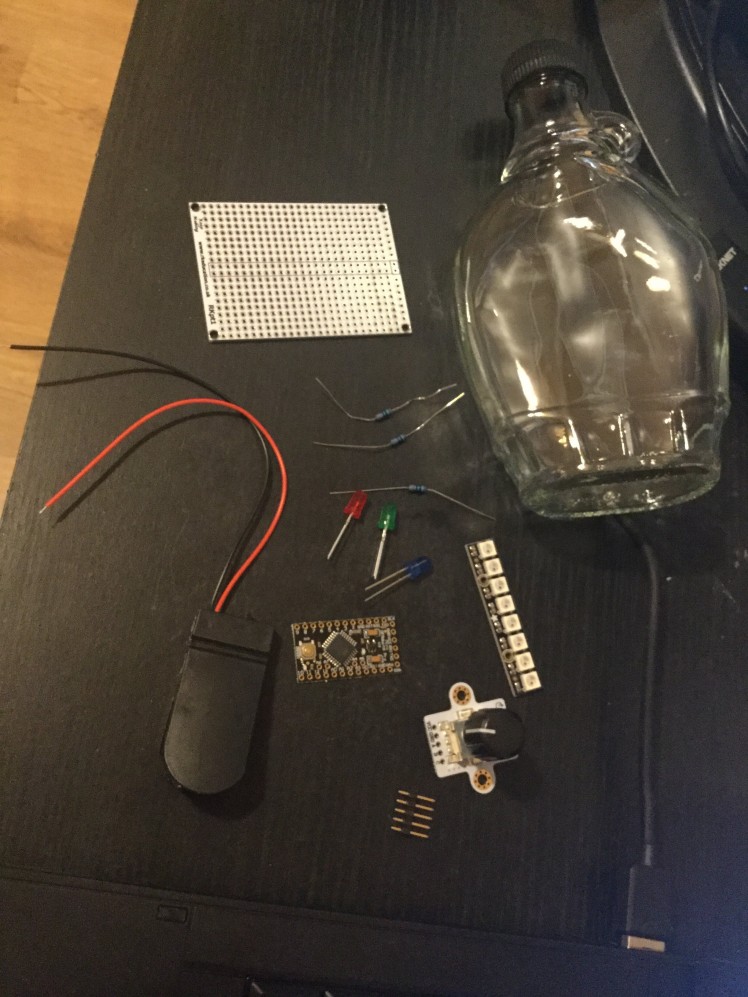
First up I prototyped the build on a breadboard to make sure everything would work, I’ve had the LED’s set up as per this tutorial and the Neopixels as per this tutorial and finally the encoder setup from this tutorial:
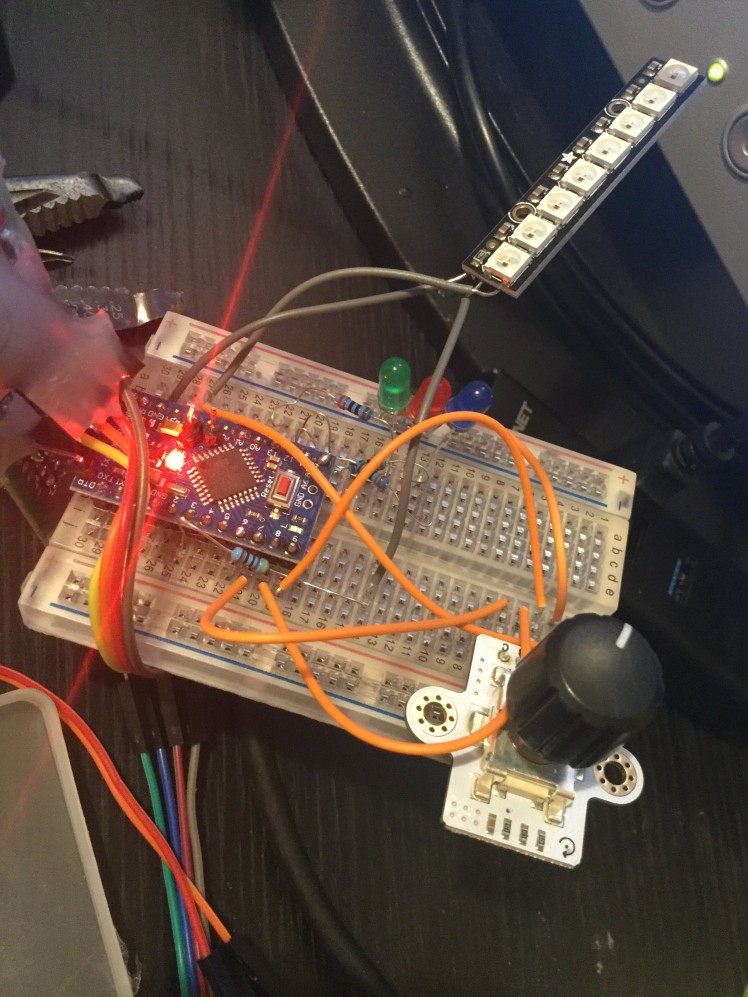
The diffused LED's on the board are to show what colour channel is currently being edited.
And a quick test with the potion itself:
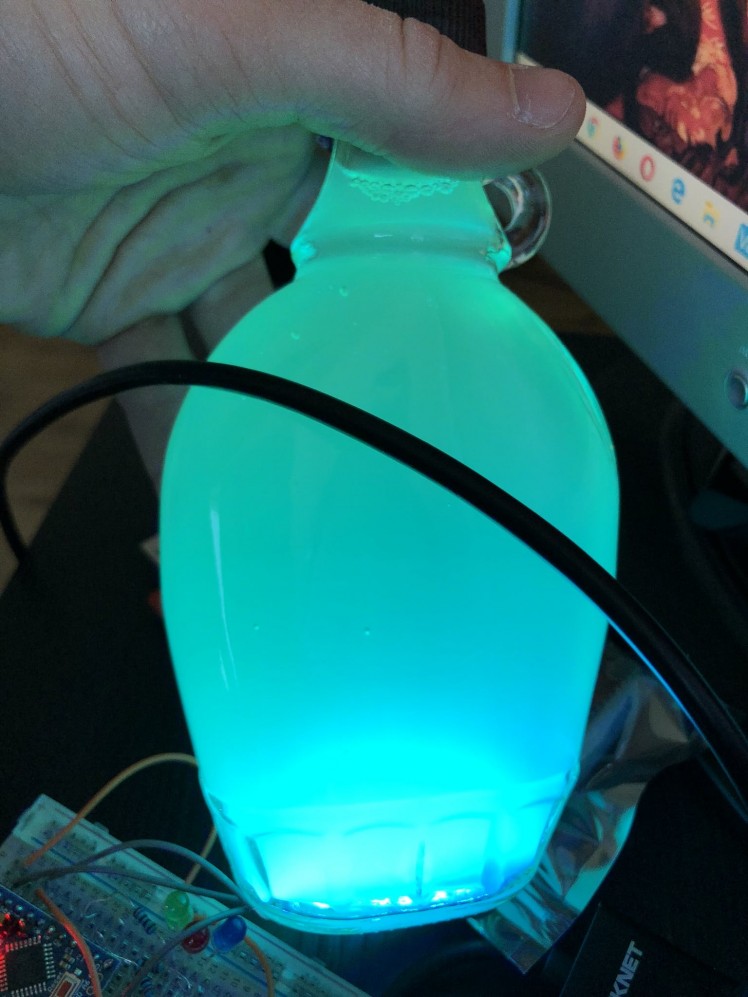
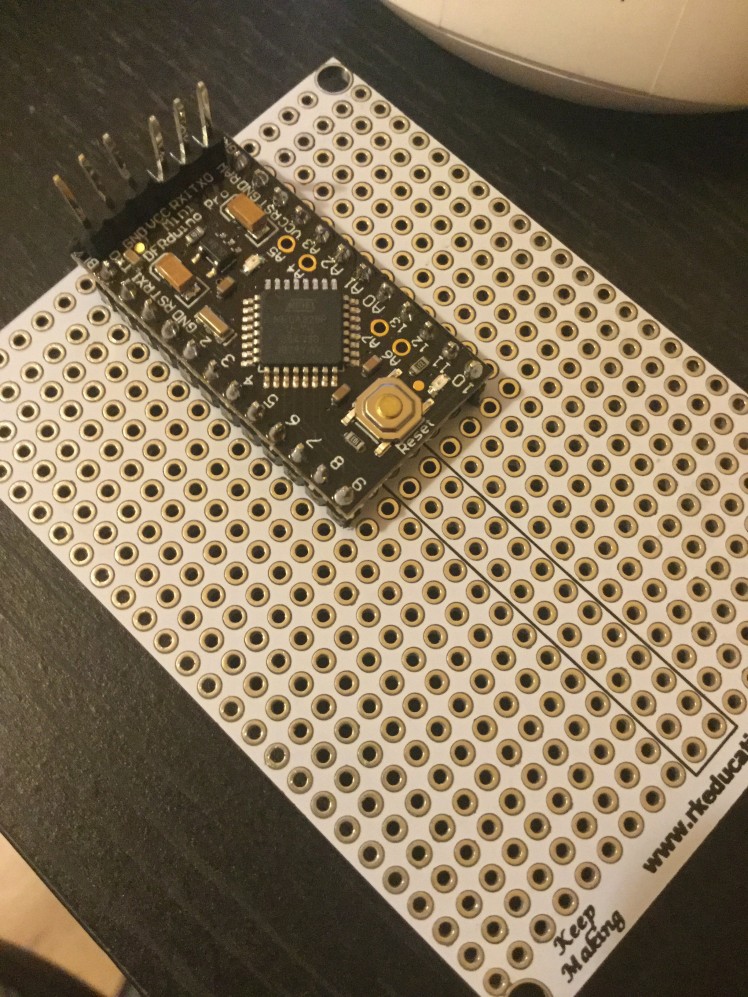
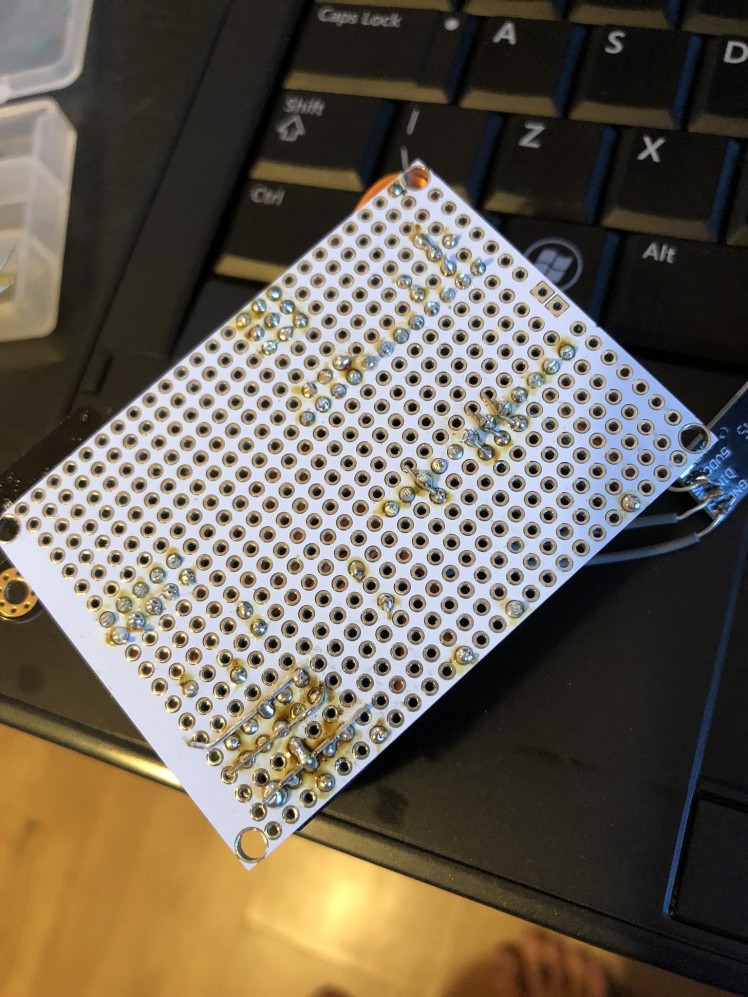
Then once that was tested it was time to solder it all up to the protoboard:
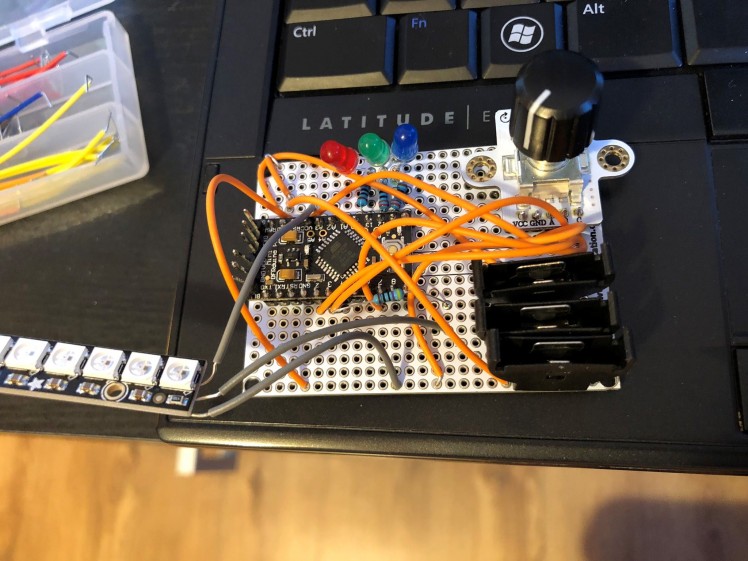
 1 / 2
1 / 2
A bit of hot glue around possible weak points:
 1 / 2
1 / 2
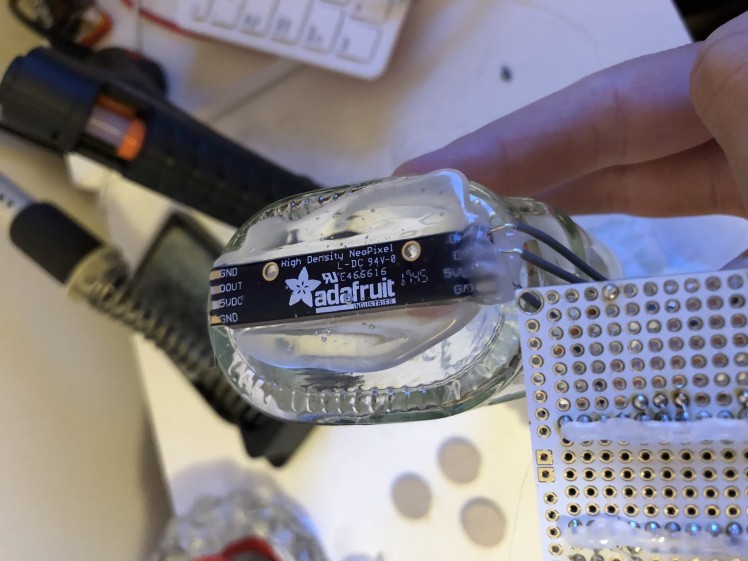
And then attaching the Neopixel stick to the bottom of the jar:
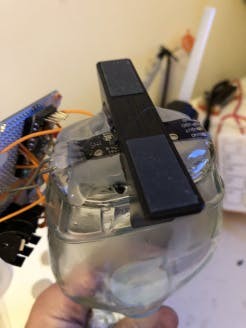
I then found an old stand laying about and glued this to the bottom to keep the potion standing up:
 1 / 2
1 / 2
I put in cloudy lemonade to propagate the light better.
Code.
You can get the code from my GitHub and upload it using a USB to TTL device.
The code essentially handles button presses on the encoder, changing it to R/G/B adjustment mode and lighting the appropriate LED. Then there is code for the rotary function that changes the integer for the 3 colours and then applies it to the Neopixel stick.
Thanks to code from here and here I was able to get the rotary encoder working.
Test.
 1 / 3
1 / 3
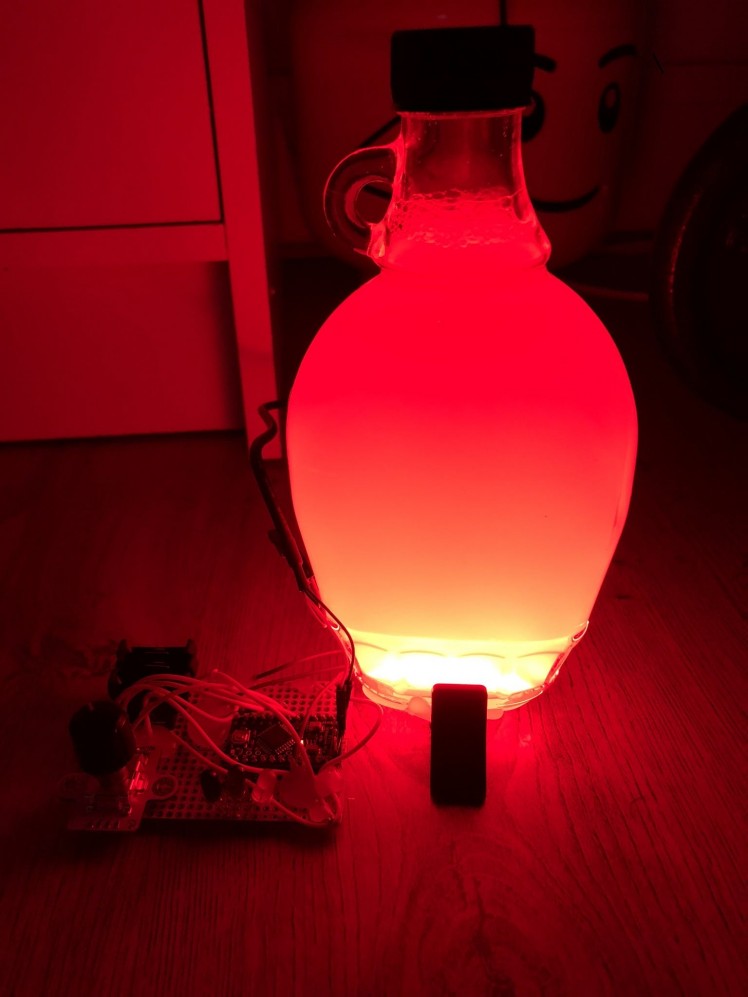
The colours light up the lemonade nicely, the battery holders allow the potion to be moved around but I found that even with 3x 3v batteries it would still lose power if the colours were all maxed out – so I got the USB to TTL cable and plugged it into the Arduino board and into a USB mains plug. This allowed full brightness throughout all colour channels.
You can see in the video it takes a while to go through all the colours per channel as it goes through 0-255 in fine adjustments.
At the start of the video you can see I turn the dial down and it lights up straight away, this is because it’s at 0 and when you turn it down it skips to 255. Or if its at 255 it skips to 0 after being turned up. It gives a good quick demo of the full main colours of the potion.
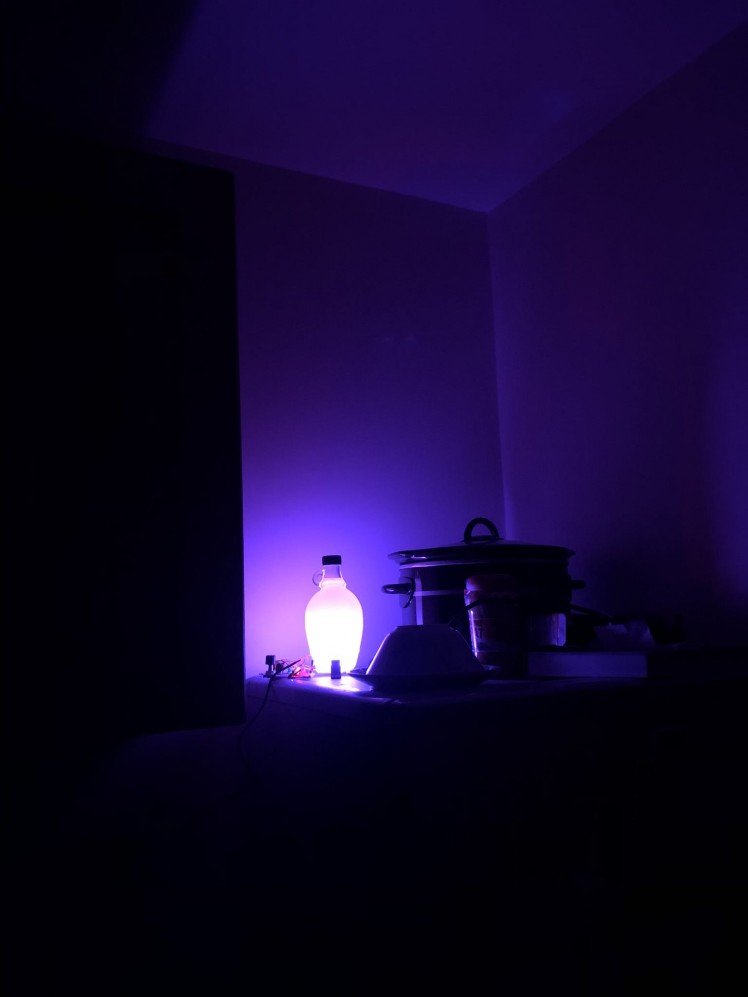
I’ve currently got it set up in my kitchen and it lights up well I think:
Conclusion.
I’m quite happy with this project – it’s still in my kitchen and it’s cool to mess around with the colours to get the desired ambient effect.
For future plans I could integrate the project with IoT and have full control via smartphone app or even voice control.
What do you think? Let me know.
And see you next time.
