Particle Photon Mqtt Integration With Adafruit.io
About the project
Here explains how to visualize data from Particle Photon in Adafruit.io dashboard and integration in IFTTT.
Items used in this project
Software apps and online services
Story
For the past few days I have been actively exploring the features of Particle Photon in other IoT platforms. We already have discussed about Particle in older posts. In this post I am going to explain:
- how to visualize sensor data from particle in Adafruit dashboard
-
how to create
IFTTTchannel in between Adafruit channel and Google Drive
We already discussed that how to visualize data from particle in Thingspeak. In that example we were using data from particle event (particle.publish). But here we are not using particle.publish. Instead we are going to use MQTT protocol. There is library available for mqtt implementation to Adafruit.io.
Before starting this you have to:
- create account in adafruit.io
- create account in IFTTT
In the time of creating account we have to note two things:
- username
- AIO key
We have to give these data in Particle code:
 // This #include statement was automatically added by the Particle IDE.
#include "Adafruit_MQTT/Adafruit_MQTT.h"
#include "Adafruit_MQTT/Adafruit_MQTT_SPARK.h"
#include "Adafruit_MQTT/Adafruit_MQTT.h"
/************************* Adafruit.io Setup *********************************/
#define AIO_SERVER      "io.adafruit.com"
#define AIO_SERVERPORT  1883                   // use 8883 for SSL
#define AIO_USERNAME    "username"
#define AIO_KEY         "8c6b48de9fab412da0987b3e7d373ee"
/************ Global State (you don't need to change this!) ***   ***************/
TCPClient TheClient;
// Setup the MQTT client class by passing in the WiFi client and MQTT server and login details.
Adafruit_MQTT_SPARK mqtt(&TheClient,AIO_SERVER,AIO_SERVERPORT,AIO_USERNAME,AIO_KEY);
/****************************** Feeds ***************************************/
// Setup a feed called 'voltage' for publishing.
// Notice MQTT paths for AIO follow the form: <username>/feeds/<feedname>
Adafruit_MQTT_Publish voltage = Adafruit_MQTT_Publish(&mqtt, AIO_USERNAME "/feeds/voltage");
// Setup a feed called 'onoff' for subscribing to changes.
Adafruit_MQTT_Subscribe onoffbutton = Adafruit_MQTT_Subscribe(&mqtt, AIO_USERNAME "/feeds/onoff");
/*************************** Sketch Code ************************************/
int x = 0;
void setup()
{
   Serial.begin(115200);
   delay(10);
   pinMode(A0,INPUT);
   Serial.println(F("Adafruit MQTT demo"));
   // Setup MQTT subscription for onoff feed.
   mqtt.subscribe(&onoffbutton);
}
void loop()
{
   int value=analogRead(A0);
 if( mqtt.Update() ){
       voltage.publish(value);
 }
   delay(10000);
}
Please note the lines in code:
#define AIO_USERNAME    "username"
#define AIO_KEY         "8c6b48de9fab4r2da9f2463e79373ee"
Replace those lines with your username and AIO key. Here I am just posting some data from analog pin A0 to Adafruit.io using MQTT.
Circuit
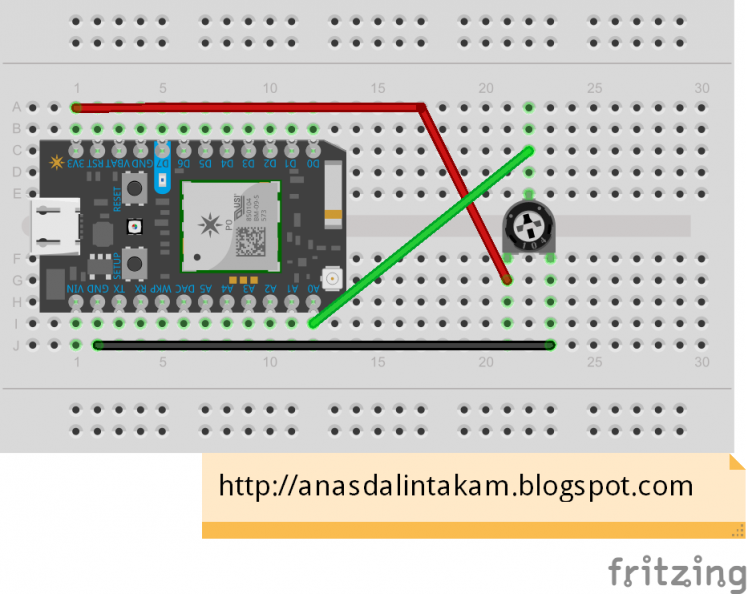
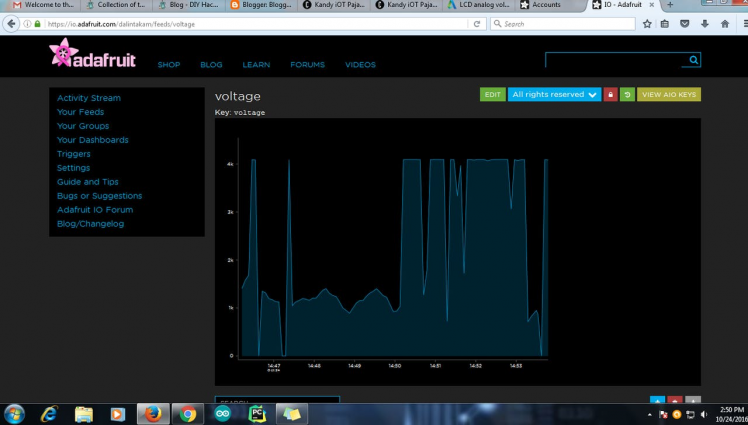
Wire up the circuit as given above and upload the above code after adding the library. Now open Adafruit.io In Your Feeds tab you can see our new feed "voltage" by clicking on that you can see simple graphical visualization of the feed like below:
Now we can create our own dashboard by clicking Your dashboard tab. We can add different blocks to our dashboard and add our feed to it:
1 / 3
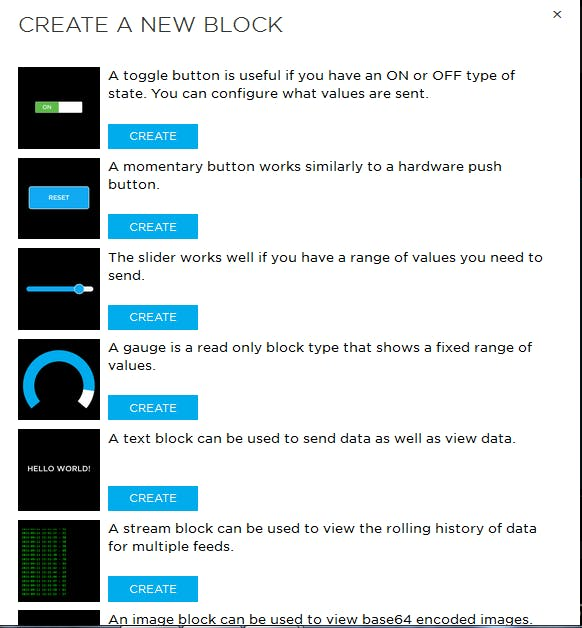
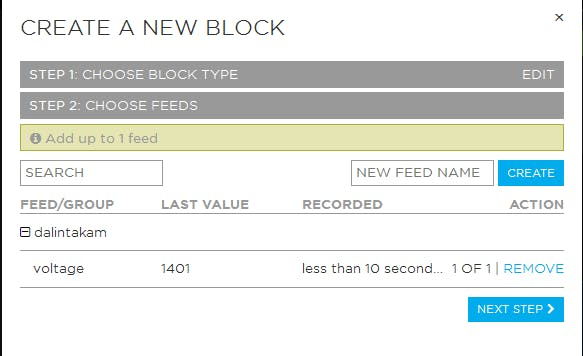
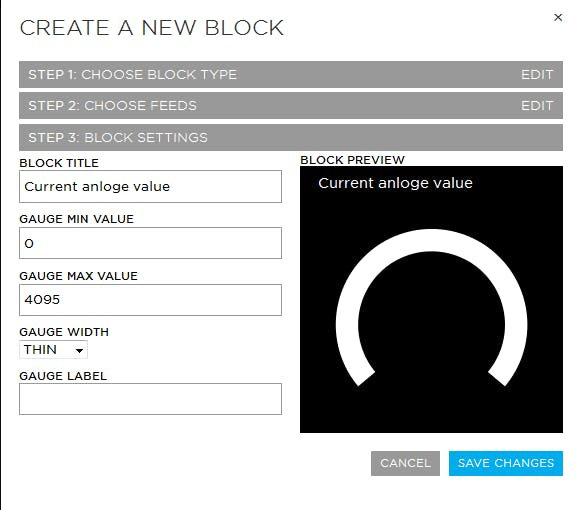
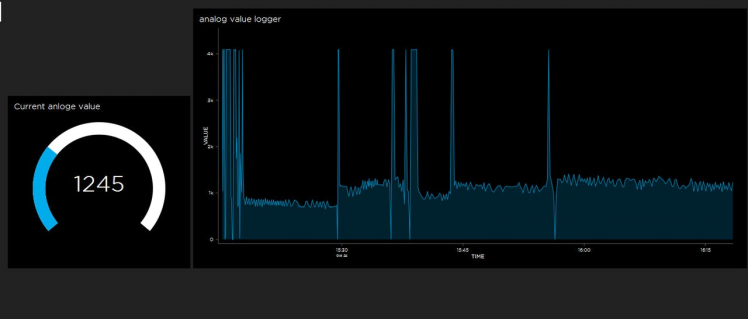
You can set labels for graphs, set maximum value and many other features. You can test your own blocks. After setting dashboard rotate the preset and change voltage in A0 pin. Now you can see values changing in dashboard according to changes in hardware:
No we can integrate this with IFTTT for that click on settings tab:
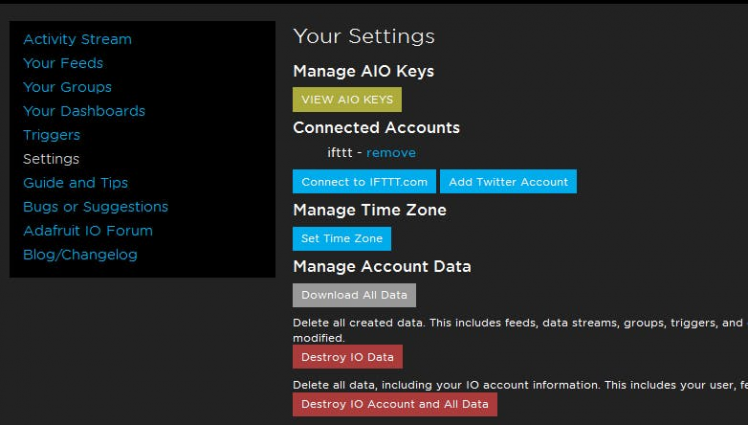
Add IFTTT in settings page and save. Then we can set up our own recipe with Adafruit and Google Drive channels. You can see all available channels in channels tab if you are not already connected with Adafruit channel, connect with it here then connect with Google Drive channel. Now by clicking create new we can make our own recipe.
1 / 3
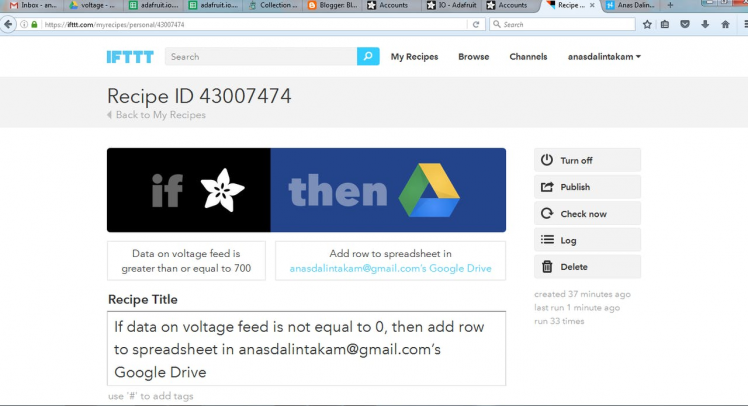
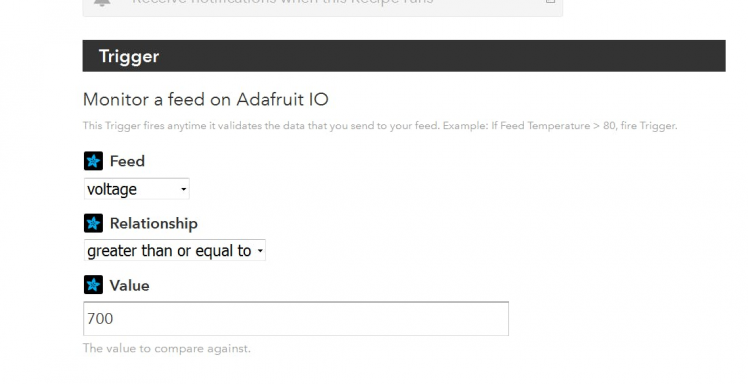
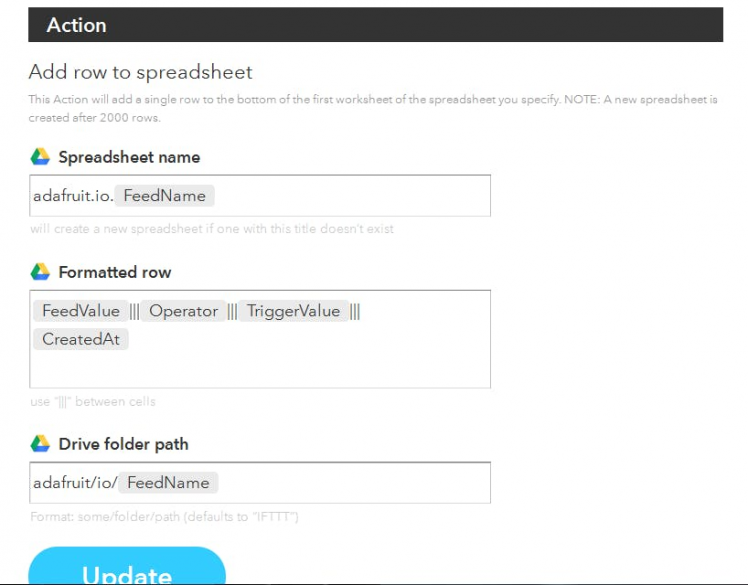
You can also use my published recipe for testing.
Now you open your google drive you can see one new folder created in the path adafruit/io/{{FeedName}} you will have new spreadsheet created named adafruit.io.{{FeedName}}. Now open that google sheet you can see data from Adafruit dashboard.
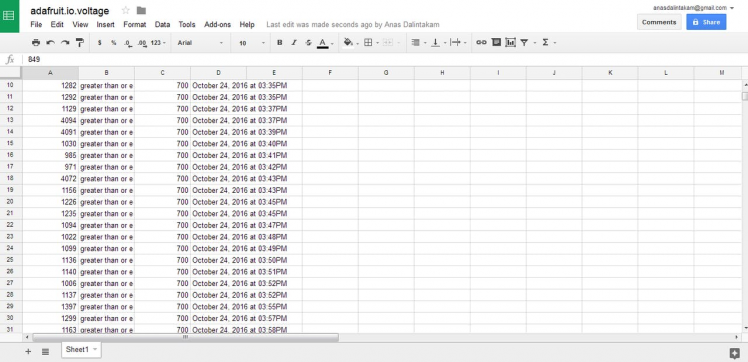
Here in this recipe we are posting to spreadsheet if the feed value is greater than 700. I think there are much more platforms that are available for this kind of integration. I am still exploring. And I would like to mention one more thing that you can directly integrate particle with IFTTT. Particle have its own channel in IFTTT. It can access particle events and particle variables. I had some hacks using those also, like email triggering according to sensor value, PUSH notification using IF notification channel etc. I will try to post more about these in my next posts.
You can read more about these in my blog wiring it my way.


Leave your feedback...