

Make An Automatic Trash Bin Using Visuino

Made by Ron / Environmental Sensing / Home Automation / Sensors / IoT
About the project
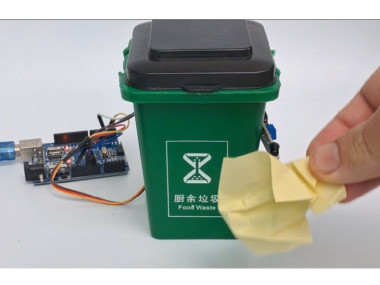
Learn how to make an automatic trash bin using the IR Infrared Obstacle Avoidance Sensor, a servo motor, and trash bin using Visuino.
Project info
Difficulty: Easy
Estimated time: 1 hour
License: GNU General Public License, version 3 or later (GPL3+)
Items used in this project
Hardware components

Story

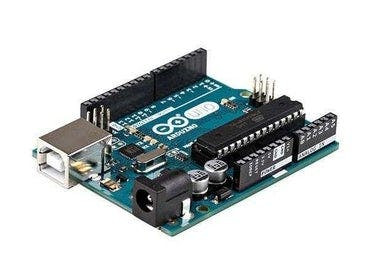
- Arduino board (or any other board)
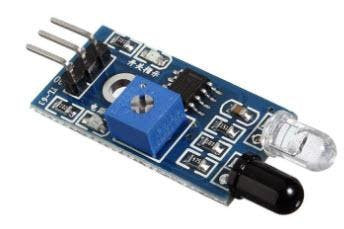
- IR Infrared Obstacle Avoidance Sensor
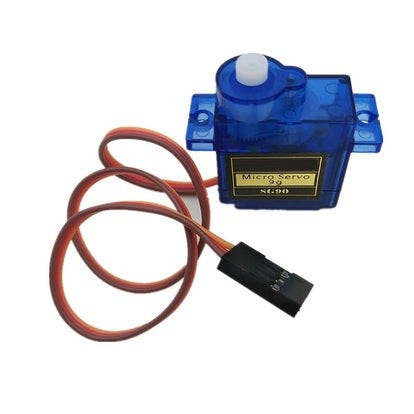
- Servo motor
- Trash Bin
- Jumper wires
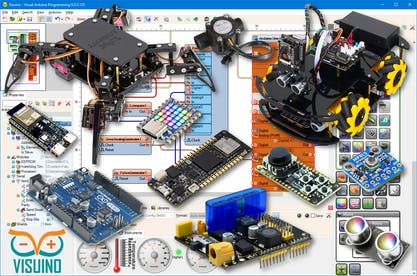
- Visuino program: Download Visuino
Note: You can purchase the Trash Bin online or make your own using the cardboard, there are plenty of tutorials online on how to make one.
Step 2: The Circuit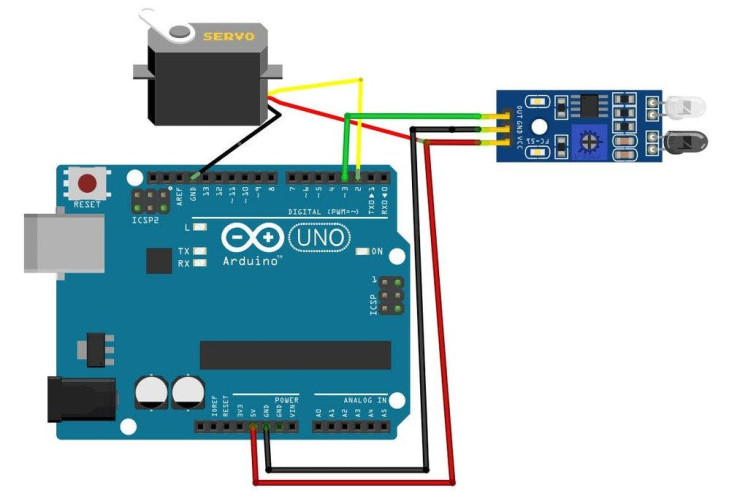
- Connect IR Obstacle Avoidance Sensor pin [VCC] to Arduino pin [5V]
- Connect IR Obstacle Avoidance Sensor pin [GND] to Arduino pin [GND]
- Connect IR Obstacle Avoidance Sensor pin [Out] to Arduino Digital pin [3]
- Connect Servo motor "Orange" (signal) pin to Arduino Digital pin[2]
- Connect Servo motor "Red" pin to Arduino positive pin[5V]
- Connect Servo motor "Brown" pin to Arduino negative pin[GND]
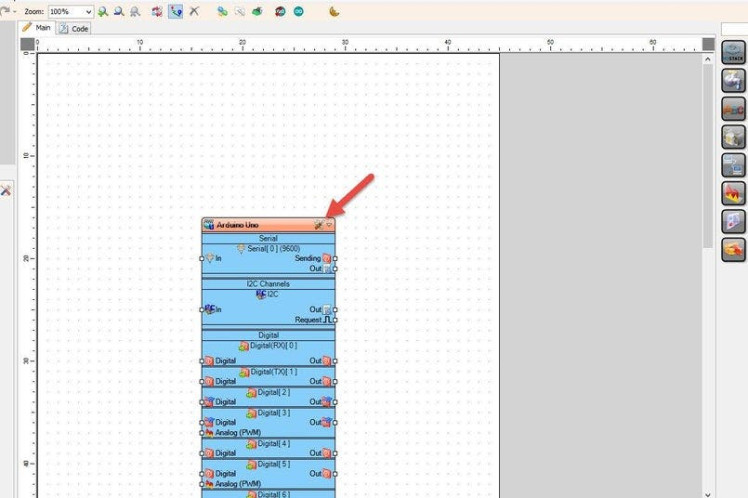
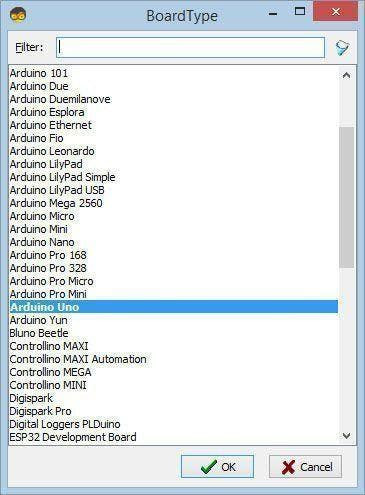
Start Visuino as shown in the first picture Click on the "Tools" button on the Arduino component (Picture 1) in Visuino When the dialog appears, select "Arduino UNO" as shown on Picture 2
Step 4: In Visuino Add & Set Components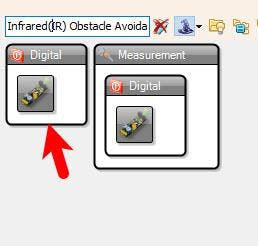
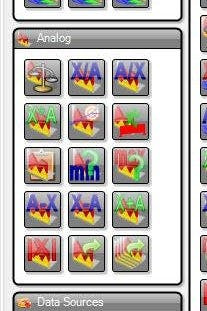
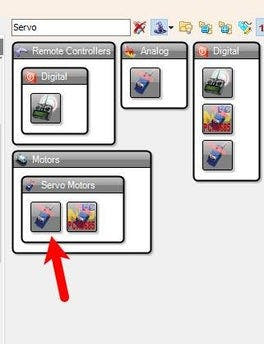

- Add "Infrared(IR) Obstacle Avoidance Sensor" component
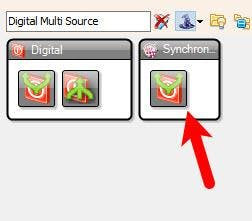
- Add "Digital Multi Source" component
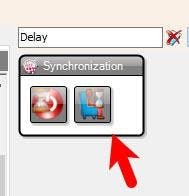
- Add "Delay" component and in the "Properties" window set "Interval" to 3000000 (This component will trigger the closing of the Trash Bin after 3s)
- Add "Analog Value" component and in the "Properties" window set "Value" to 0.7 (This component will set the Value for the servo opening angle, You can adjust this value according to your needs)
- Add another "Analog Value" component (This component will set the Value for the servo closing angle, You can adjust this value according to your needs)
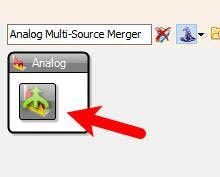
- Add "Analog Multi-Source Merger" component
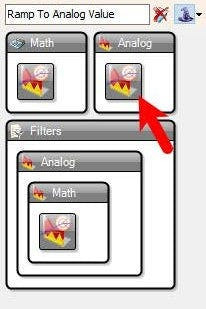
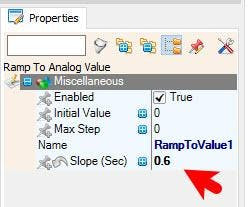
- Add "Ramp To Analog Value" component and in the properties window set "Slope (Sec)" to 0.6 (This component will help us turn the servo motor slowly, You can adjust this value according to your needs)
- Add "Servo" component
1 / 2
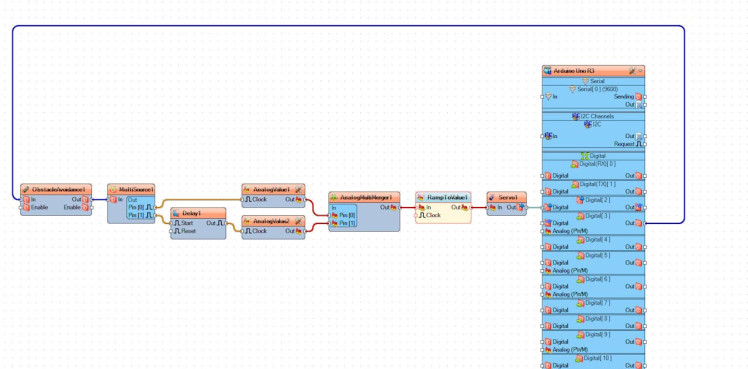
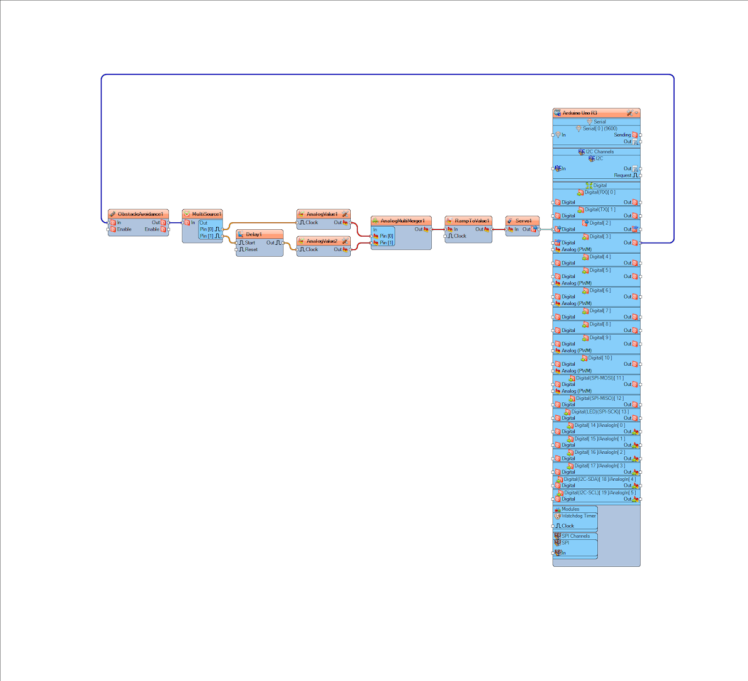
- Connect Arduino Digital pin 3 [Out] to "ObstacleAvoidance1" pin [In]
- Connect to "ObstacleAvoidance1" pin [Out] to "MultiSource1" pin [In]
- Connect "MultiSource1" pin [0] to "AnalogValue1" pin [Clock]
- Connect "MultiSource1" pin [1] to "Delay1" pin [Clock]
- Connect "AnalogValue1" pin [Out] to "AnalogMultiMerger1" pin [0]
- Connect "Delay1" pin [Out] to "AnalogValue2" pin [Clock]
- Connect "AnalogValue2" pin [Out] to "AnalogMultiMerger1" pin [1]
- Connect "AnalogMultiMerger1" pin [Out] to "RampToValue1" pin [In]
- Connect "RampToValue1" pin [Out] to "Servo1" pin [In]
- Connect "Servo1" pin [Out] to Arduino Digital pin 2 [In]
When Sensor detects the obstacle then the "ObstacleAvoidance1" sends the Digital signal (True) to "MultiSource1",
"MultiSource1" will send (True) to "AnalogValue1" and "AnalogValue2" with a Delay of 3s, This means that first the Trash Bin will open by setting the Value 0.7 to the servo, then after 3s it will close by sending the value from "AnalogValue2" to the Servo, Values from "AnalogValue1" and "AnalogValu2" are merged using "AnalogMultiMerger1" that sends the value to "RampToValue1" that will slowly ramp the Analog value to the desired value, with this we are making the Servo motor slowly rotating.
Step 7: Generate, Compile, and Upload the Arduino Code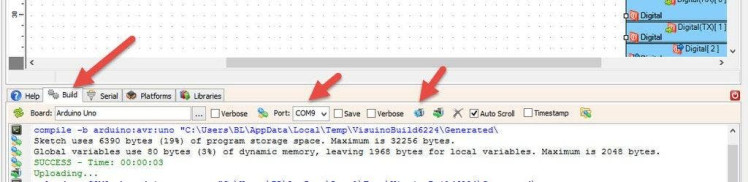
In Visuino, at the bottom click on the "Build" Tab, make sure the correct port is selected, then click on the "Compile/Build and Upload" button.
Step 8: PlayCongratulations! You have completed your project with Visuino. Also attached is the Visuino project, that I created for this tutorial, you can download it and open it in Visuino: https://www.visuino.eu
Schematics, diagrams and documents
Code
Credits
Related products


Leave your feedback...