Lego Clock-ds3231-i2c Lcd
About the project
My first Arduino build.
Project info
Difficulty: Easy
Estimated time: 2 hours
Items used in this project
Hardware components
Story
YET ANOTHER LEGO CLOCK
To make things a little different I put a little extra effort into the video.
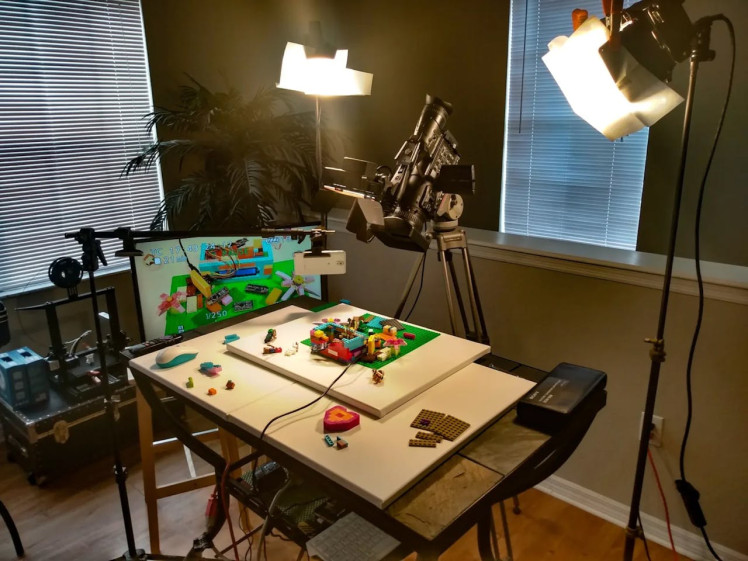
To make things a little different I put a little extra effort into the video.
I know that there are many Lego clock builds but everyone has to have a first build, right? This is my first Arduino build.
Ever since I started tinkering with Arduino a few months ago, I've been itching to build something beyond just breadboard prototypes. This Lego-encased clock is my first "real" project, and it was fun to put together!
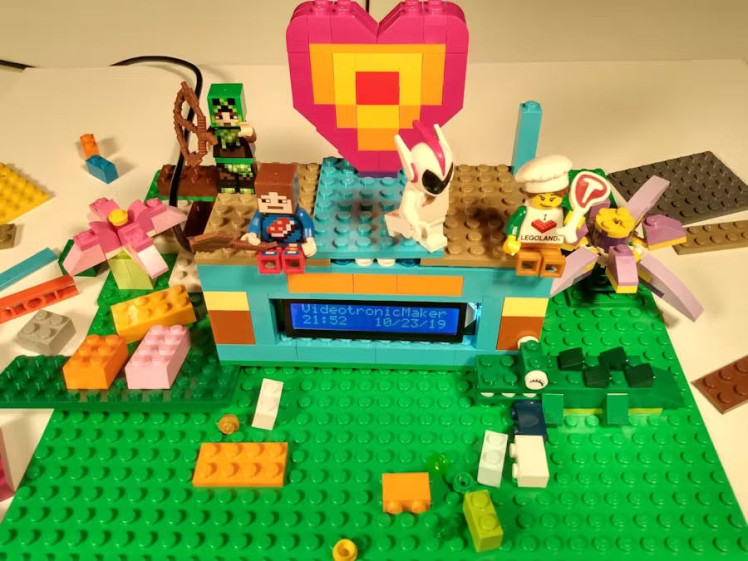
Now, I'll be the first to admit that Arduino clocks aren't exactly a new idea. But the beauty of this project lies in its simplicity and the joy of building with Legos. No 3D printing, no woodworking, no laser cutting required – just good old-fashioned brick-building fun!
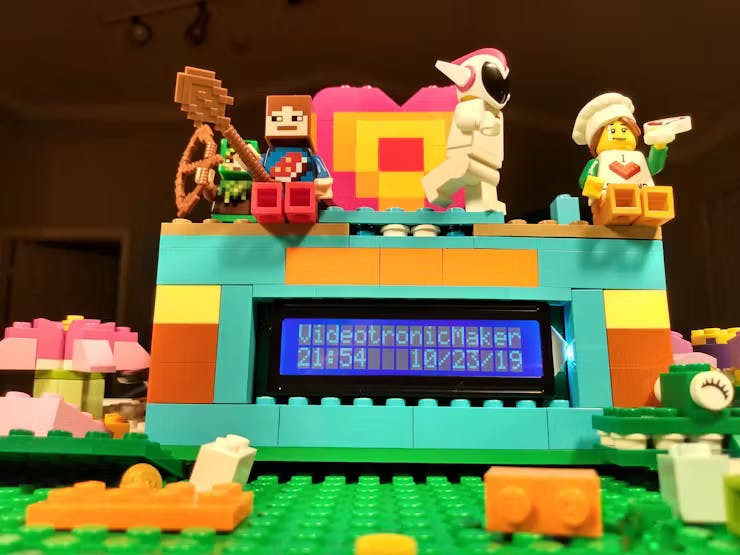
Why Legos?
Besides the nostalgia factor, Legos offer a surprisingly practical solution for housing electronics projects. They're readily available, incredibly versatile, and allow for easy modifications. Need to make space for a bigger component? Just rearrange a few bricks! Plus, let's be honest, who doesn't love the satisfying click of Lego pieces snapping together?
Under the Bricks
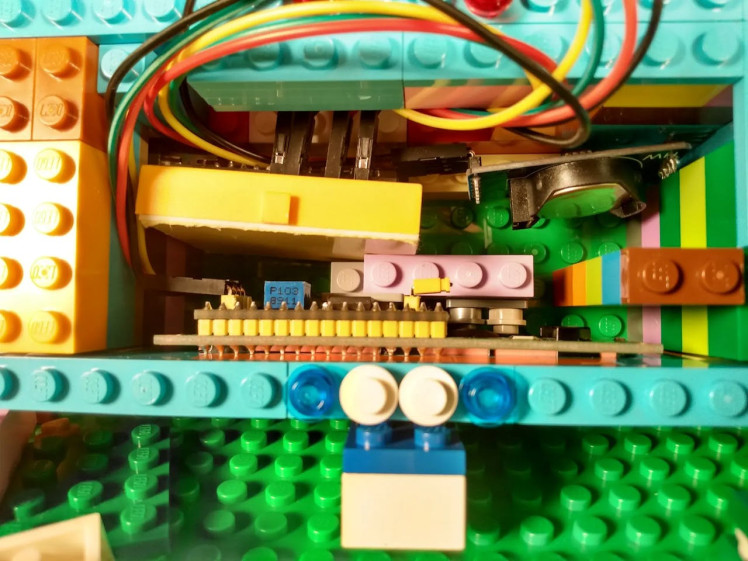
Inside this colorful shell, you'll find:
An Arduino Nano: Perfect for this small-scale project.
A DS3231 Real-Time Clock Module: Keeps time accurately.
An LCD Screen: Displays the time and date (and anything else you want to show!).
A Breadboard: For easy wiring and prototyping.
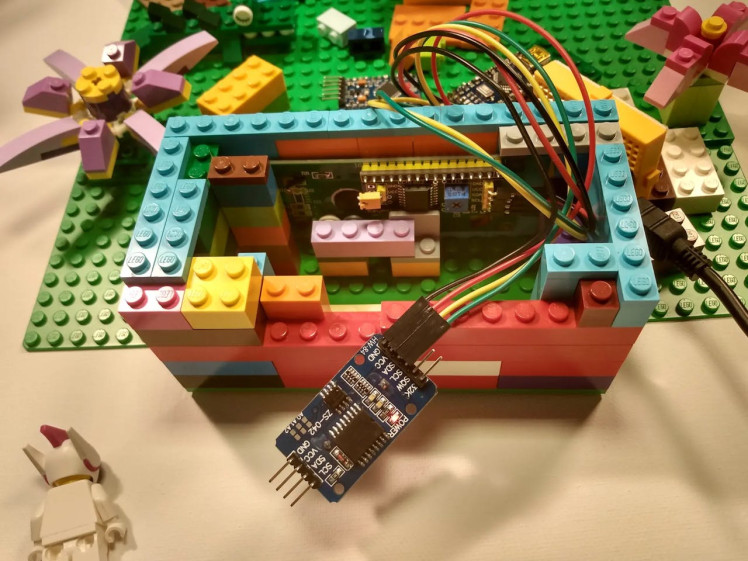
Everything is connected with jumper wires – no soldering required, making it a beginner-friendly build.
Beyond the Basics
This clock is just the starting point. With Arduino, the possibilities are endless! You could add:
- Buttons to control the display or set alarms.
- A buzzer for audible alarms or chimes.
- A temperature sensor for a mini weather station.
- Even an MP3 module to play music!
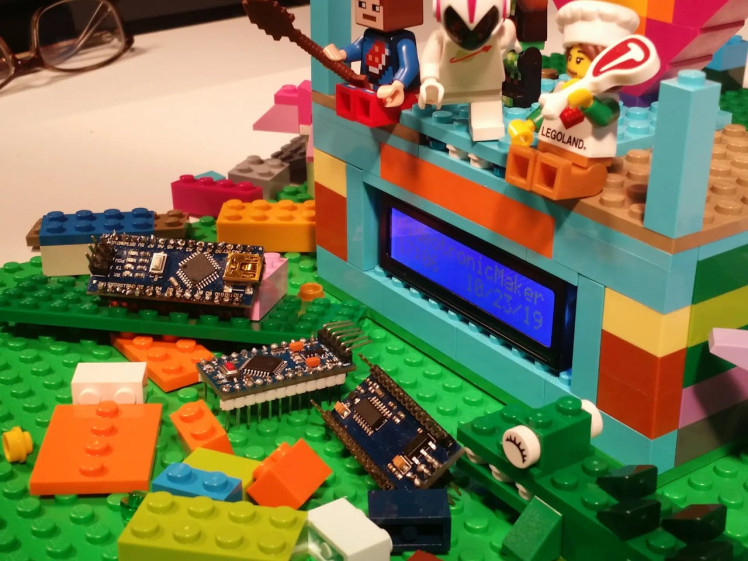
The Fun Factor
This project was a great way to combine my love for Arduino with my kids love for Legos. It's a fun, hands-on way to learn about electronics and coding, and it's something you can even do with your kids.
Want to Learn More?
I've created a couple of videos on my Videotronicmaker YouTube channel showing how I built this clock. Check them out if you're interested in making your own!
That's it for my first project showcase. I hope you enjoyed it!
Code
Credits

VideotronicMaker
Encouraging individuals to unleash their creative potential and master technology through accessible education and hands-on learning experiences. Combining expertise in Video Production, Web Design, Arduino, and Artificial Intelligence tutorials to inspire and guide learners at the beginner to intermediate level. Simplifying complex technical concepts and proving that proficiency can be attained without a formal computer science background.




Leave your feedback...