Infinity Gauntlet
About the project
Making an Infinity Gauntlet to interface with my Artificial Life project.
Project info
Difficulty: Moderate
Platforms: Arduino, Raspberry Pi, SparkFun, Pimoroni
Estimated time: 2 hours
License: GNU General Public License, version 3 or later (GPL3+)
Items used in this project
Hardware components
View all
Story
Fun isn’t something one considers when balancing the universe.
First up I’d suggest that if you haven’t seen Infinity War or Endgame yet then stop reading here and go watch them; there are no real spoilers but there are definitely references to the movies in this article.
Anyway – I saw Endgame the other day and just, oh wow.
I thought I should definitely do an Infinity Gauntlet project – and then it came to me, I can combine it with my Artificial Life Project and have it light up and stuff but also wipe out 50% of the life in the project, perfect synchronicity – is that a word? Google says it is.
So I got on with planning…
Key Goals:
- Have a wearable Infinity Gauntlet that lights up as in the film.
- Interface it with my Artificial Life project.
Where’s the Stone…
Heres the parts being used:
- Infinity Gauntlet
- All the stuff from my Artificial Life Project
- Arduino Pro Mini
- 4x AA Battery Holder
- Push Button x2
- Elegoo LED Kit
- Purple LED
- Orange LED
- USB to Arduino Serial Connector
- AA Batteries
- Wire
- Protoboard
The hardest choices require the strongest wills.
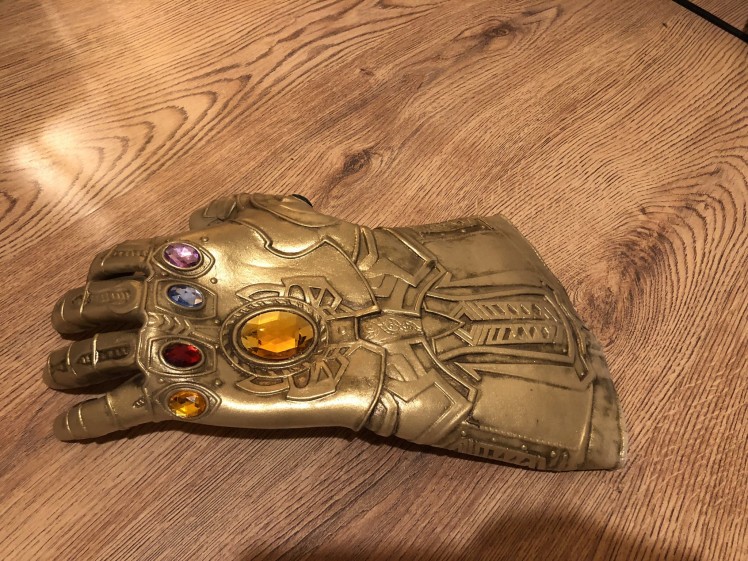
First off the Gauntlet with no tech:
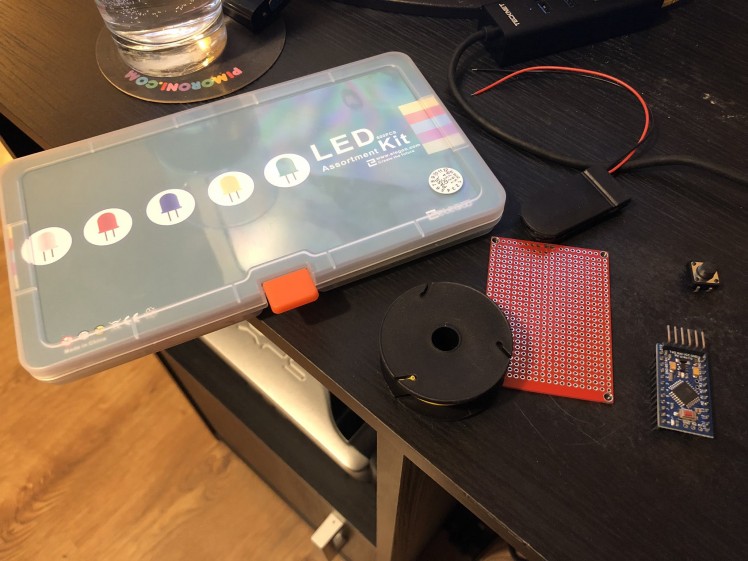
Some of the gear required:
First up soldering in the Arduino Pro Mini to the protoboard:
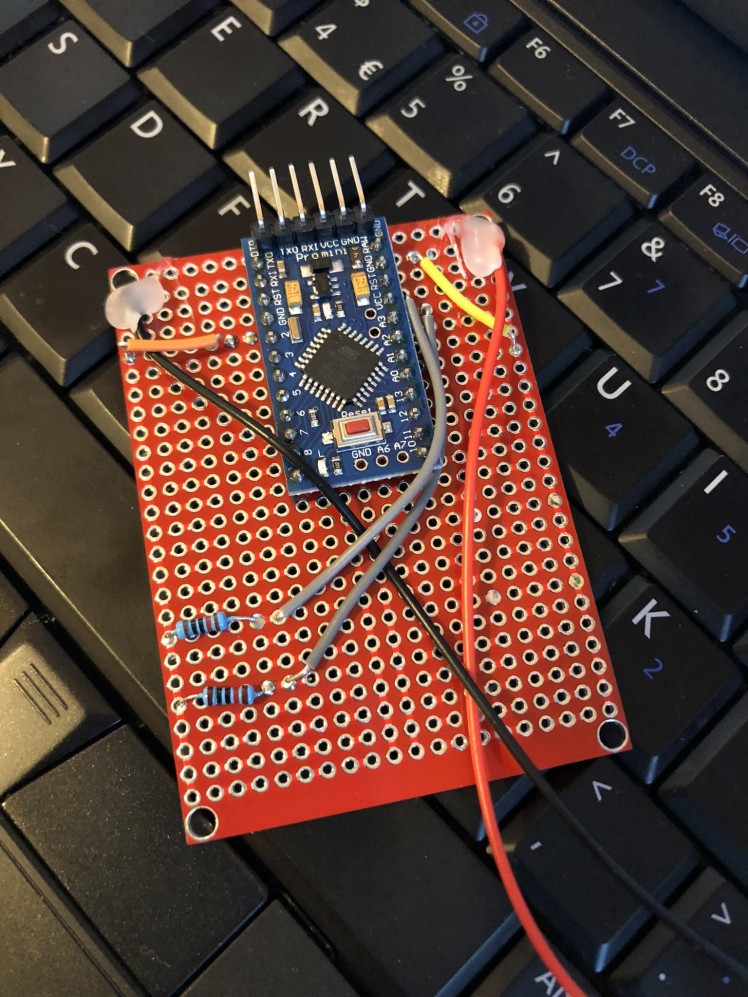
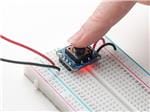
I’ve wired up the buttons there the same as I did with my ASMD Shock Rifle project on Digital pins 2 and 3.
The LED’s were all wired into Digital pins – 9, 8, 7, 6, 5 and 4.
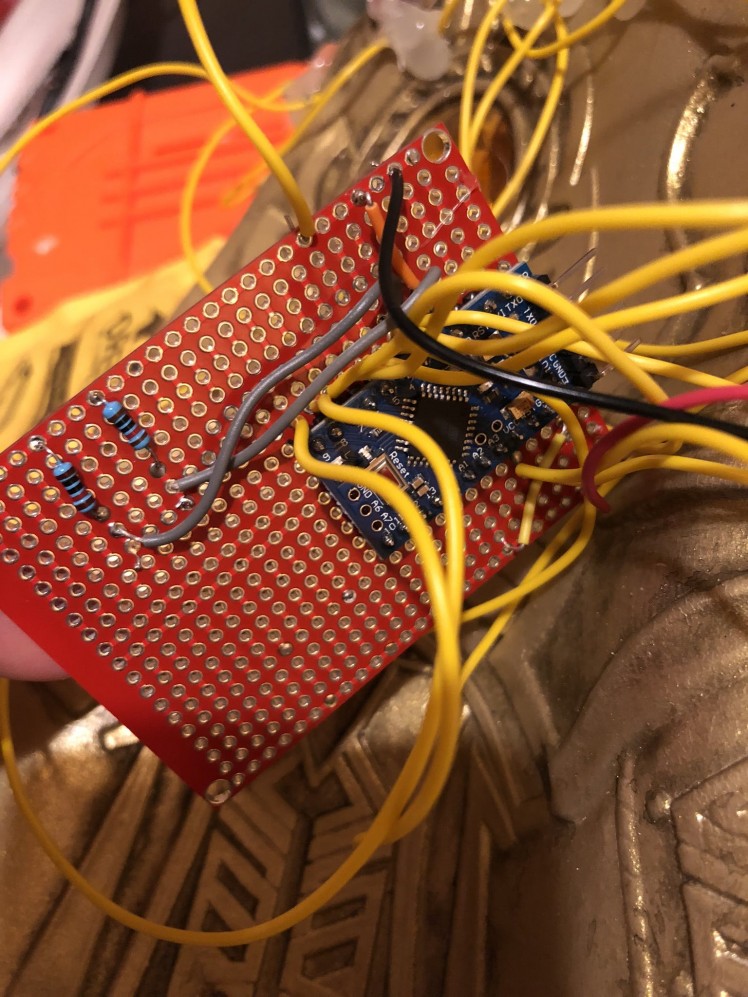
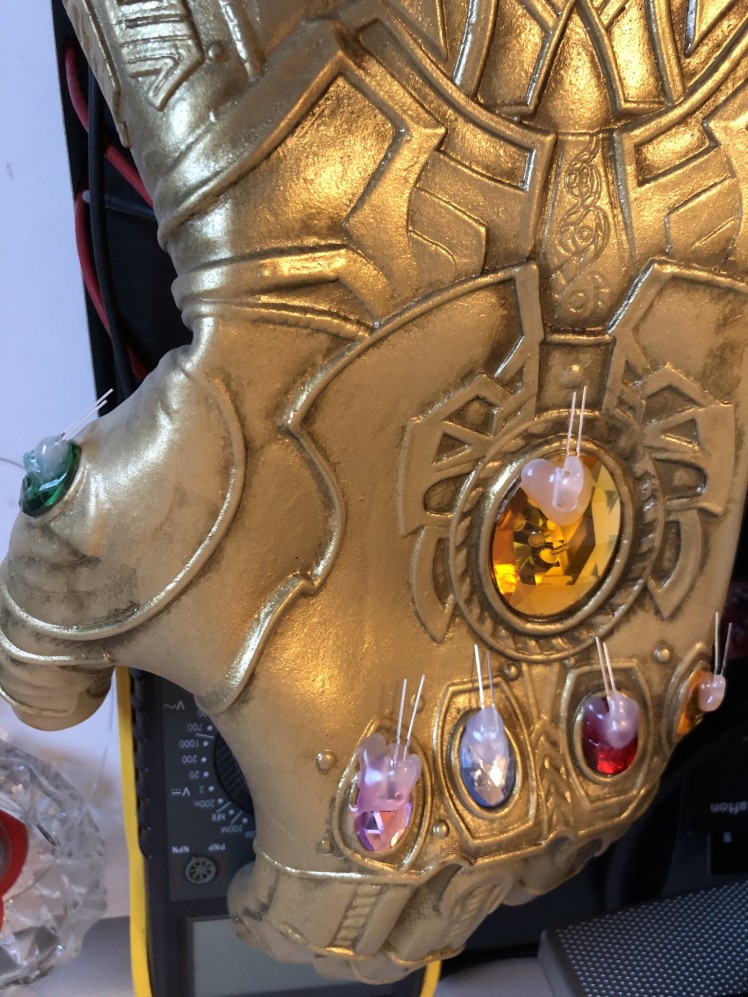
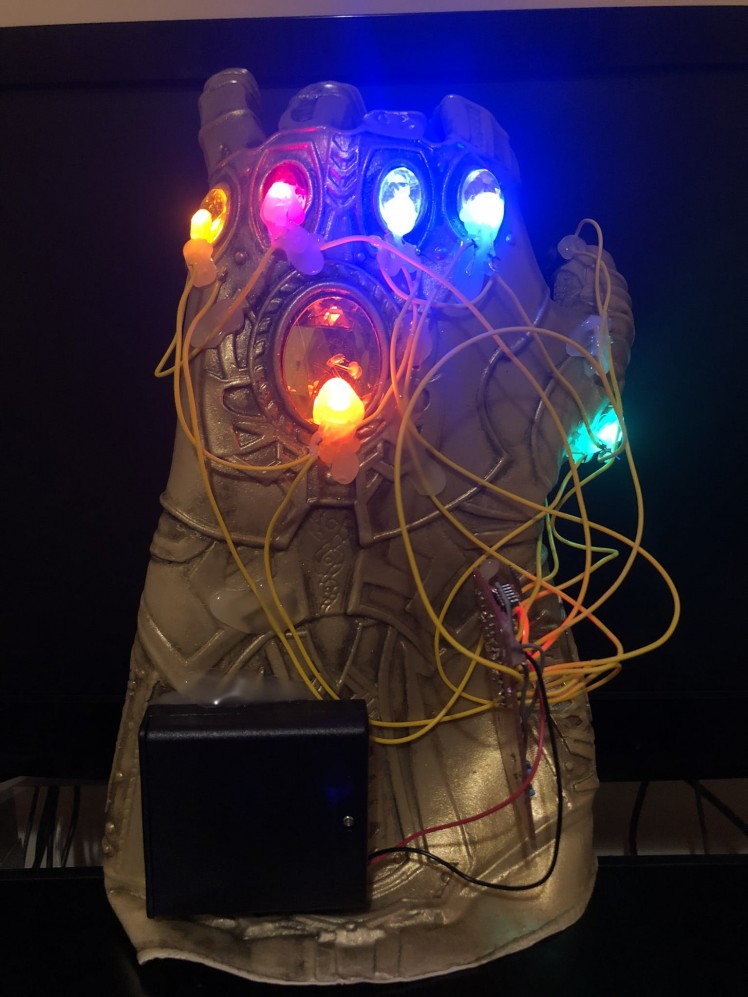
Then gluing in the LED’s onto the Gauntlet itself (I wanted to glue them under the stones to make it tidier but this wasn’t possible as they are opaque on the bottom.
 1 / 4
1 / 4
You can also see the buttons glued onto the finger and thumb there.
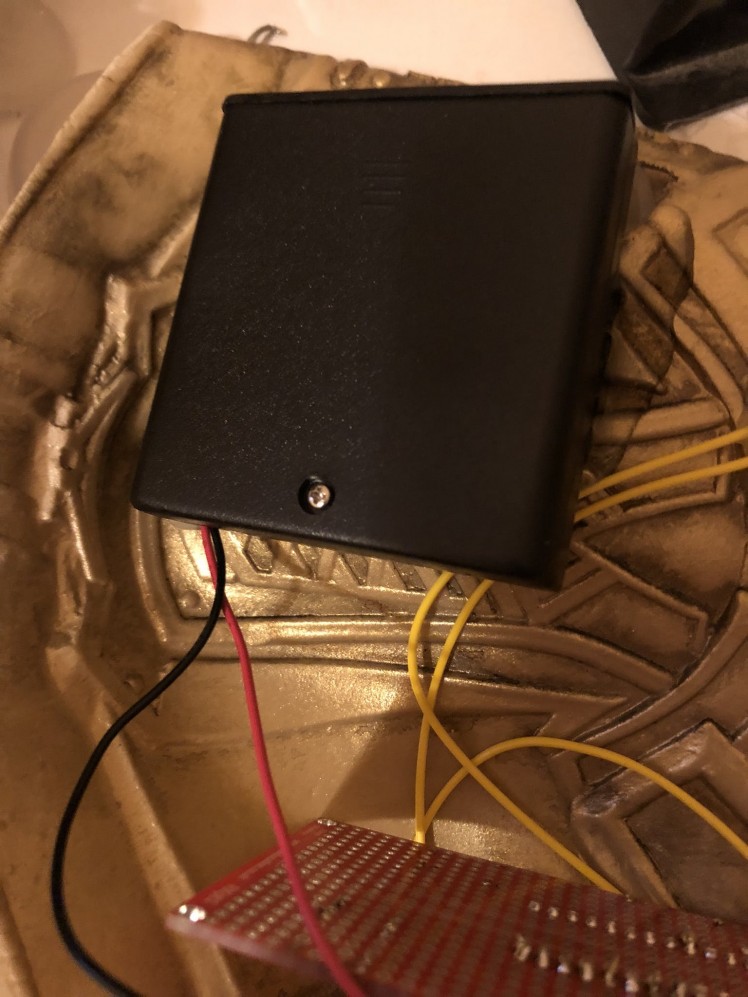
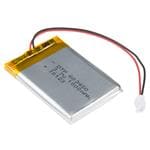
To get enough power to the Arduino when not being powered by USB it needs a battery box glued on for 4x AA batteries:
 1 / 2
1 / 2
A little messy but it works – at least when the code is uploaded…
Perfectly balanced, as all things should be.
You can grab the code for both the Gauntlet and the Artificial Life project at my GitHub.
The code on the Artificial Life side of things has been modified a bit, a few bugs squashed, the drawing of the pixels is now smoother and it also has a function added to respond to Serial messages from the Arduino on the Gauntlet – to know when to wipe out 50% of the entities on the board.
The code for the Gauntlet handles the modes, using one of the fingers to cycle through each of the stones or turn them all on and the button on the thumb for the snap lights all the stones fully – and sends the Serial message to the Artificial Life project.
It will be connected to the Artificial Life Raspberry Pi via a USB TTL connector.
A quick test:
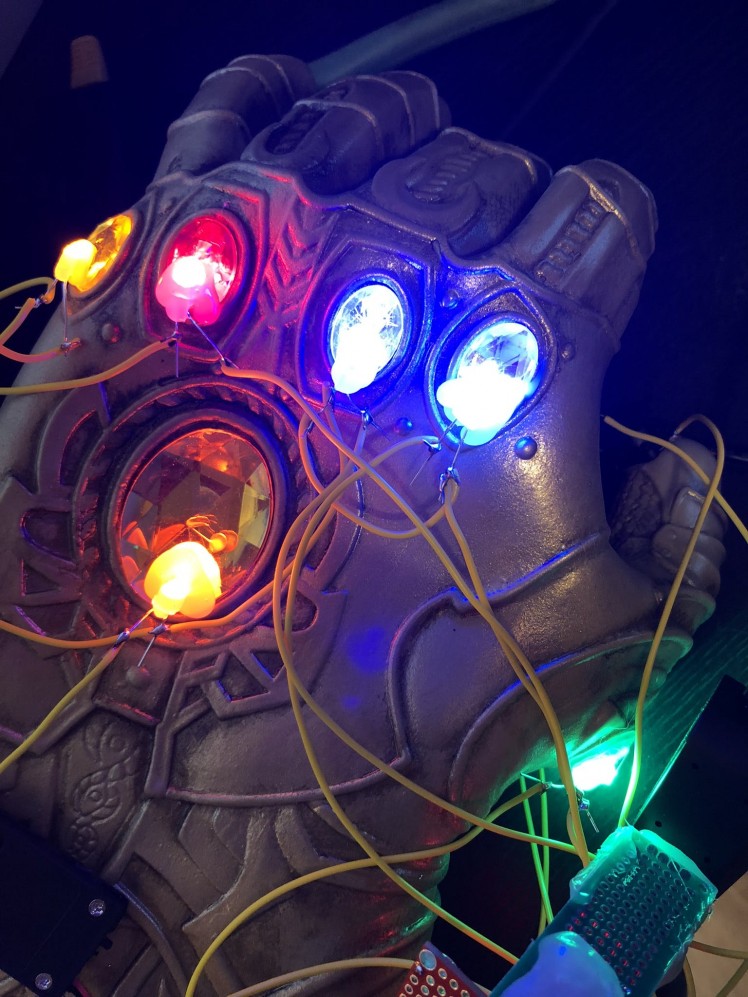
Destiny still arrives. Or should I say, I have.
So this is definitely one of my favourite projects so far, wearing this thing feels awesome and makes me feel powerful – combined with my Thanos top and yeah it’s pretty much nerd heaven.
As you can see above 50% of the entities are successfully and randomly removed from the simulation – they repopulate pretty quickly. You can also see at some points some appear to fade away twice – I think this is where two entities are in the same space on the board, this is a bug I will have to squash in future.
But for now…
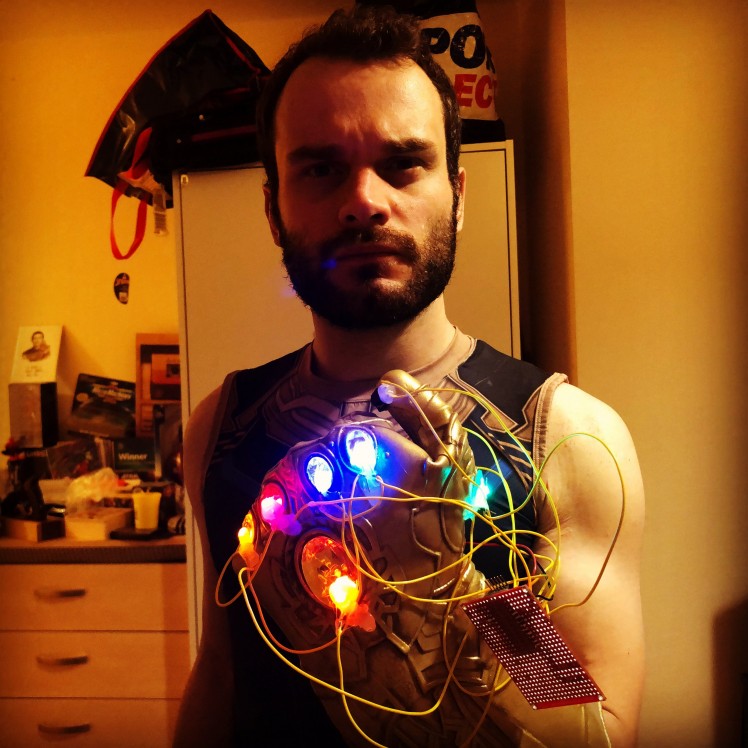

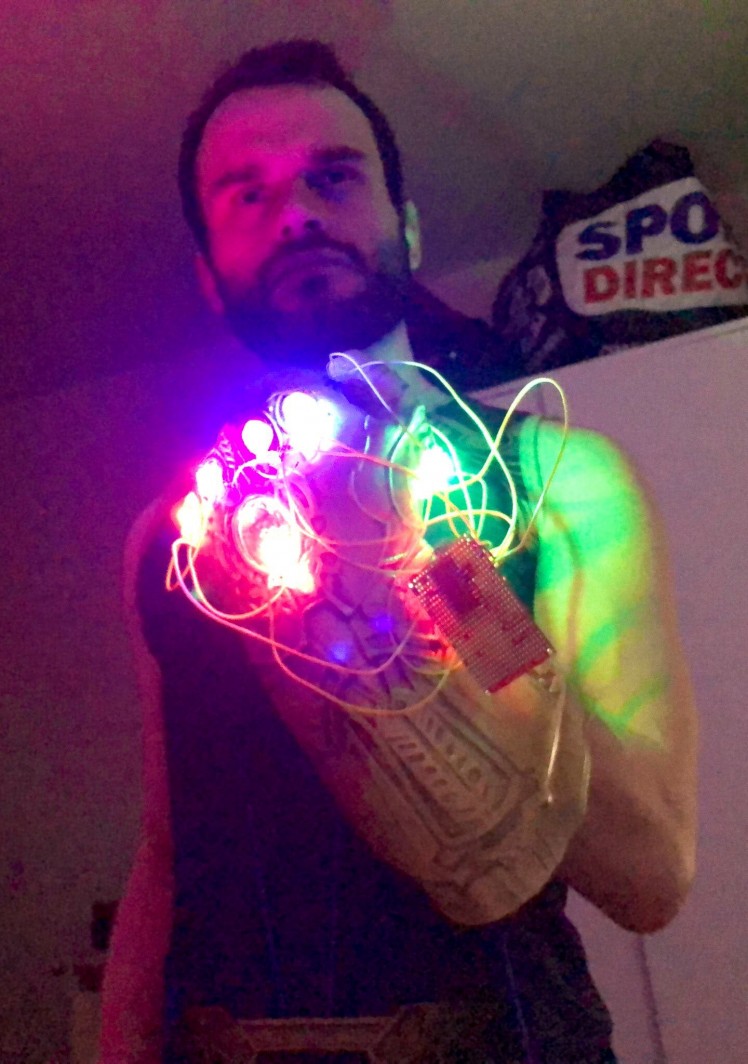
Too. Much. Fun.
You should have gone for the head.
This was a great project and a great addition to my Artificial Life Project.
For future projects – I really need to get tidier on the actual build. But the bright LED’s on this one seem to outweigh the messy wiring for the most part.
Overall this one is really fun to play around with and a lot of fun to interact with the Artificial Life project.
Let me know what you think!
And see you next time.






Leave your feedback...