How To Make Rgbw Lights Using Aluminium Pcb
About the project
What Aluminium PCB is, Why do we need aluminium PCB, How it's made and how to use it.
Project info
Items used in this project
Story
When it comes to making electronics projects, a custom PCB board is always one of the top priorities. This so called Printed circuit boards are usually made from a copper plated FR4 sheet. Now that is absolutely okay for most of our projects. But sometimes it doesn’t fulfill all of our demands. Such as proper Heat transfer. The FR4 material is not a very good conductive of heat. Now imagine your circuit has some high power LEDs which produce a lot of heat. And if we didn’t take care of the excessive heat it might damage the LED.
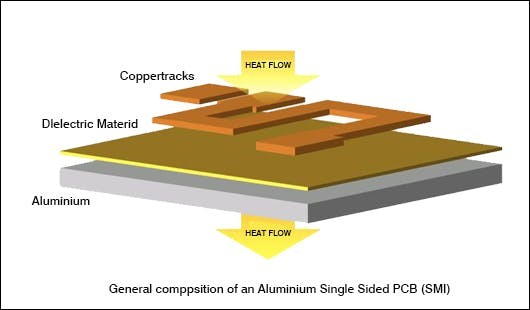
That is why another kind of PCB comes into play. It is called aluminium PCB. It has an isolated base plate made out of aluminium which is a very good conductive of heat. And it is also very affordable. That is why Aluminium PCBs are widely used in LED light bulbs to make the led panel. So let’s have a look how an aluminium PCB works and how to make one.
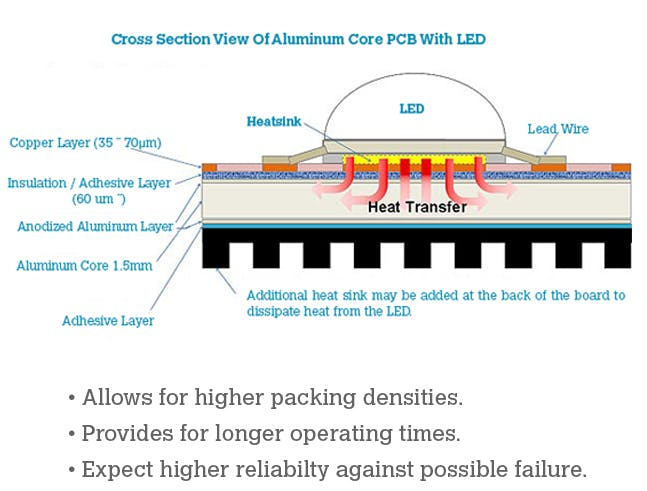
The base material of an aluminium PCB consists of an aluminum core and standard FR4 material. It features a thermal clad layer that dissipates heat in a highly efficient manner while cooling components and increasing the overall performance of the products. It has a copper layer which contains all of our electrical circuitry, on top of the Aluminium substance and a dielectric insulating layer in between.So basically it is a one layer PCB. There also exist multilayer one, but that is not very common.
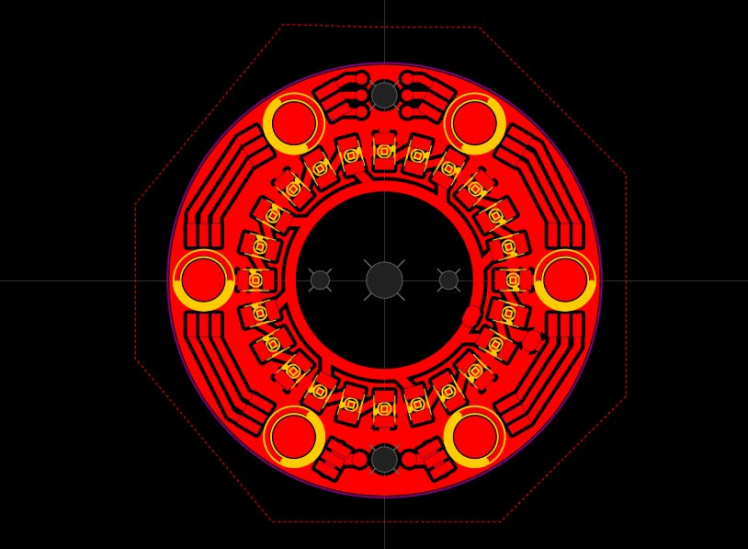
Now, designing this PCB is the same as a regular PCB. You just have to keep in mind that all components should be on one side of the PCB. and nothing will be on the other side.
After designing the PCB I head over to PCBway website for manufacturing the PCB. Ordering PCBs from PCBway is very simple. First go to the Instant quote page and click on quick order PCB then upload your gerber files and select quantity. Then choose single layer and select material type to Aluminium. As we have everything on the top layer so we select that. Finally I choose white color for solder masking and place the order. As you can see it only cost around $26, which is pretty cheap.
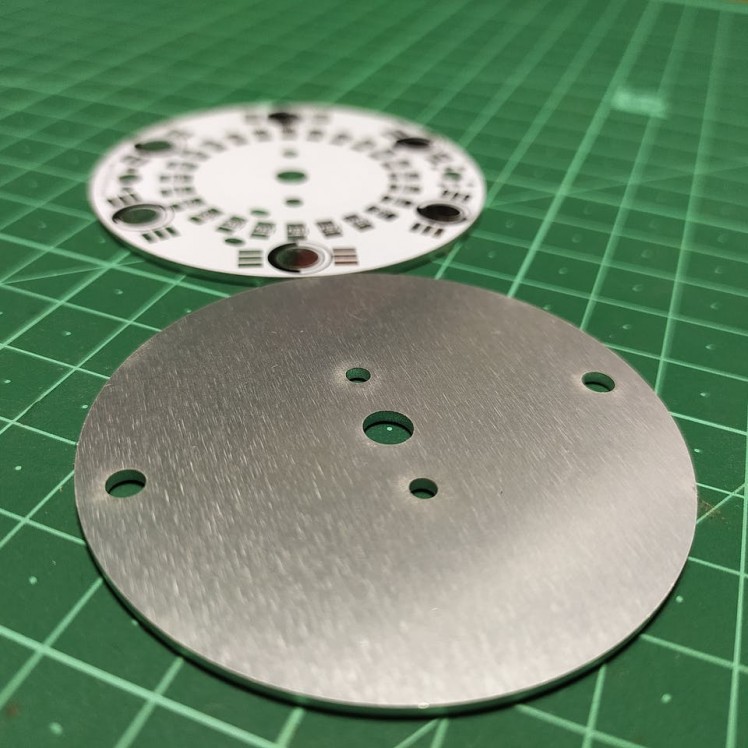
This is how it looks like after manufacturing. The shiny back side is made out of aluminium and all of our circuitry is on the top side.
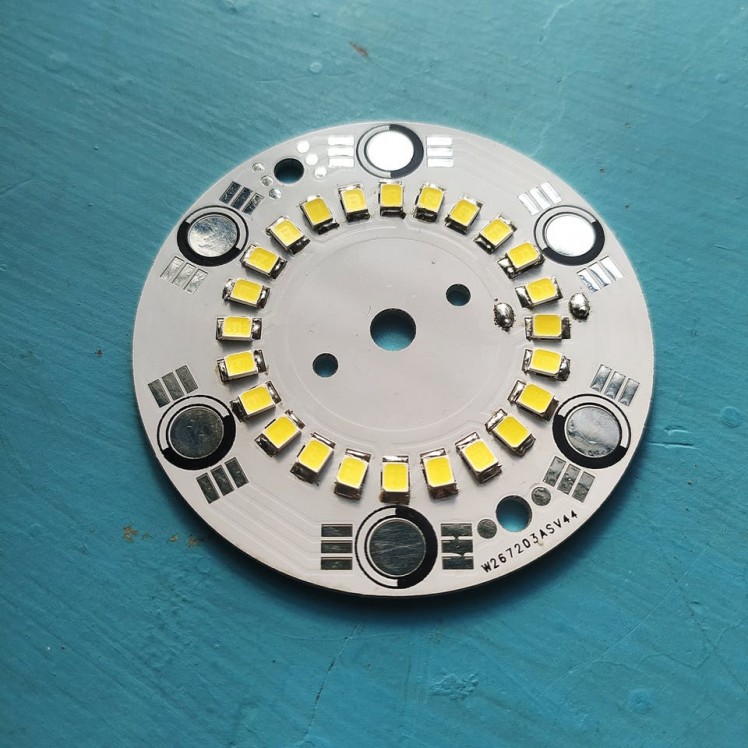
Soldering Aluminium PCBs is not very challenging and your regular soldering iron can get the job done. But things get complicated when it comes to desoldering a component. Because no matter how much you heat the pad the heat gets dissipated almost instantly. So pay attention while soldering.
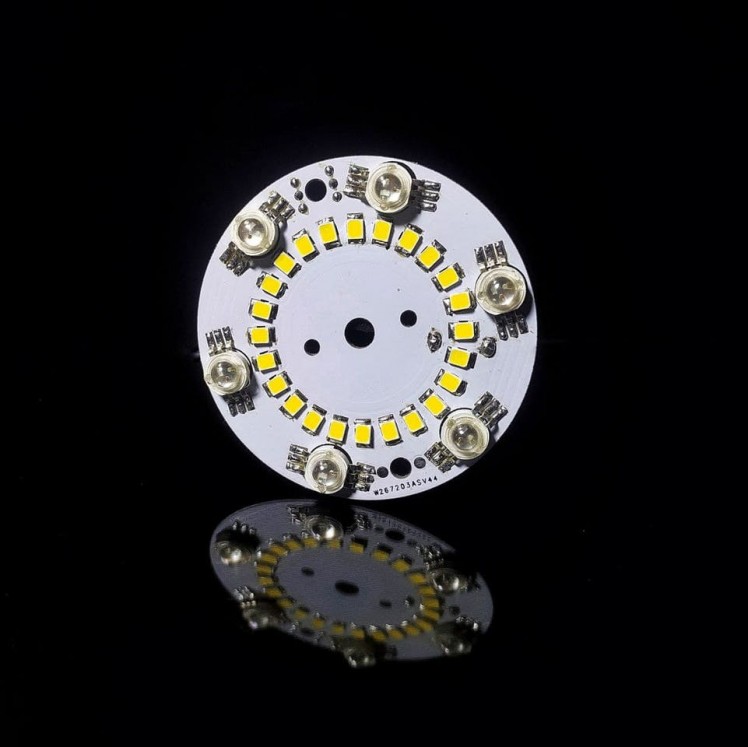
After soldering the PCB looks something like this. It consists of 24 white LEDs of 35 28 package and has 6 RGB LEDs of 3 watts. Originally I planned to run the whole system from 12v. That’s why I put 3 LEDs in series but later it turns out that the LEDs I currently have runs on a much higher voltage, preferably 8 to 12 volts. A good way to test this is by using a multimeter. If it glows a little then it can be driven by 3 to 4 volts. So now I need at least 24 volt to light up the white LEDs. That’s why I have to use a boost converter to step up the 12 volt input to 24 volt.
I also made a little LED driver by using 4 N channel mosfets and an arduino to drive the LEDs. The aluminium base plate absorbs the heat generated by the leds and keeps them cool and also increases their lifespan.


Leave your feedback...