Hexabitz Water Level Indicator
About the project
Hexabitz Water Level Indicator is a simple project to detect the water level in tank at certain level with Hexabitz modules.
Project info
Items used in this project
Hardware components
Story
Water Level Indicator is a simple project to detect the water level in tank at certain level.
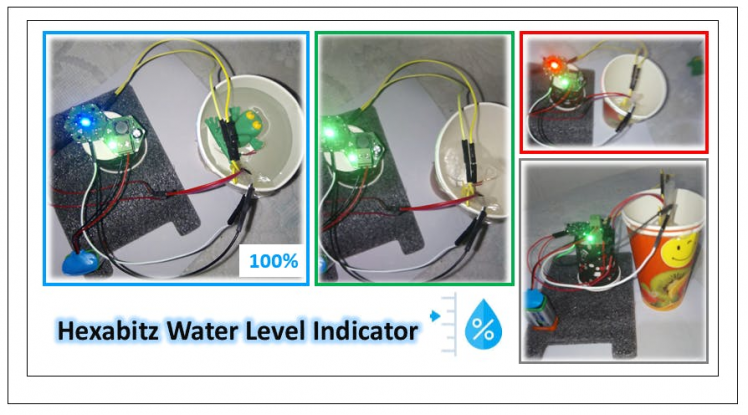
In this project, we will see using wires to activate a RGB LED Hexabitz Module. When the water reaches certain wires, the RGB LED Hexabitz Module will glow with a color indicating a specific water level.
Step 1: Getting the Parts and Tools
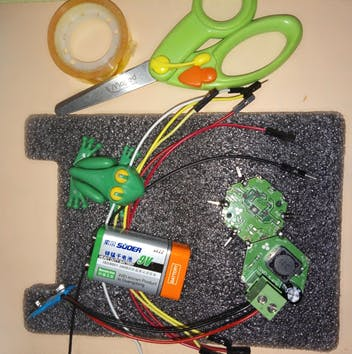
We need RGB Led Hexabitz Module (H01R01), 3.3V/1A DC-DC Power Supply (H03R00), FTDI USB to UART Serial cable, Jumper Wires for measuring the water level, a 9-volt battery and a battery connector are required to provide energy to the water level indicator.
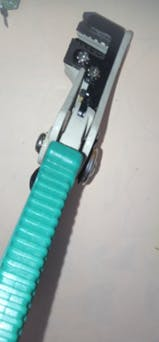
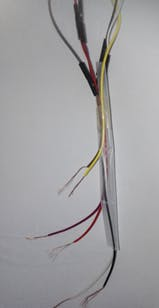
Cut the 6 jumper wires to the different lengths you want to measure. The length of the wires that you need depends entirely on the different water levels that you are planning to measure. Then you can insert the wire in plastic tube.
Step 2: CLI Connection
1. Install MobaXtrem from here: https://mobaxterm.mobatek.net/download.html
2. Connect the FTDI USB to UART Serial cable to the USB hub.
3. Solder a header connector to one of the power ports of module H01R00.
4. Connect the red wire of the FTDI cable to H01R00 module power port top side.
5. Connect the black wire of the FTDI cable to module power port bottom side.
6. Connect the yellow wire of the FTDI cable to module port P2 top side.
7. Connect the orange wire of the FTDI cable to module port P2 bottom side.
8. You should see a single red indicator LED blink on the module.
9. Open MobaXtrem and choose the following settings:

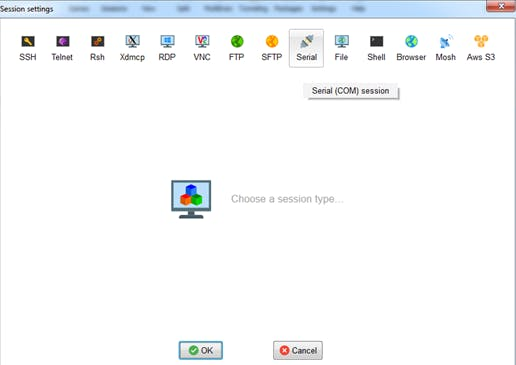
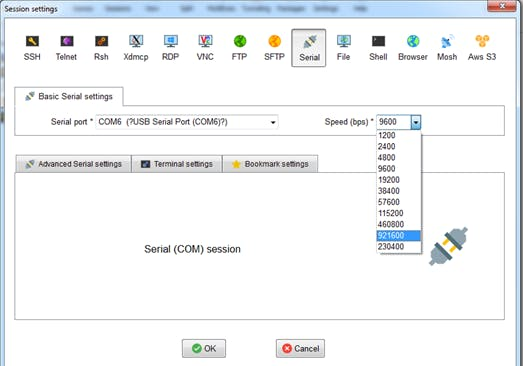
10. Press enter in the Commands window, you should see BOS CLI welcome message. You can use backspace if you misspell a letter.
11. Type ping (and press enter), you will see a single indicator LED blink on the module and a response message on the terminal.
12. Type help to view a list of available Commands.
13. Type status to view a report on module ports, firmware, etc.
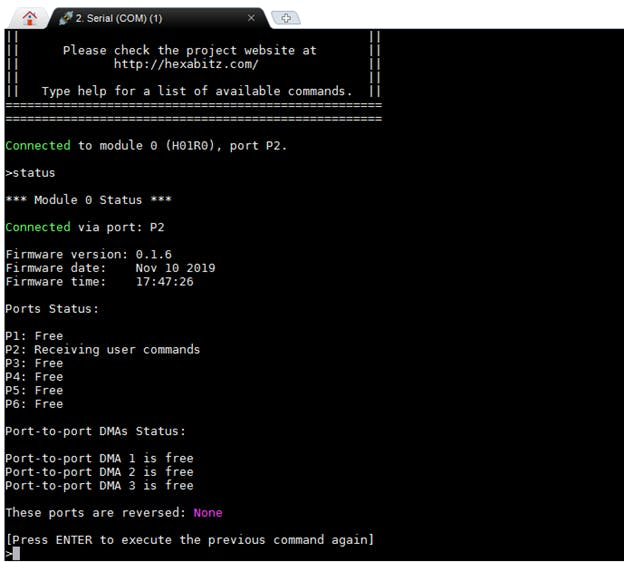
14. Solder two pins to port P4, P6, P1 of the H01R00 module then connect with jumper wires.

15. Type add-button to add two wire for each water level
(p1 (50%) - p4 (100%) - p6 (<10%).
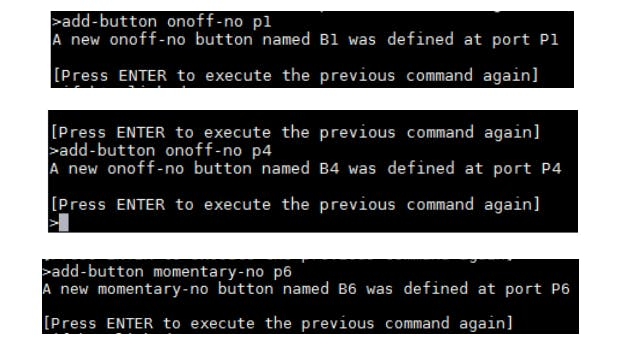
16. Type status again and you will see the change.
Step 3: Command Snippets
1. Type the following commands each on a separate line followed by pressing enter:
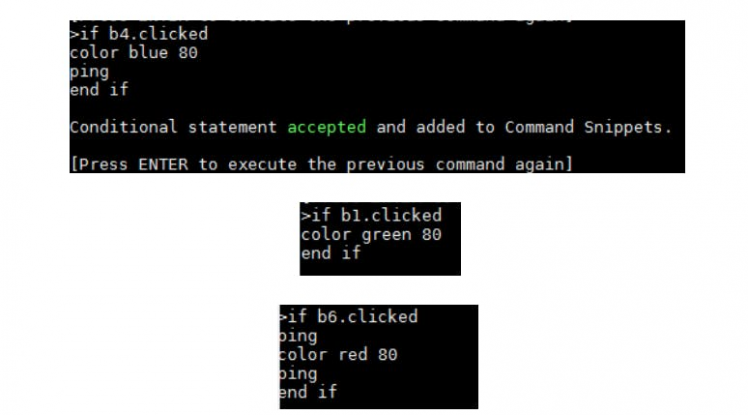
2. Type snip, to view the list of Command Snippets, then type del-snip 1 to delete Snippet 1. Snippets and button settings are stored permanently. If you power cycle the module, they are still there.
3. You can also activate and deactivate (pause) a Snippet without deleting it.
Step 4: Attaching the Battery and testing the water level indicator
Using DC-DC power module (H03R0) with 9V battery to power system.
· Note that it's better to write Command Snippets using power from USB cable connection without DC-DC power module (to avoid power confusion and reset states). Once done, you can insert the battery and then remove the USB cable.
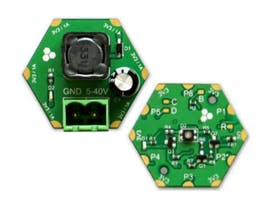
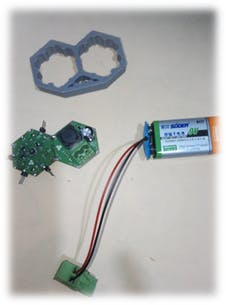
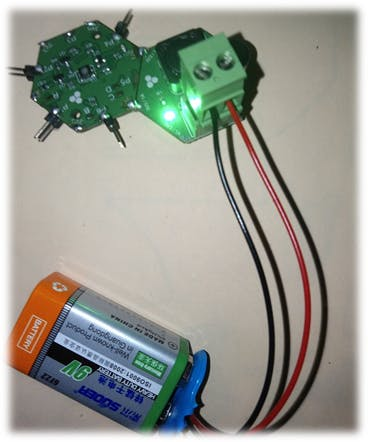
Step 5: Test the water level indicator.
Place the sensing wires of the water level indicator into a glass, cup, or container. Slowly fill up the cup with water and watch as the RGB LED indicates when the water level is lowest and how as the water level rises, the LED with the shortest wire shows when the water is at the highest point.

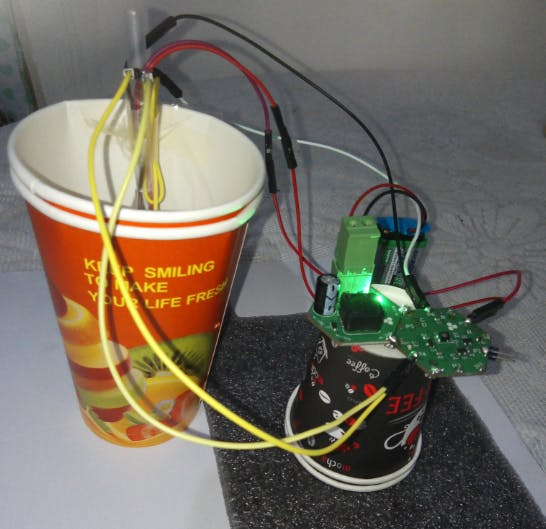
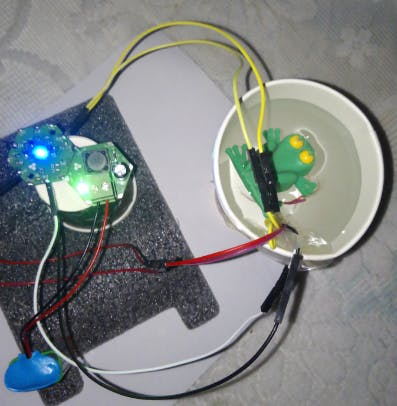
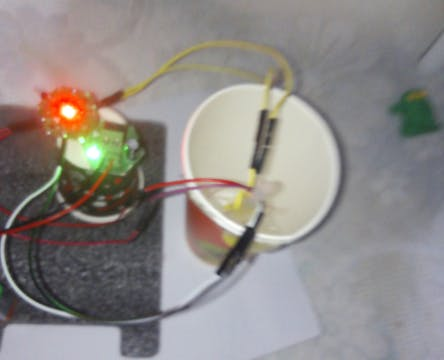
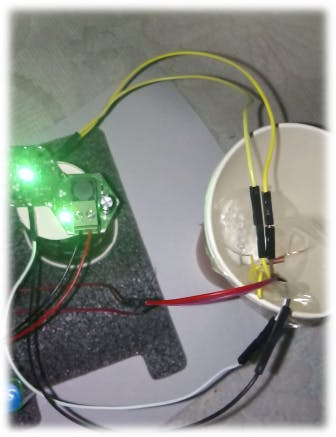
In addition, we can design "Hexabitz Electroconductivity Meter" as the same Hexabitz Water Level Indicator steps.
Electroconductivity Meter is a simple tool to measure conductivity in water and other materials!
This meter is made of two wires separated by an air gap. The air gap allows us to test how well a material or substance conducts electricity.
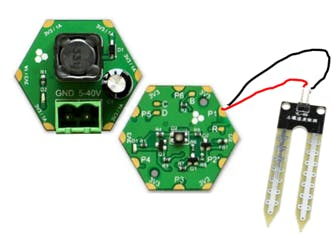
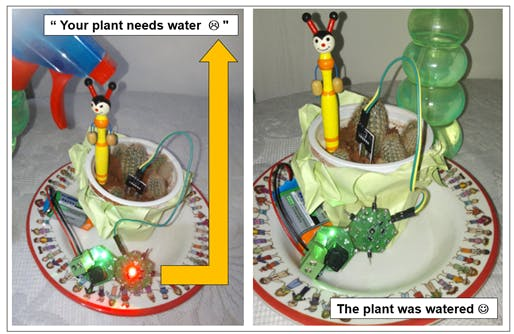
Moreover, we can design "Hexabitz Plant Monitoring System" using the soil sensor.
Soil Moisture Sensor is a simple breakout for measuring the moisture in soil and similar materials. The two large exposed pads function as probes for the sensor, together acting as a variable resistor. The more water that is in the soil means the better the conductivity between the pads will be and will result in a lower resistance.
References:
https://hexabitz.com/wiki/#command-snippets
https://www.wikihow.com/Make-a-Water-Level-Indicator
https://www.hackster.io/HackingSTEM/hacking-stem-electroconductivity-meter-a82c58


Leave your feedback...