Halloween Themed Vending Machine
About the project
In this project, we created a halloween themed chocolate vending machine.
Project info
Items used in this project
Story
Introduction
He looks scary, he seems dangerous but Harry 2.0 is actually a very generous chocolate vending machine. Every year the Techies at Mouser build something cool and fun for Halloween to place in the office for the employees to enjoy...or be frightened of. Replacing last year’s Harry, Harry 2.0 comes with a lot of new and exciting upgrades. By popular demand, we decided to write an article about how Harry 2.0 works and what lurks behind the scenes. If you are interested to know how Harry 2.0 uses gesture recognition, a robotic arm and a fully 3D-printed vending machine mechanism to provide our co-workers with delicious chocolates, keep reading!
Project Materials and Resources:
Access the project's BOM on Mouser's website for the required component:
- Crowd Supply - Single Board Computers Obsidian ESP32
- DFRobot - Multiple Function Sensor Development Tools Gesture & Touch Sensor
- Seeed Studio - Stepper motor with driver pack
- Digilent - Breadboard
Step 1:
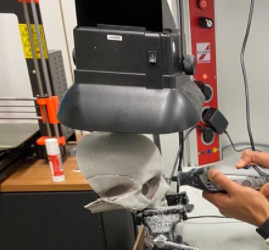
The first step is to get a plastic skeleton (or 3D print yourself), cut the skull in half and drill two holes through his eyes.
Step 2: Chocolate Vending Machine
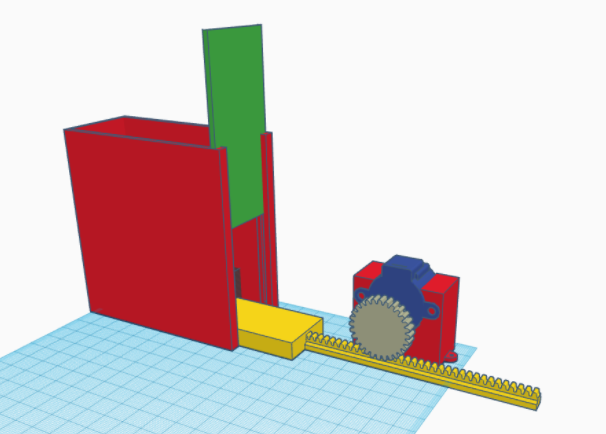
Build the vending machine mechanism as follows:
- Place the skull in a cardboard box
- 3D-print the parts here
- Assemble the parts as shown in fig below
- Adjust height of the 3D-printed mechanism to the height of the skull
- Place the chocolates in the chocolate compartment
- Optional: Add LEDs near his eyes
Step 3: Circuitry
Connect the circuitry as follows:
Vending machine - Stepper Motor Driver:
- IN1 -> IO2 (Obsidian)
- IN2 -> IO4 (Obsidian)
- IN3 -> IO5 (Obsidian)
- IN4 -> IO13 (Obsidian)
- VCC -> 5V (Obsidian)
- GND -> GND (Obsidian)
Arm - Stepper Motor Driver:
- IN1 -> Pin 15 (Obsidian)
- IN2 -> Pin 33 (Obsidian)
- IN3 -> Pin 19 (Obsidian)
- IN4 -> Pin 23 (Obsidian)
- VCC -> 5V (Obsidian)
- GND -> GND (Obsidian)
Gesture Sensor:
- Tx pin -> IO3 (RXD pin - Obsidian)
- Rx pin -> IO1 (TXD pin - Obsidian)
- VCC -> 5V (Obsidian)
- GND -> GND (Obsidian)
Step 4: Code
Flash the Harry2_halloween_2021.ino code to your Obsidian board. You'll find the source code for this project in our Mouser Electronics Github repository. You'll need to adjust the angles of the stepper motor in the code, as this depends on how you fixed their position in the box.
The workflow is as follows: Whenever a hand gesture occurs, the arm will move 45° (positioned under the mouth) and the vending machine stepper motor will push one chocolate bar out.
Here is the final look:

Authors:
Hassan Kamel joined Mouser Electronics in 2021 as a Working Student. He graduated with a Bachelor’s degree in Electrical Engineering from the Technical University of Munich in 2020 and is now pursuing a Master’s degree at the same university. With a great passion for electronics, Hassan creates technical content in the form of projects and tutorials using the latest products sold at Mouser.
Rafik Mitry joined Mouser in 2019 right after finishing his Master's degree in Electrical Engineering at the Technical University of Munich where he also worked in research in the field of energy harvesting for 3 years. As a Technical Marketing Engineer at Mouser, Rafik creates unique technical content that reflects current and future technology trends in the electronics industry. Besides keeping up with the latest technology trends, Rafik is an avid lover of aviation and tennis.
Code
Credits

Mouser Electronics
Mouser Electronics is a worldwide leading authorized distributor of semiconductors and electronic components for over 1,100 manufacturer brands. We specialize in the rapid introduction of new products and technologies for design engineers and buyers. Our extensive product offering includes semiconductors, interconnects, passives, and electromechanical components.


