Getting Started With Raspberry Pi Pico
About the project
Getting started with Raspberry Pi Pico and OLED Display
Project info
Items used in this project
Story
Got couple of Raspberry pi pico boards last week. I was curious to try out some example on this pico board. Initially thought about coding with 'c' latest I decide to use micropython. This is going to be my 1st project with micropython.
About PicoTo know about the board details, you can find the spec here. some are
- Dual-core Arm Cortex-M0+ processor, flexible clock running up to 133 MHz
- 264KB on-chip SRAM
- 2MB on-board QSPI Flash
- 26 multifunction GPIO pins, including 3 analogue inputs
- 2 × UART, 2 × SPI controllers, 2 × I2C controllers, 16 × PWM channels
- Supported input power 1.8–5.5V DC
- Temperature Sensor
The datasheet can be found here
Thonny Python IDEThonny IDE is simple coding editor for micropython. Just create new python file (main.py) and write your code then save it on Pico. For more https://thonny.org/

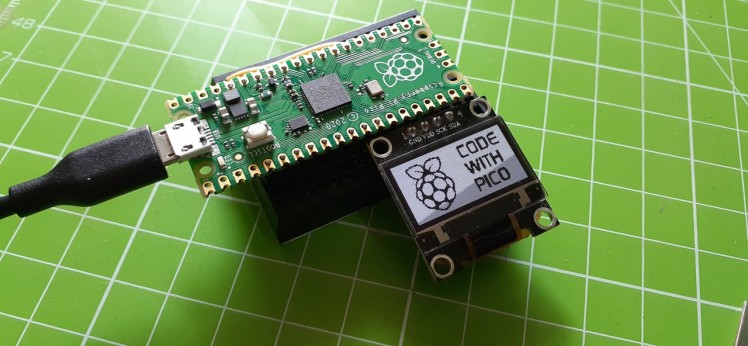
I have used the 128x64 size OLED display with I2C interface. This display has the ssd1306 controller. Download the driver from here.
Also used the GPIO Pin GP25 for LED1.
I2C pins SCL=GP9 and SDA=GP8
Just initialize the I2C and send oled picture data (1024 bytes)
i2c = I2C(0) # SCL=Pin(GP9), SDA=Pin(GP8) oled = SSD1306_I2C(WIDTH, HEIGHT, i2c)print("OLED Display Initilized")oled.fill(0)#oled.text("Rasp Pi Pico",1,1)#oled.show()oled.draw_image(logo)The LED blinks are the rate of 2hz, the OLED displays the picture
For instant support : https://www.instagram.com/embeddedclub/
checkout here for more tutorials : https://www.youtube.com/embeddedclub

Published by:
Ashok R


Leave your feedback...