Game Controller Production Based On Arduino Pro Mi
About the project
The project aims to develop a game controller using Arduino Pro Mini, a compact and versatile microcontroller board.
Project info
Difficulty: Easy
Platforms: Arduino
Estimated time: 1 hour
License: GNU General Public License, version 3 or later (GPL3+)
Items used in this project
Story
The project aims to develop a game controller using Arduino Pro Mini, a compact and versatile microcontroller board. The game controller will be designed to provide an enhanced gaming experience for users, with customizable buttons and functions.
The Arduino Pro Mini will serve as the core of the controller, providing the necessary processing power and connectivity. It will be programmed to interpret user inputs and transmit them to a gaming console or computer via a wired or wireless connection.

![]()

Details
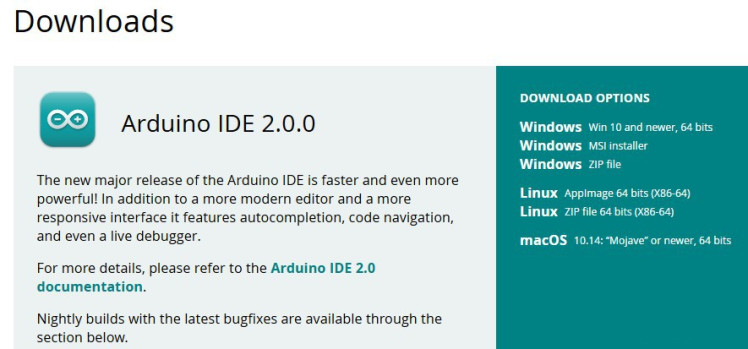
Step1 .Arduino IDE download and installation
Download the latest version of Arduino IDE from Arduino official website Software | Arduino and install it.

Step2. Arduino Pro Micro driver installation
Note that the Arduino Pro Micro does not have the LED_BUILTIN pin, you can use the LED_BUILTIN_RX or LED_BUILTIN_TX pin to do the LED blinking experiment, and these two pins are connected to the LED on the development board hardware.
Step3. Program compilation and download
Step4. Routine use
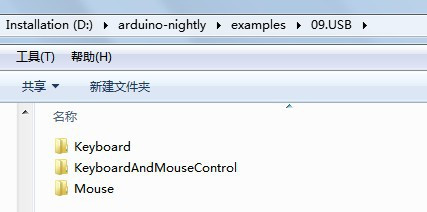
The Arduino Pro Micro uses the ATMEG32U4 chip, which can realize the USB HID function. The location of the USB routine is:

Step5. Install the Joystick library
Download from github or use the ArduinoJoystickLibrary-master.zip installation package provided by the group owner.
github URL:
https://github.com/MHeironimus/ArduinoJoystickLibrary
Step6. gamepad use
The development board has already burned the gamepad firmware by default. The firmware contains 12 buttons and two joystick functions, which can play most games smoothly. After getting the gamepad and connecting it to the computer, if the Arduino Pro Micro development board driver has been installed correctly, the device manager will display the following:
Step7. Open the companion chick simulator software and download Super Mario or Tetris games.
In the game, the six keys of "Up", "Down", "Left", "Right", "Select" and "Start" are mainly used, and these six keys are mapped to the gamepad respectively. The mapping method is to select "Up". ” key and then press a button on the gamepad.


