Dr Who Tardis Night Light With Google Assistant
About the project
Dr Who Fans, So I built a smaller version of this about 20cm high for my little boy a while ago and thought there needed to be a daddy sized one in the house.
Project info
Items used in this project
Hardware components
Story
Step 1: Laser Cutting
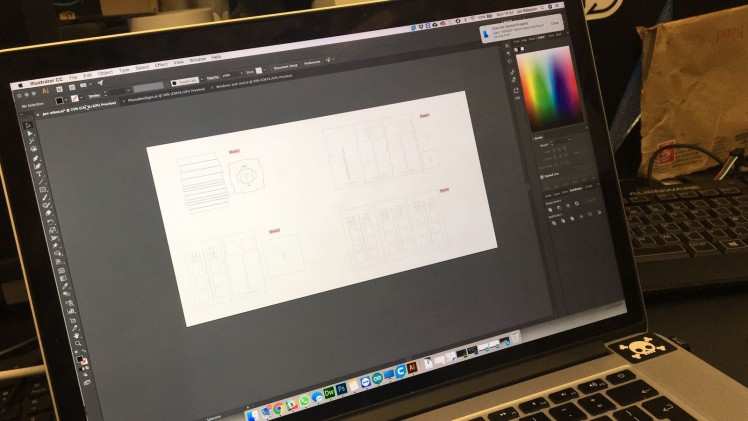
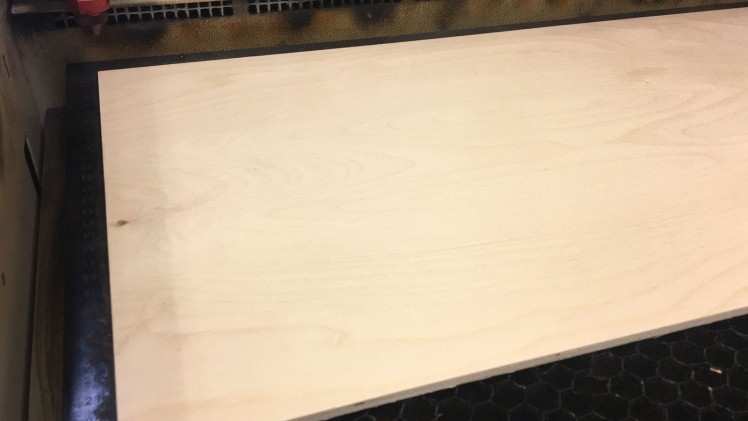
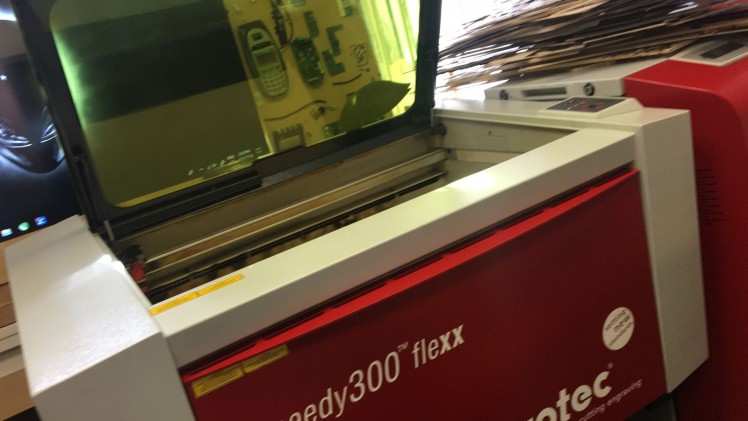
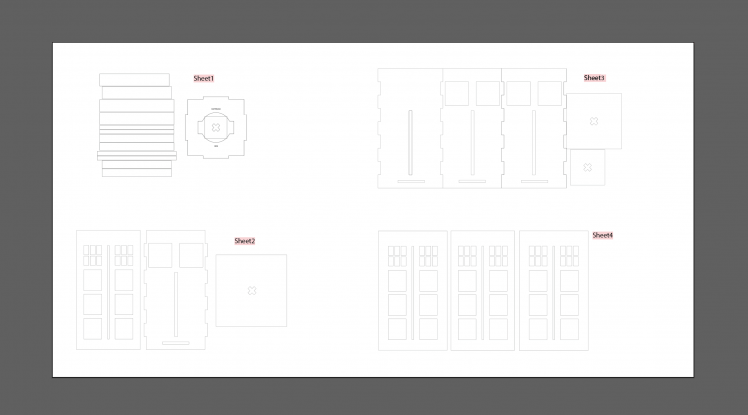
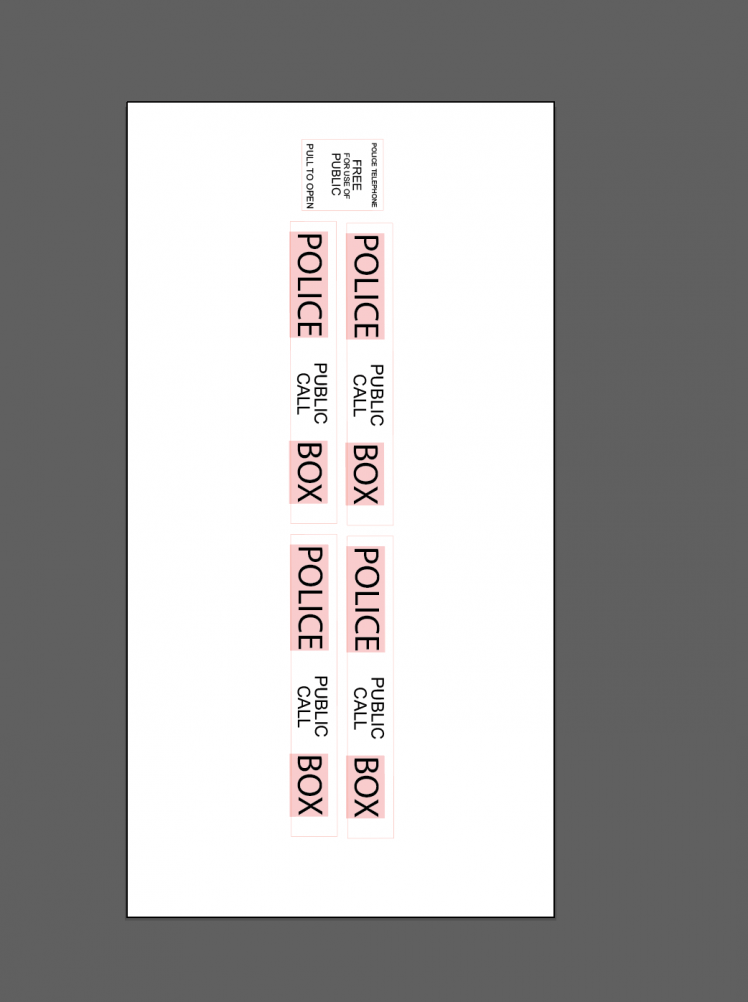
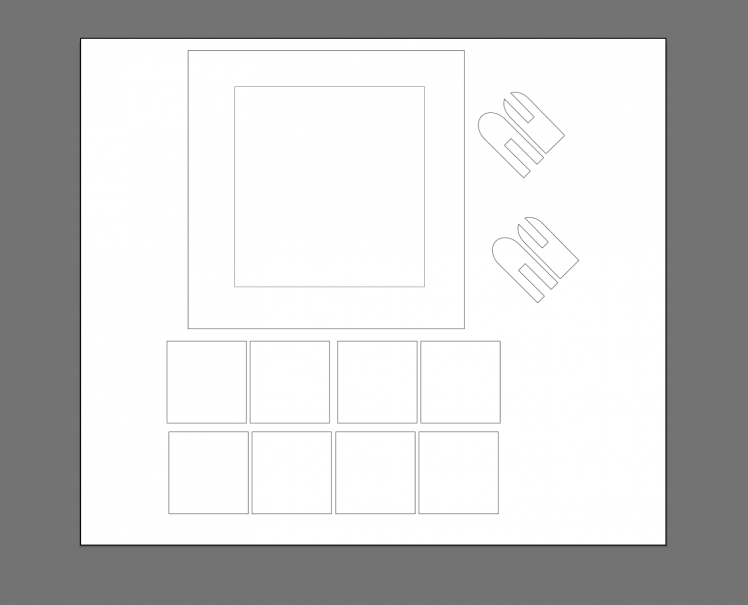
There are 3 files to cut
The first file (Wooden Parts Dr Who Tardis.ai) contains all the Wood cuts and will need 4 Boards of 300/600mm size to make the walls of the Tardis. There is an inner core with crenulations to give strength and an outer layer with the details and the door handle. Load into the laser cutter using the settings needed for 6mm Ply. If you are adding the Google Assistant you need to add two holes for the Mic to listen from in one of the sides.
The Next file (Dr Who Tardis Windows and roof.ai) is to be cut from a semi transparent material I used Tro-Glass LED but any material of the same type can be used. The rim for under the roof is in this file to allow the LEDs we will place inside to spread out and to create windows and door cracks.
And the last file (Dr Who Tardis Phone Box Signs.ai) is to be cut from solid white Acrylic, and then use the Black Marker to fill in the etched area to give the painted sign look.
Step 2: Gluing, Sticking and Painting
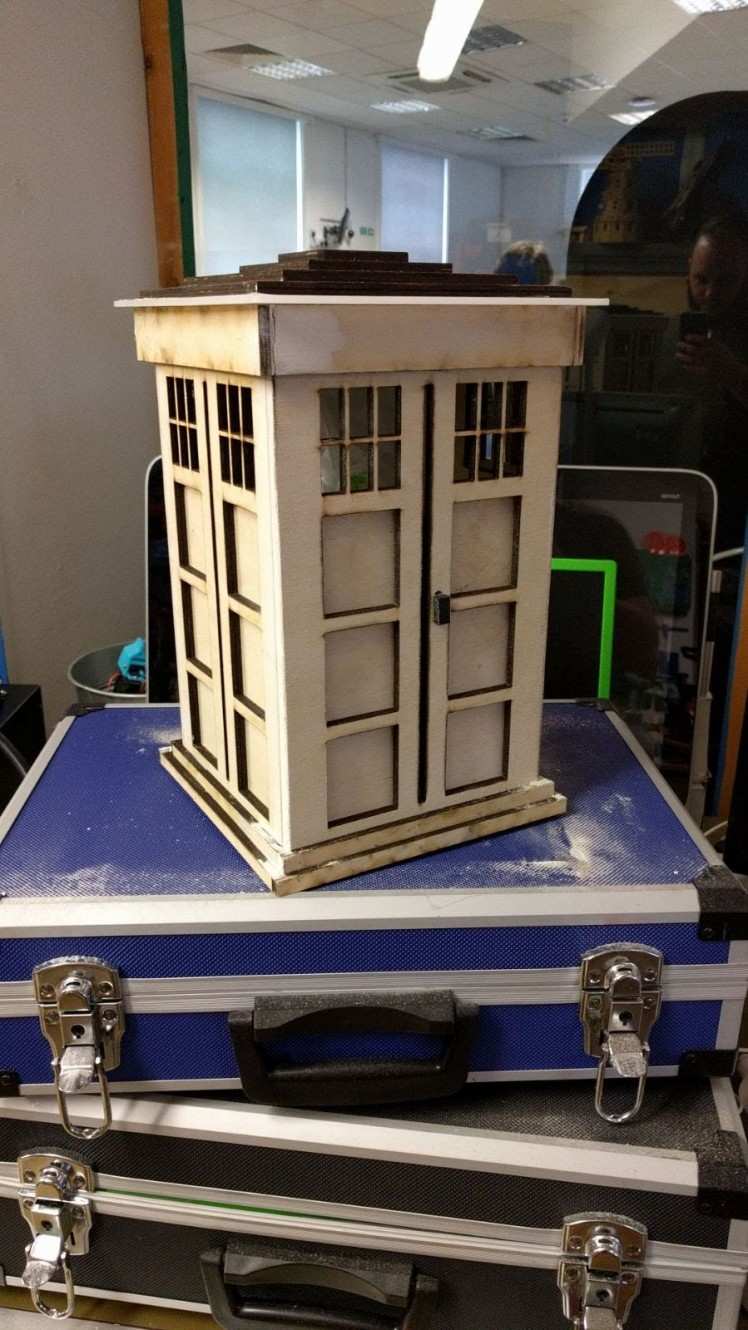
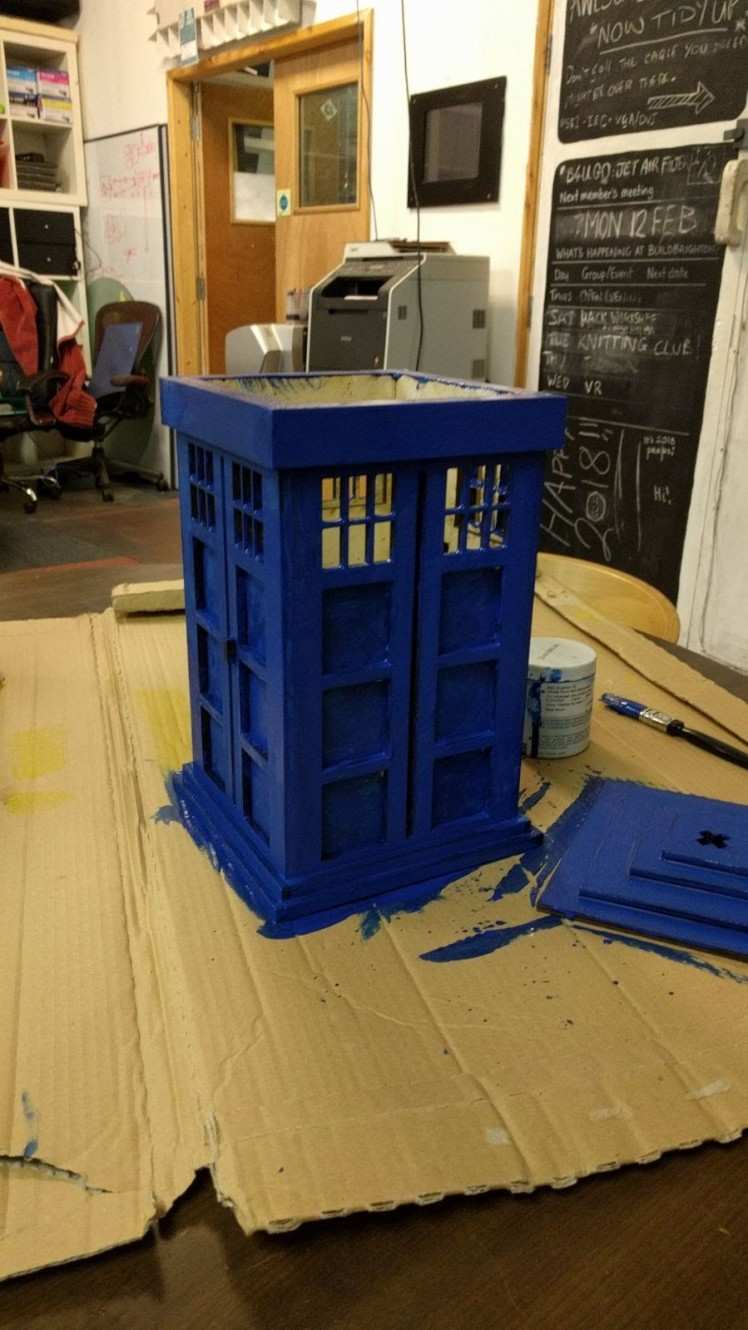

Now it's time to put it all together.
The sides of the Tardis will only fit together one way; one with two short edges and two longer parts. I would suggest only adding the wooden parts at this stage as painting is next and you don't want to get paint on the plastic.
When I was gluing I noticed a few parts where there were gaps and wanted this to look super smooth so I used a tiny bit of white filler to smooth out the cracks.
Once it's all glued and cured add 3 coats of Tardis blue paint over all the wooden parts.
then you can glue in all the plastic apart from the top.
Don't glue the top shut yet.
Step 3: The LED's
This is the fun part.
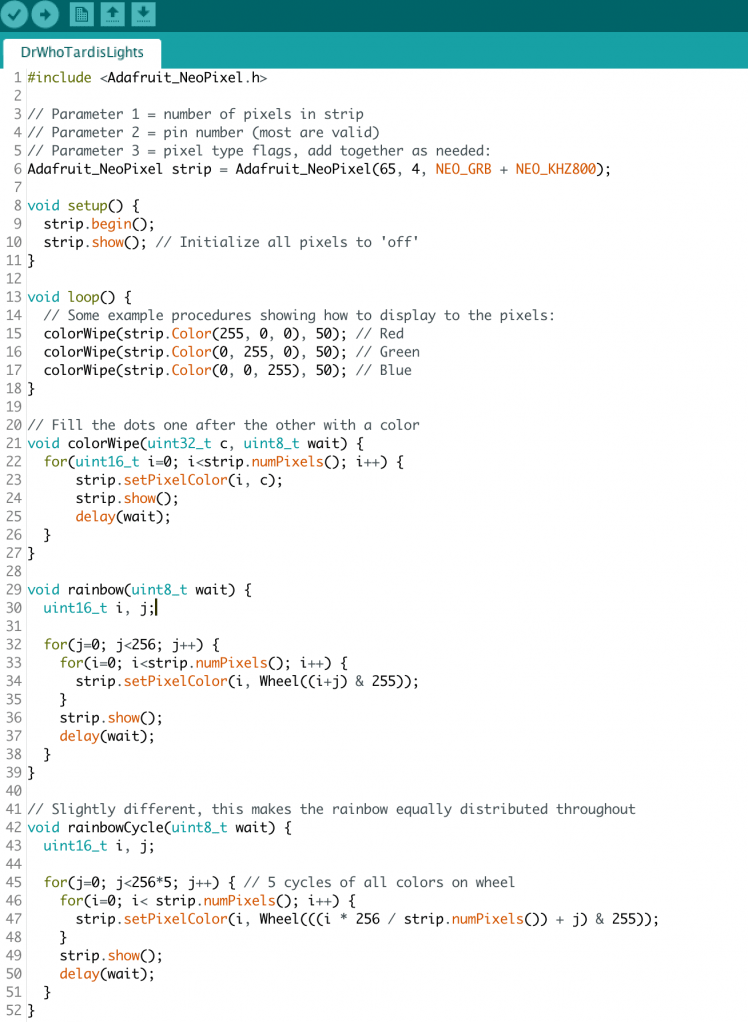
Cut the LED strip into 25cm strips allowing two for each corner and one LED for the Tardis light on the roof, Solder the cut strips in series following the arrows so you have two close together and then a line to join to the next corner, and wire into the WEMOS D1 mini Pro.
- VCC to 5V
- GND to GND
- DIN to D2
The LED's I used were Adafruit addressable LEDs and I edited the AdaFruit Library strand test to have a changing light effect throughout the night. I have also been looking at the CheerLight code to see about adding the Tardis to the Cheerlight network.
Use the DrWhoTardisLights.ino file to load the code for LEDs onto the WEMOS you can edit the code to the number of LEDS you have in your strip and load through the Arduino IDE.
If you haven't used a ESP8266 before you will need to load the drivers and boards into the Arduino IDE to get these to work.
Step 4: Google Assistant

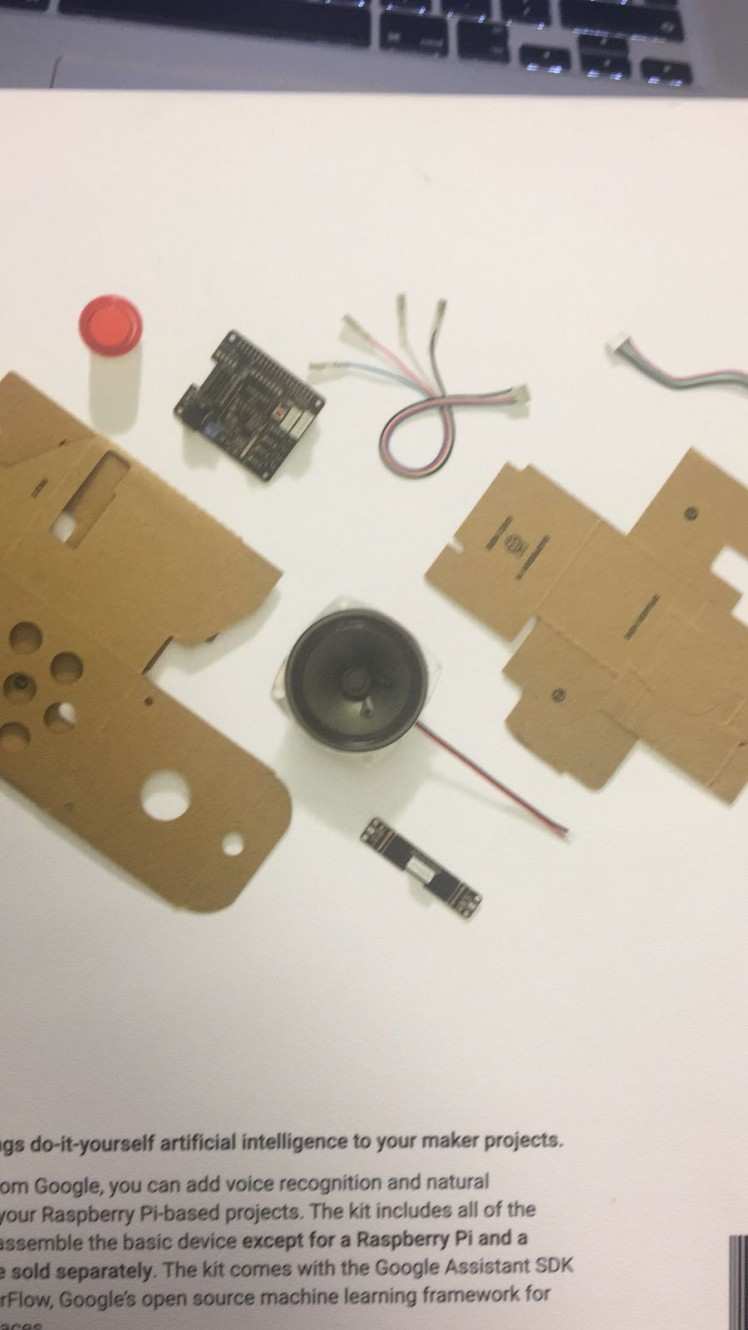
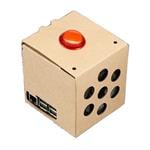
Building The Google Assistant
Now this part needs a lot of setup and the instructions are over on the AIY Voice page
https://aiyprojects.withgoogle.com/voice/#assembly...
How this fits into to the Tardis
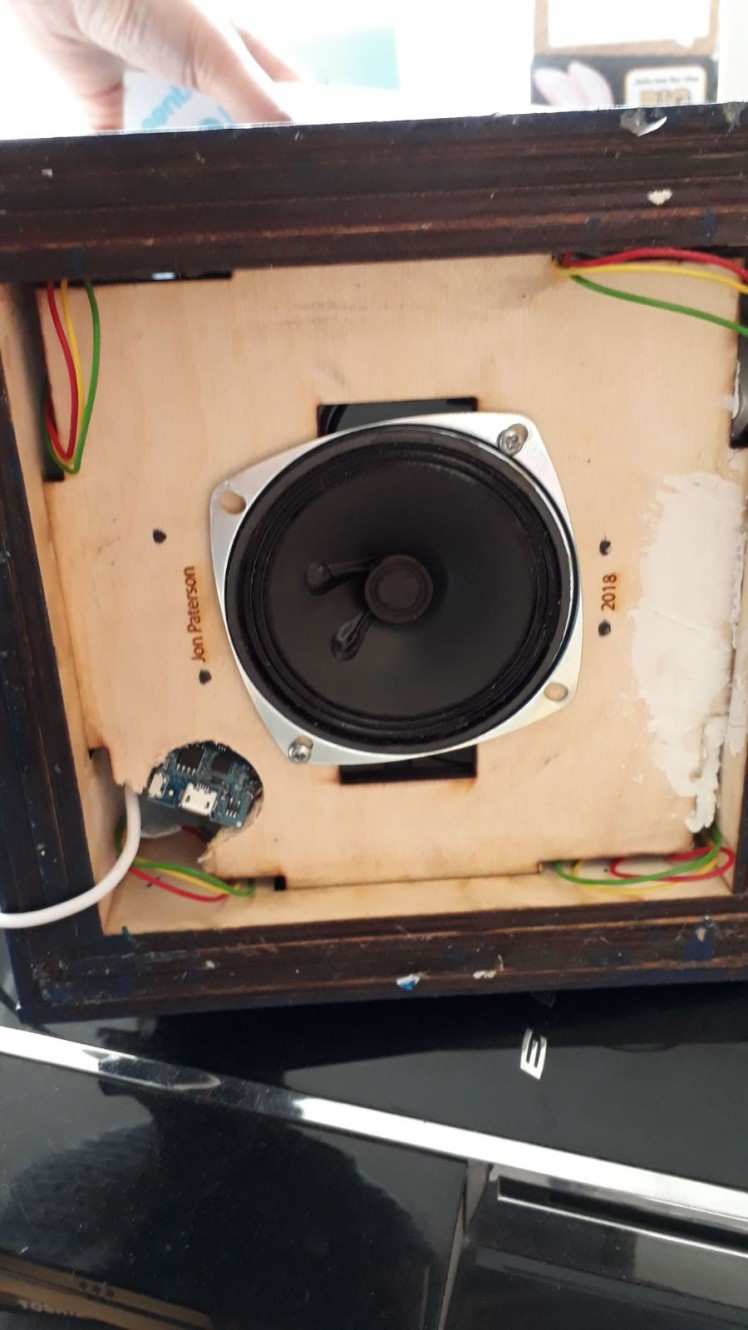
The Speaker is perfectly sized to fit in the hole at the base of the Tardis with the wires coming up to the body, if you are fitting the Google assistant then you will have added the two holes as mentioned in step 2.
The Mic board is to be fitted to the inside wall of the Tardis and lined up with the two holes and everything plugged into the Raspberry Pi Hat.
Once tested you can glue on the top of the Tardis and power everything up.
The Tardis needs two power supplies, one for the Google Assistant and one to power the WEMOS.
Now have your very own Tardis Night Light with built in Google Home.





Leave your feedback...