Creating A Arduino Powered Wizard Staff!
About the project
A motion-activated prop that combines LED visuals, sound effects, and an LCD to deliver random fortunes when moved.
Project info
Difficulty: Moderate
Platforms: Adafruit, Arduino, Digilent, Seeed Studio
Estimated time: 4 hours
License: GNU General Public License, version 3 or later (GPL3+)
Items used in this project
Hardware components
Story
Enhance your Halloween experience by creating a fortune-telling staff that responds to movement! This guide will walk you through building a staff that lights up, plays sounds, and delivers cryptic fortunes when it detects motion. For a visual demonstration, check out this video.
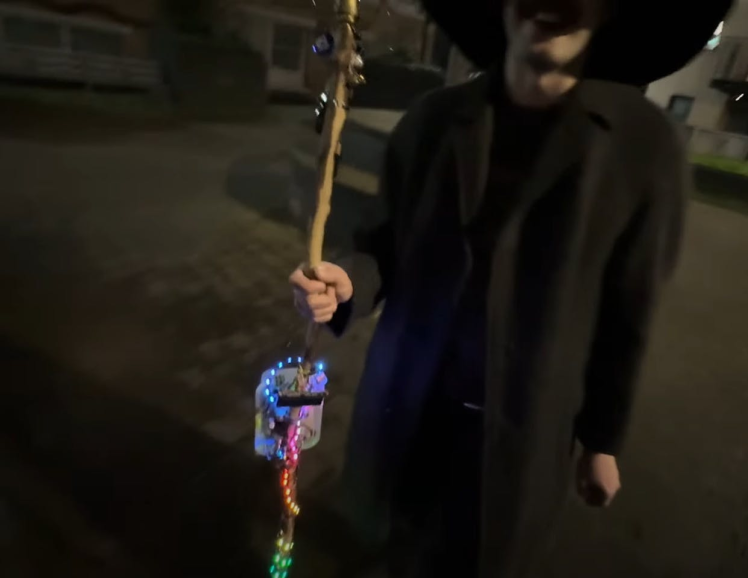
You'll need the following components:
- Arduino Nano
- WS2812 LED Strip (60 LEDs)
- 16x2 LCD with I2C Module
- Vibration Sensor Module (e.g., SW-420)
- Passive Buzzer
- Resistors, jumper wires, and a power source
- Enclosure: A food storage container secured with bolts and knobs to house the electronics.
Wiring:
LED Strip:
- Data pin to Arduino pin 6
- Power and ground to corresponding Arduino pins
- LED Strip:Data pin to Arduino pin 6Power and ground to corresponding Arduino pins
Vibration Sensor:
- Output pin to Arduino pin 5
- Power to 5V and ground to GND
- Vibration Sensor:Output pin to Arduino pin 5Power to 5V and ground to GND
Buzzer:
- Positive lead to Arduino pin 4
- Negative lead to GND
- Buzzer:Positive lead to Arduino pin 4Negative lead to GND
LCD:
- Connect to the I2C interface (SDA and SCL)
- Ensure the I2C address is set to 0x27
- LCD:Connect to the I2C interface (SDA and SCL)Ensure the I2C address is set to 0x27
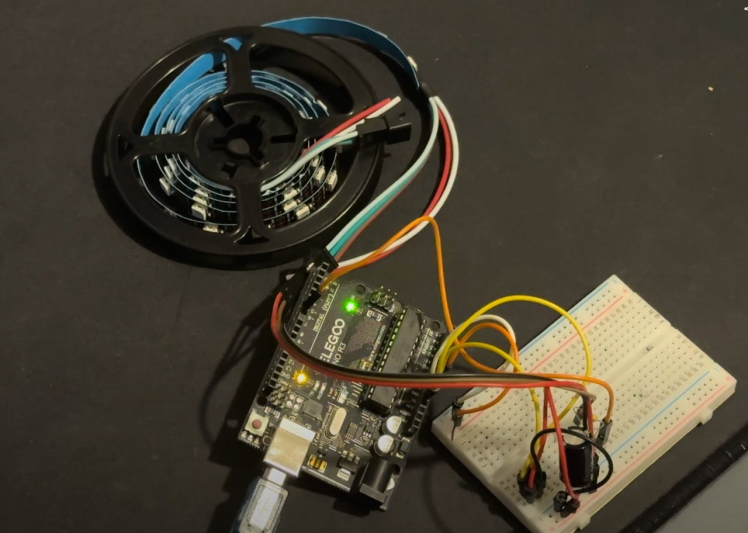
Use the provided Arduino code to bring your staff to life.
Features of the Code:
Fortunes: The staff delivers random fortunes from three categories:
- Positive (e.g., "Fortune favors the brave.")
- Neutral (e.g., "Ask again later.")
- Negative (e.g., "Dark forces lurk nearby.")
- Fortunes: The staff delivers random fortunes from three categories:Positive (e.g., "Fortune favors the brave.")Neutral (e.g., "Ask again later.")Negative (e.g., "Dark forces lurk nearby.")
- LED Effects: Each fortune type illuminates the staff in a specific color: green for positive, blue for neutral, and red for negative.
- Sounds: The buzzer plays unique tones corresponding to each fortune type.
- Motion Activation: The vibration sensor detects movement, triggering the fortune-telling sequence.
How to Upload the Code:
- Open the Arduino IDE.
- Copy and paste the provided code into a new sketch.
- Connect your Arduino Nano to your computer via USB.
- Select the appropriate board and port from the "Tools" menu.
- Click the upload button to transfer the code to the Arduino.
Mount the Electronics:
- Place the Arduino, vibration sensor, buzzer, and other components inside the food storage container.
- Secure the container to the staff using bolts and knobs, ensuring all components are firmly in place.
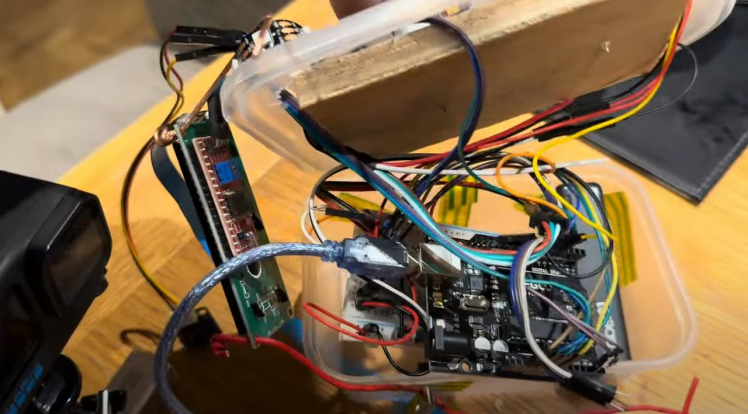
- Mount the Electronics:Place the Arduino, vibration sensor, buzzer, and other components inside the food storage container.Secure the container to the staff using bolts and knobs, ensuring all components are firmly in place.
Attach the LED Strip:
- Wrap or affix the LED strip along the length of the staff.
- Ensure the wiring is discreet and does not hinder the staff's appearance or functionality.
- Attach the LED Strip:Wrap or affix the LED strip along the length of the staff.Ensure the wiring is discreet and does not hinder the staff's appearance or functionality.
Connect the LCD:
- Position the LCD screen where it's easily readable.
- Secure it appropriately, considering both aesthetics and usability.
- Connect the LCD:Position the LCD screen where it's easily readable.Secure it appropriately, considering both aesthetics and usability.
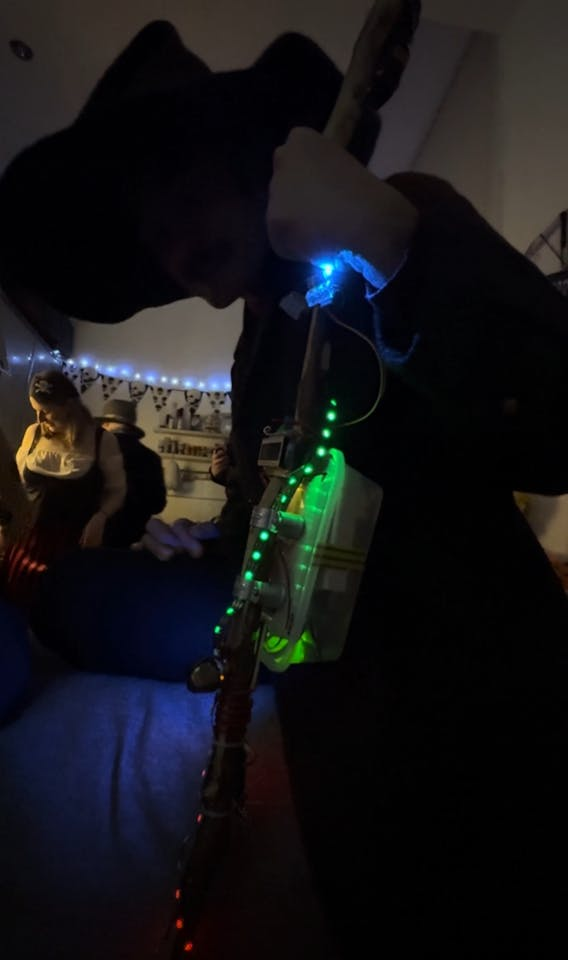
Test Your Staff:
- Move or shake the staff to activate the vibration sensor.
- Observe as the LEDs light up, the buzzer sounds, and a fortune scrolls across the LCD screen.
- Test Your Staff:Move or shake the staff to activate the vibration sensor.Observe as the LEDs light up, the buzzer sounds, and a fortune scrolls across the LCD screen.
Customize:
- Modify Fortunes: Edit the
positiveMessages,neutralMessages, andnegativeMessagesarrays in the code to include your own phrases. - Adjust LED Colors: Change the RGB values in the code to alter the colors associated with each fortune type.
- Sound Tones: Modify the frequencies and durations in the sound functions to create different tones.
- Customize:Modify Fortunes: Edit the
positiveMessages,neutralMessages, andnegativeMessagesarrays in the code to include your own phrases.Adjust LED Colors: Change the RGB values in the code to alter the colors associated with each fortune type.Sound Tones: Modify the frequencies and durations in the sound functions to create different tones.
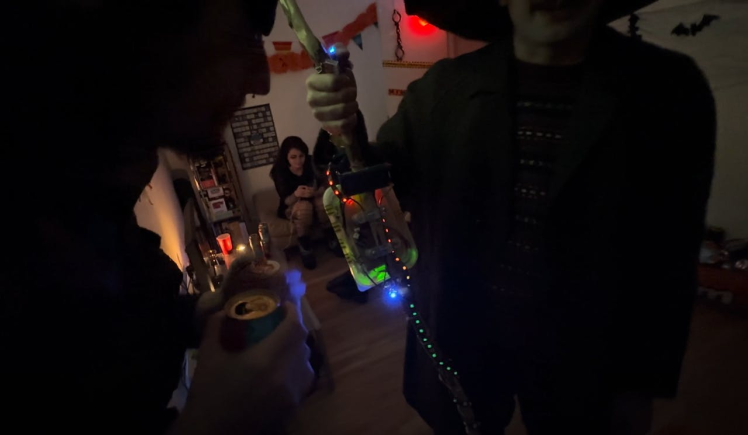
Your motion-activated, fortune-telling staff is now complete. Use it to enchant friends and family during Halloween or at themed events. For a detailed walkthrough, including assembly and programming tips, watch this video.
Happy crafting!


Leave your feedback...