Circuit Python Ble Midi On Windows
About the project
Wireless Midi is pretty cool but it is a bit tricky on Windows, here how to do it
Project info
Difficulty: Moderate
Platforms: Adafruit, Nordic Semiconductor
Estimated time: 1 hour
License: Creative Commons Attribution CC BY version 4.0 or later (CC BY 4+)
Items used in this project
Software apps and online services
Story
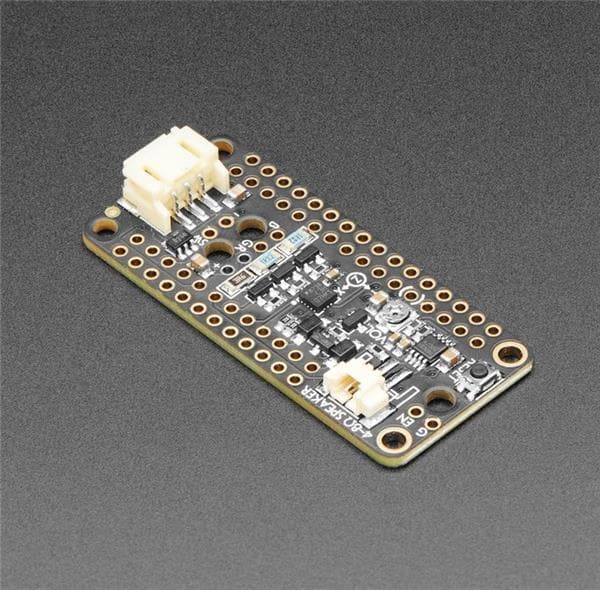
Make a BLE Midi device using an nrf82540 board
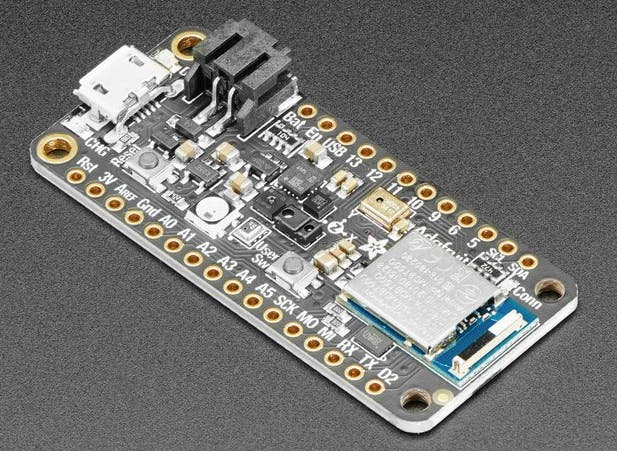
We are going to use an Adafruit NRF Sense but any NRF82540 board will do.
You will need theses libraries:
- adafruit_ble
- adafruit_ble_midi.mpy
- adafruit_midi
You can get the libraries here : https://circuitpython.org/libraries
Here is a code to test if BLE Midi works correctly, it will play a note, wait 1 seconds and stop it.
Save it on your circuit python drive as code.py
import time

# Midi
import adafruit_midi
from adafruit_midi.note_off import NoteOff
from adafruit_midi.note_on import NoteOn

# BLE Midi
import adafruit_ble
from adafruit_ble.advertising.standard import ProvideServicesAdvertisement
import adafruit_ble_midi

# Setup BLE Midi
midi_service = adafruit_ble_midi.MIDIService()
advertisement = ProvideServicesAdvertisement(midi_service)
midi = adafruit_midi.MIDI(midi_out=midi_service, out_channel=0)
ble = adafruit_ble.BLERadio()

# Make BLE Device visible
print("Waiting for BLE MIDI connection")
ble.start_advertising(advertisement)
while True:
    # If not connected, don't execute the rest of the code
    while not ble.connected:
        pass

    print("Connected")
    while ble.connected:
        midi.send(NoteOn(70, 127))
        print("NOTE ON")
        time.sleep(1)
        midi.send(NoteOff(0, 0))
        print("NOTE OFF")
        time.sleep(1)

    # If disconnect, wait for reconnection
    print("Disconnected")
    print("Advertising BLE")
    ble.start_advertising(advertisement)
Setup Windows for BLE Midi
As said on this Adafruit tutorial, BLE Midi support on Windows are unfortunately not well supported.
https://learn.adafruit.com/wireless-untztrument-using-ble-midi/windows
I didn't manage to make it works without using additionnal software.
However you can add BLE Midi support using MidiBerry and LoopMidi
https://learn.sparkfun.com/tutorials/midi-ble-tutorial/all
Connect your BLE device
First you need to connect your board to your computer, it should appear as CIRCUITPYd06c

MidiBerry
MidiBerry connect a Midi / BLE Midi device to another Midi device.https://www.microsoft.com/en-us/p/midiberry/9n39720h2m05?activetab=pivot:overviewtab

We didn't make an virtual midi device yet but we can test if everything works correctly using Microsoft GS Wavetable
In Input use CIRCUITPyd06c (not CircuitPython usb_midi_ports).
In Output use Microsoft GS Wavetable
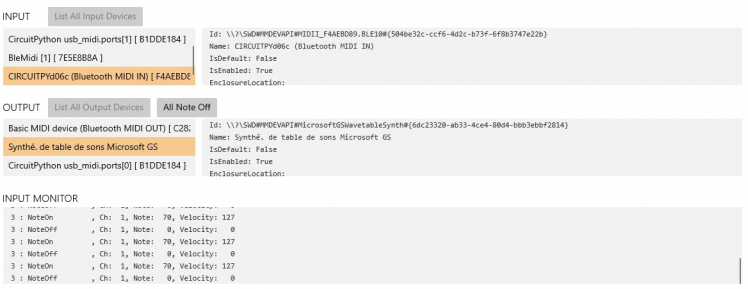
It should play a piano note, each second.
LoopMidi
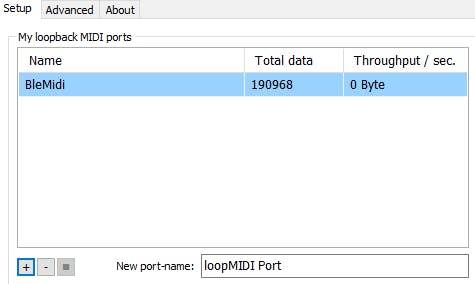
LoopMidi create a virtual midi device, we can route our BLE device to use it with any music software.

Create a virtual device (I named it BleMidi but by default it is called loopMIDI port)
Go back to MidiBerry and connect your circuit python board to your virtual midi device.
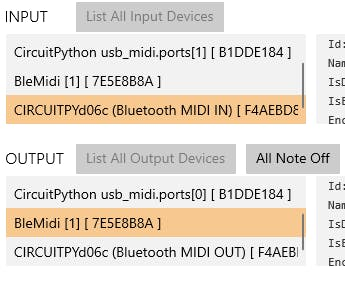
Test your device with Helm
You should now be able to use your board on any music software, for example, Helm, a free synthetizer software.It detect automatically your midi device so it should be easy to try it.

Going Further
Now you can start building your own wireless midi devices.
I'm using an MPR121 pads, they only require 4 cables (SDA/SCL/GND/VCC) as it uses i²c.
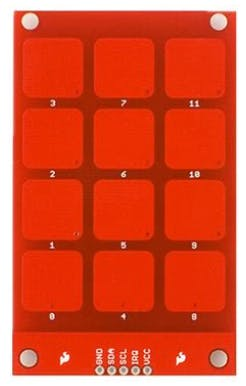
Here is my code I used on the video, i'm also using the APDS9960 Proximity Sensor to control the pitch. https://github.com/maditnerd/circuitpython_ble_midi




Leave your feedback...