


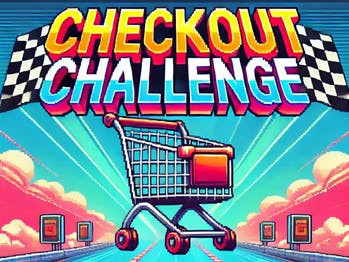
Checkout Challenge

Made by 314Reactor
About the project
A shopping trolley racing game made for the Adafruit PyBadge, inspired by popular racing games.
Project info
Difficulty: Easy
Platforms: Adafruit
Estimated time: 1 hour
License: GNU General Public License, version 3 or later (GPL3+)
Items used in this project
Story
Welcome to the Trolley Track
I'm a big fan of racing games like Gran Turismo (PlayStation) and Sega GT 2002 (Xbox); I've spent countless hours racing and upgrading cars in these games. One day, while shopping, I had the comical idea of a game about racing shopping trolleys within the same paradigm: buying trolleys, upgrading them, and winning money from races to buy more upgrades and trolleys.
I thought it would be hilarious to keep the traditional upgrade system intactâ€â€turbos, brake kits, exhausts, racing computers, and allâ€â€and apply them nonsensically to shopping trolleys to improve their performance.
With an Adafruit PyBadge I had stored away for a few years, and with the advent of AI accelerating code development and generating impressive artwork, I realized it was the perfect time to start working on this game.
And so, we have...
Checkout Challenge
If you have a PyBadge and want to dive in and play then hit the setup links below - if you want to know more about the code and artwork then please continue reading!
Setup
Download the Game Files:
- You will need an Adafruit PyBadge to play this game.
- Download the latest release from the releases page as a.zip file.
Transfer Files to PyBadge:
- Connect your PyBadge to your computer via USB.
- Drag and drop all the files and folders from the
CheckoutChallenge.zip onto the root of the CIRCUITPY drive.
Install CircuitPython Libraries:
- Ensure you have CircuitPython installed on your PyBadge. Follow the CircuitPython installation guide.
- Install CircuitPython libraries on your PyBadge. Follow the CircuitPython library installation guide, ensuring you install version 9.0.5 with the libraries from
requirements.txtinto thelibfolder on your PyBadge.
Restart the PyBadge:
- Eject the CIRCUITPY drive safely and reset the PyBadge if it doesn't restart automatically.
- The game should now launch with the intro screen and theme music.
Visual Aisle: Cart Artistry
The sprite sheet used for the carts and objects I made myself using the free version of Pyxel Edit - here is the sprite sheet itself which is 6x4 blocks of sprites (this is an upscaled version, the actual version is a very small resolution):
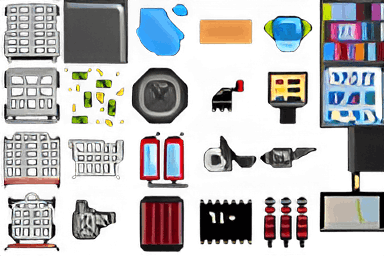
You can see on the left the trolley sprites then the blocks along the top to the right and at the right hand side, then the rest are the sprites for the upgrades. We will go into the trolleys, blocks and upgrades later on.
Also here is the actual sprite-sheet used on the game:

When it came to the intro screen, menu backgrounds and track I knew it would be best to use DALL-E 3 to help generate 8-bit style images.
I tried to keep the style consistent and also modern, but within the 8-bit colour constraints of the PyBadge and matching the art style I was going for.
I took the output images and then resized them down to the resolution of the PyBadge (160x128), by stretching or moving them around using Canva. Then reduced the full amount of colours further to 128 (usual 8-bit is 256 colours), this is to reduce memory usage on the PyBadge, but generally keeps the images looking good.
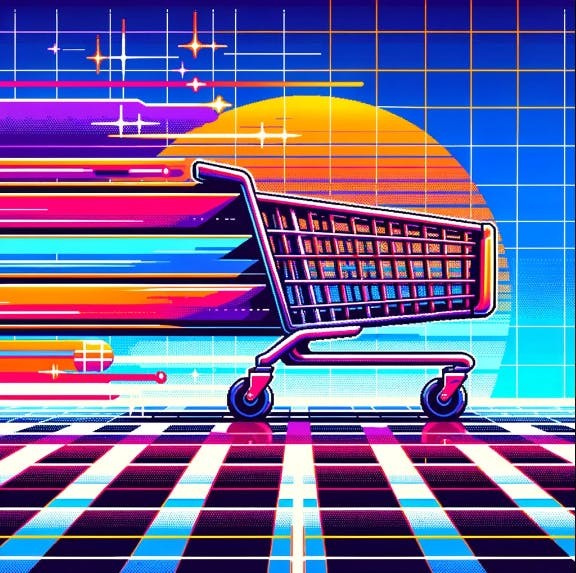
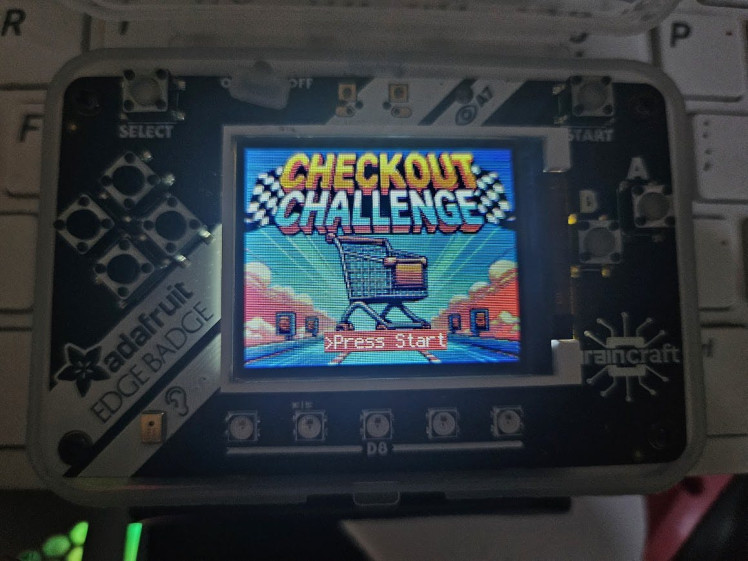
Here is the intro screen (as already seen above):
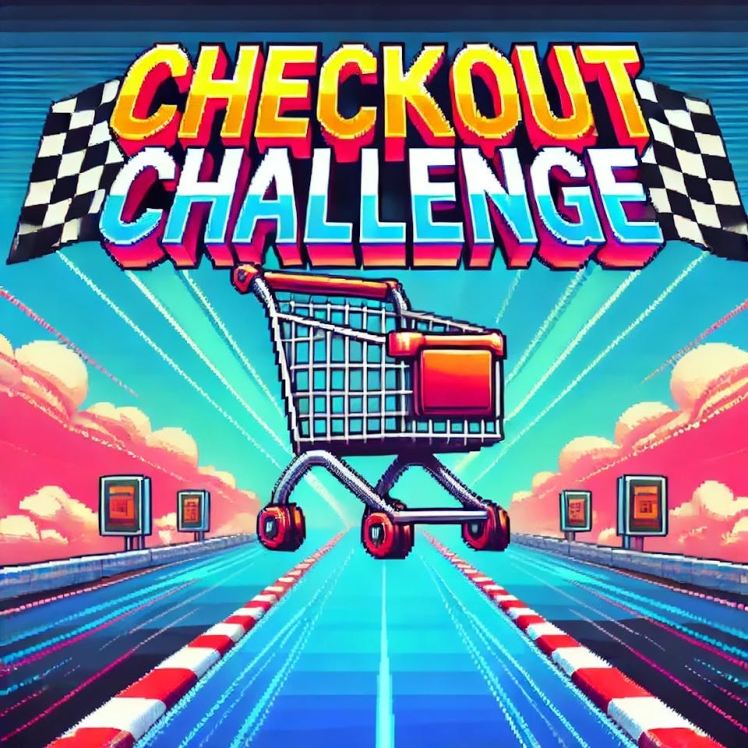
I've tried to make it look nice and polished, but again maintaining the 8-bit aesthetic.
Next up is the main menu screen which has a nice neon 80's look to it as well (DALL-E decided on this):
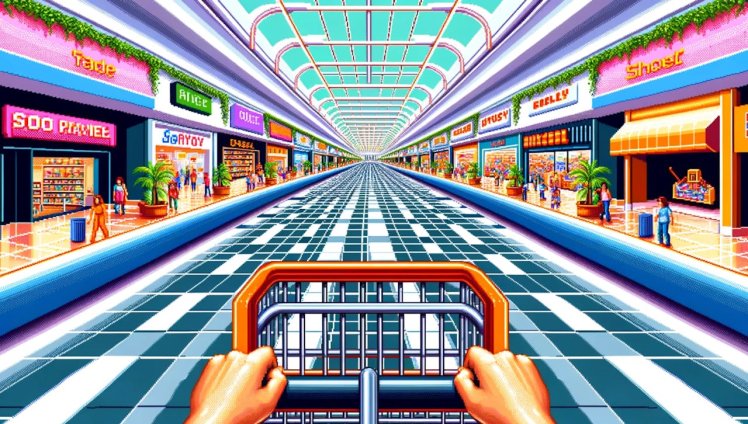
Then there is the track menu background, which I think sets up the idea of a trolley race in a mall perfectly, with again an 80's vibe:
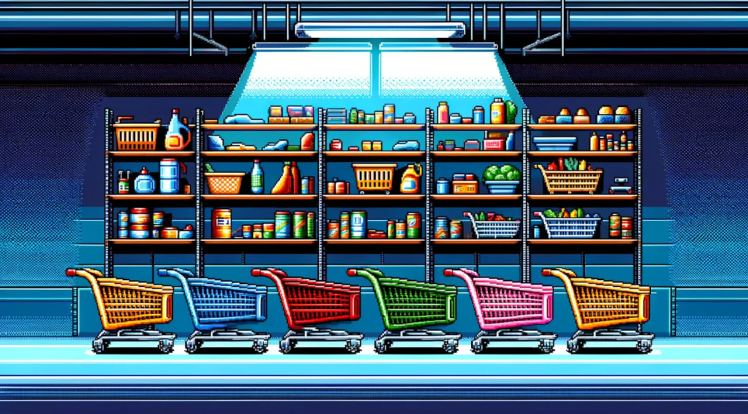
Here is the menu background for the trolley shop, with some nice trolley colour variations:
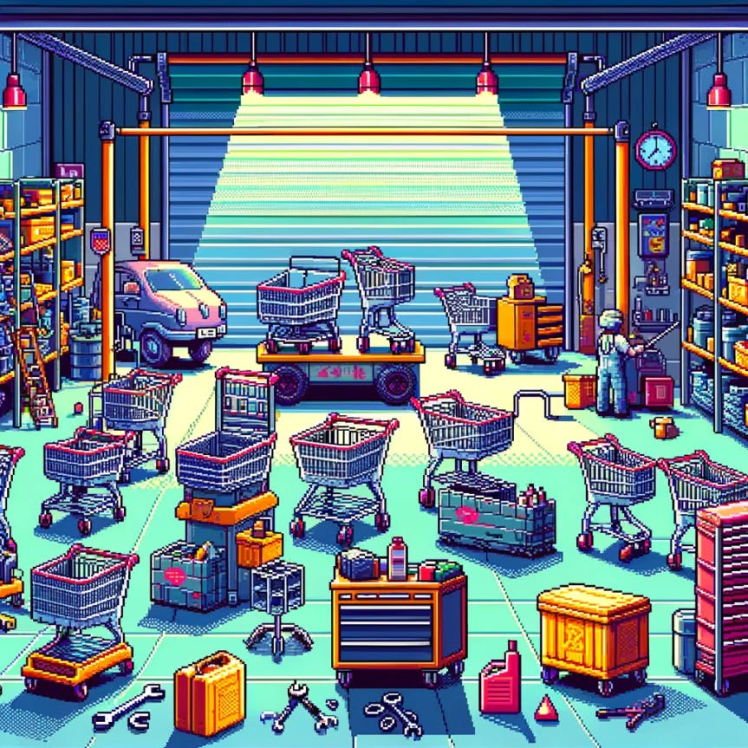
The players garage with lots busy work going on:
And for the trolley upgrades screen, which looks nice; but the more I look at it the more odd things I see, like the tiny car (this may need some editing in future):

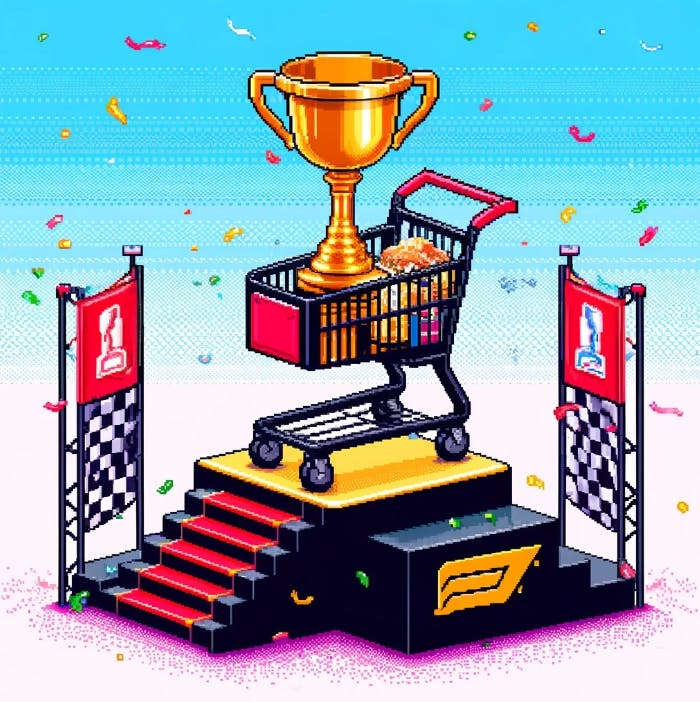
Of course we need a winning screen, I really like the trolley full of gold with a big gold trophy:
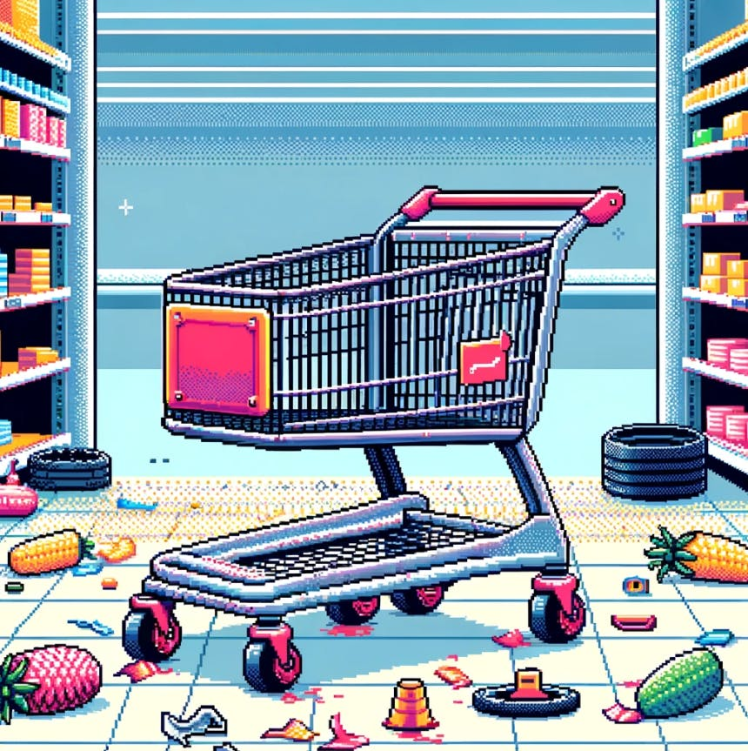
A losing screen, which perfectly captures, in a subtle way, not winning a trolley race at the local mall:
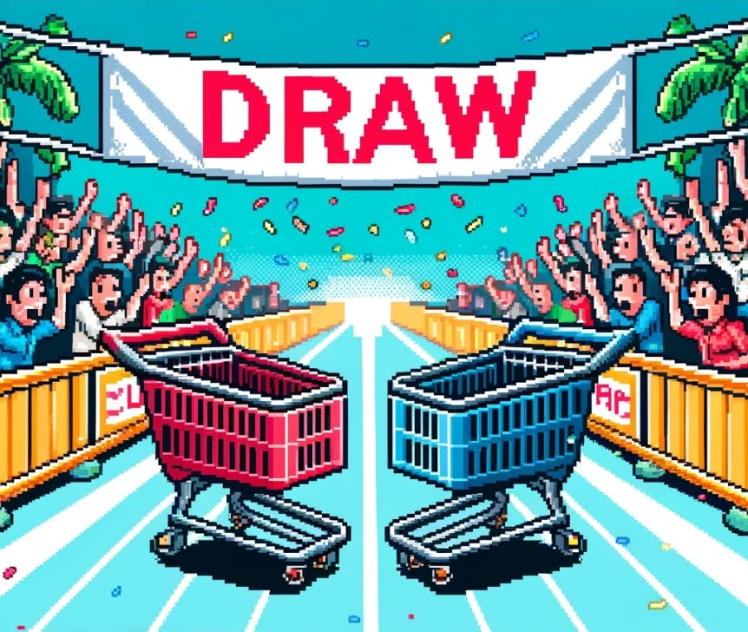
And on the very rare occasion it happens, the draw screen; I may re-work this at some point as the trolley design isn't as consistent as the others:
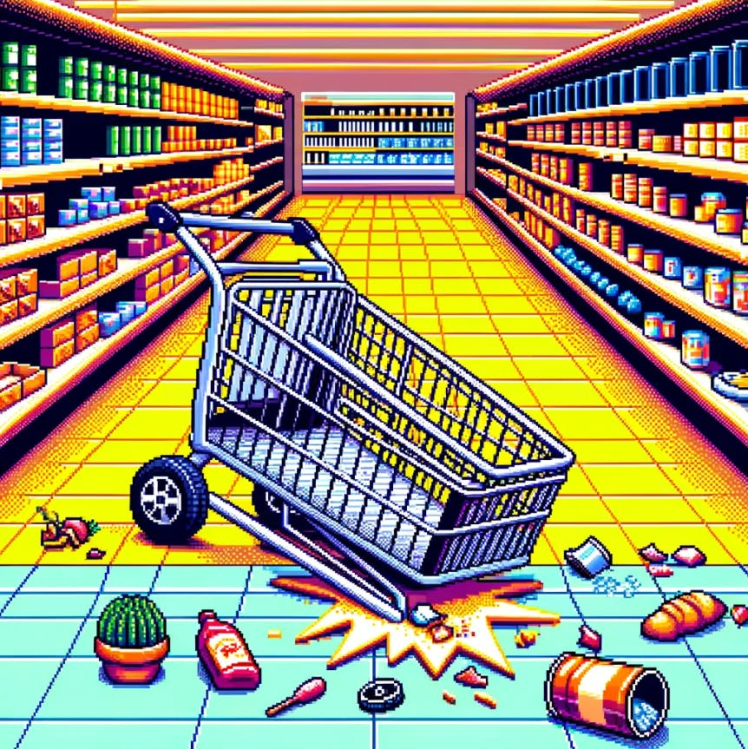
Then for when you crash, again DALL-E has taken some artistic license here, but I like it:
For the race track floor (the mall) I use a simple tiled image:
I really enjoy the art style that has been created here - I know AI generated art can be divisive, but it has allowed me to create some really nice aesthetic that I otherwise would not have been able to create myself. It really fits the look I was going for, although in some places it could do with some tweaking to make the trolley designs look more consistent across the pictures.
On the Track: Gameplay Dynamics
Main Menu
The main menu allows you to select a track, buy trolleys, select trolleys from your garage, and buy upgrades. You start off with $500 in-game currency to purchase your first trolley.
Trolleys
There are four types of trolleys available, each with unique stats:

- CartMaster 1000 by BudgetMart: A standard trolley for everyday shopping needs. Costs $100 and has basic movement but can be upgraded to become quite fast and manoeuvrable. It has a max health of 120, weight of 36, speed of 1.8, acceleration of 0.5, deceleration of 0.35, grip of 0.2, boost strength of 1.5, and brake strength of 1.4.

- Speedy Shopper by QuickCart Co.: A lightweight and fast trolley for the quick shopper. Costs $5000 and is faster than the CartMaster 1000 with better handling. It has a max health of 80, weight of 28, speed of 2.4, acceleration of 0.7, deceleration of 0.5, grip of 0.38, boost strength of 1.8, and brake strength of 1.6.

- Mega Mover by BulkBuy: A heavy and durable trolley for those big shopping sprees. Costs $10000 and is heavier than the other trolleys but has a high amount of health, especially when upgraded. It is much more difficult to handle but can tank damage from obstacles. It has a max health of 300, weight of 80, speed of 2.04, acceleration of 0.8, deceleration of 0.4, grip of 0.3, boost strength of 1.2, and brake strength of 1.7.

- Turbo Trolley by HyperMart: A high-performance trolley with superior speed and acceleration. Costs $20000 and is the fastest trolley in the game. It has the best acceleration and speed but is difficult to control due to its lower grip; if you can fully upgrade this, get ready for some insane speeds. It has a max health of 250, weight of 30, speed of 2.52, acceleration of 1.0, deceleration of 0.5, grip of 0.18, boost strength of 2.4, and brake strength of 2.2.
Upgrades
You can purchase and install various upgrades to improve your trolley's performance:

- Carbon Fibre Wheels: Increases speed by 0.05, grip by 0.2, and brake strength by 0.4. Costs $700.

- Racing Handle: Increases speed by 0.075 and grip by 0.22. Costs $1000.

- Scanning Computer: Increases speed by 0.025 and acceleration by 0.05. Costs $2000.

- Carbon Fibre Frame: Increases speed by 0.04, acceleration by 0.075, and max health by 120. Reduces weight by 12. Costs $5000.

- Nitrous Oxide: Increases speed by 0.06, acceleration by 0.3, and boost strength by 0.2. Decreases deceleration by 0.45. Costs $6000.

- Brake Upgrade: Increases deceleration by 0.25 and brake strength by 0.35. Costs $500.

- Exhaust Upgrade: Increases speed by 0.02, acceleration by 0.25, and boost strength by 0.12. Costs $800.

- Turbo Upgrade: Increases speed by 0.025, acceleration by 0.2, and boost strength by 0.15. Decreases deceleration by 0.5. Costs $4500.

- Air Filter Upgrade: Increases speed by 0.01, acceleration by 0.015, and boost strength by 0.02. Costs $350.

- Computer Chip Upgrade: Increases speed by 0.02, acceleration by 0.025, and boost strength by 0.15. Costs $2500.

- Suspension Upgrade: Increases grip by 0.15, deceleration by 0.085, and brake strength by 0.5. Costs $700.
Obstacles
Various obstacles can appear on the track, each affecting the trolley differently:


- Blocks: Various sizes that obstruct the path, including checkout counters, DVD shelves, freezers, fridges, and walls.

- People: Less common than the above obstacles, but still avoid them to prevent slowing down.

- Water Spills: Reduces grip for a couple of seconds, making it harder to control the trolley.

- Money: Collect to earn in-game currency (a random amount between $10 and $1000).
Difficulty Levels
Choose your difficulty level:
- Bargain Hunt: For the casual shopper who loves a good deal. Lasts 1 minute, has a max of 5 obstacles, and awards $1500.
- Everyday Shopper: For the regular shopper facing daily challenges. Lasts 2 minutes, has a max of 8 obstacles, and awards $4000.
- Black Friday Frenzy: For the hardcore shopper braving the busiest sales. Lasts 3 minutes, has a max of 12 obstacles, and awards $9000.
- Clearance Chaos: For the ultimate shopper surviving the wildest sales. Lasts 5 minutes, has a max of 18 obstacles, and awards $20000.
Race Mechanics
Obstacles- As you go through the track, you will encounter various obstacles that can slow you down and damage your trolley.
- The maximum number of obstacles spawned is defined by the difficulty level.
- Avoid these obstacles to maintain your speed and health. Bumping into them will cause you to bounce back and lose health.
- If your health reaches 0, your trolley will be destroyed, costing $250 to repair.
Collecting Money
- Collect money on the track to earn in-game currency.
- Use this currency to purchase upgrades and new trolleys.
AI Trolley Competition
Each track features an AI-controlled trolley:
- Bargain Hunt: CartMaster 1000
- Everyday Shopper: Speedy Shopper
- Black Friday Frenzy: Mega Mover
- Clearance Chaos: Turbo Trolley
- The AI trolley will try to get ahead of you. If you manage to beat it by finishing ahead when the race ends, you will win the money.
- If you fall behind, you will lose. In the rare event you match it on the Y-axis when the race ends, you will draw and split the winnings.
LED Indicators
The Adafruit PyBadge features 5 LEDs that provide visual feedback on your race progress:
- Green LEDs: The first three LEDs light up green from left to right, indicating the progress of the race.
Red LEDs: The final two LEDs light up red.
- Second Last Red LED: Lights up when the race is coming to an end, giving you a heads-up to make a final push.
- Final Red LED: Stays lit during the last 10 seconds of the race to help you time your final manoeuvres.
This LED system helps you keep track of how much time is left, giving you an idea of when to push forward to get ahead of the AI trolley.
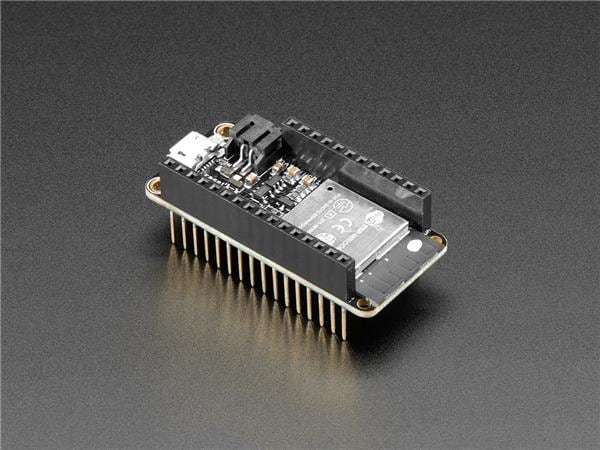
Here are some shots from the game running on a EdgeBadge (same as a PyBadge but with some extra ML functionality built in):
1 / 10
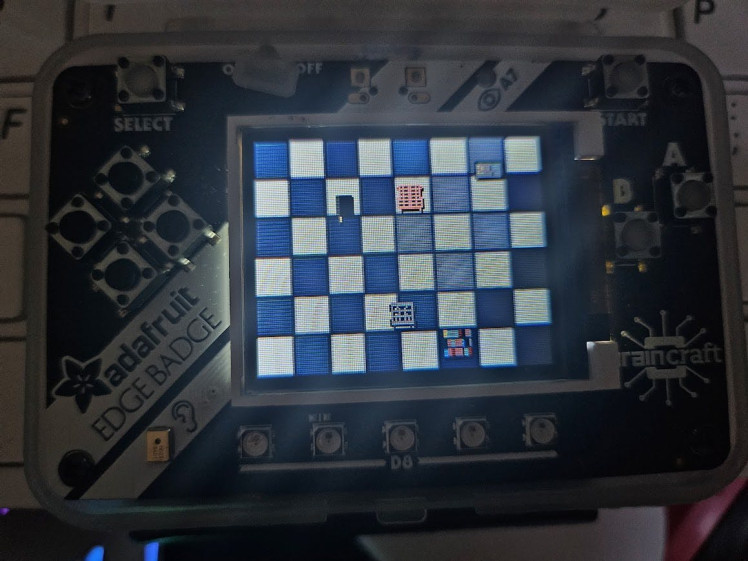
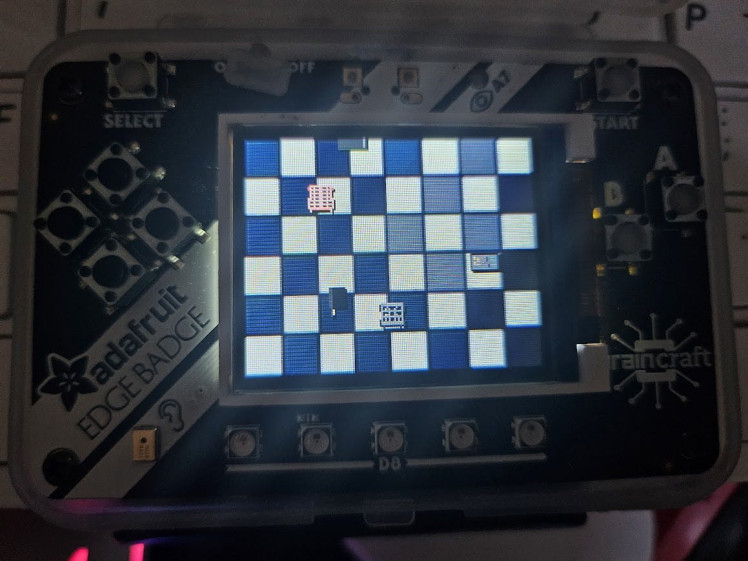


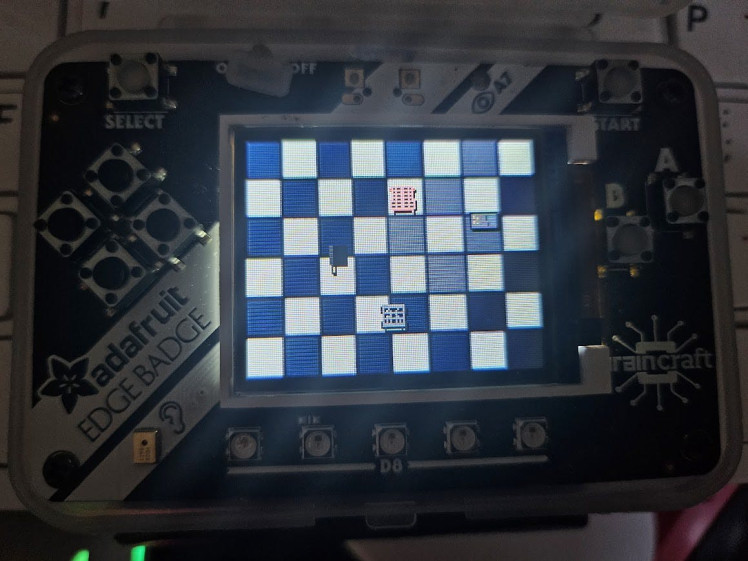
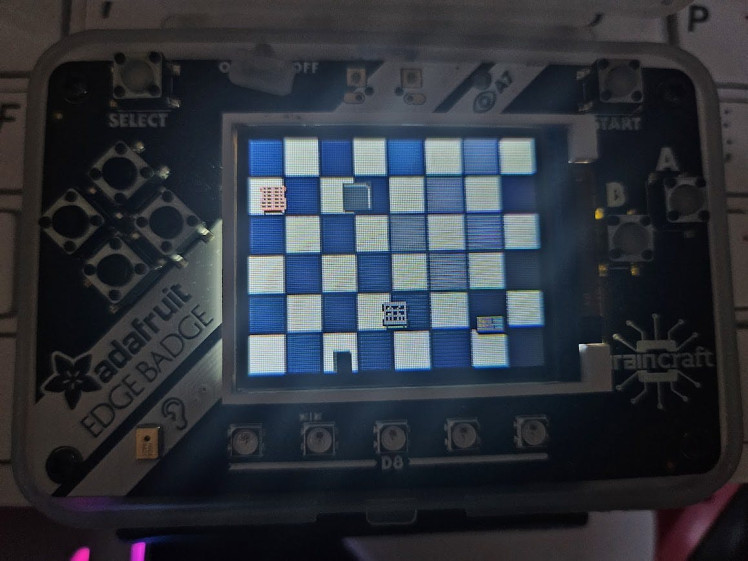
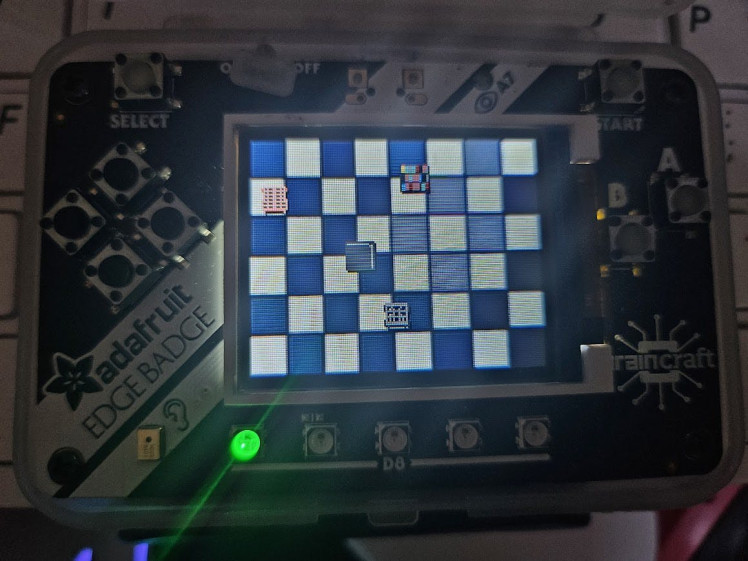
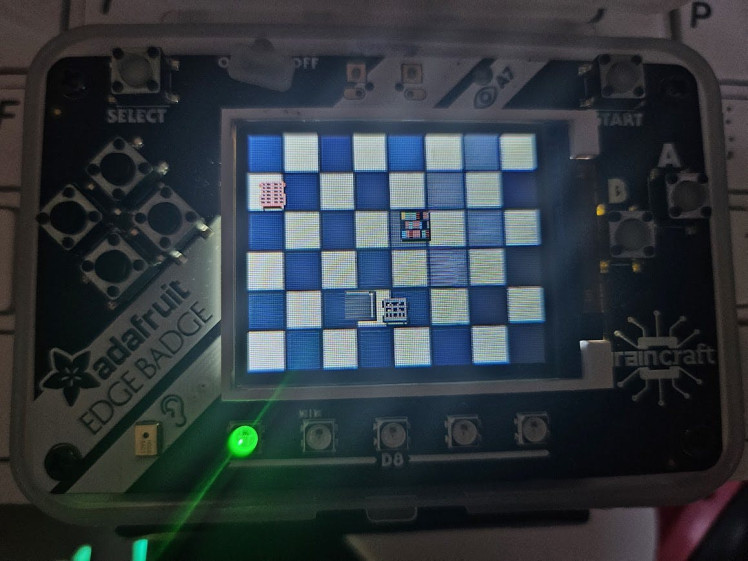
You can see the objects in a race, the AI trolley (light red) and the player trolley as well as some of the menus.
Here is the game in action:
You can see the easy difficulty (Bargain Hunt) has fewer obstacles and is a nice entry into the game, while still offering a challenge. You can see the AI trolley moving around the obstacles and trying to get ahead of the player. You can also see the winning screen as well as the way the physics affect the trolley.
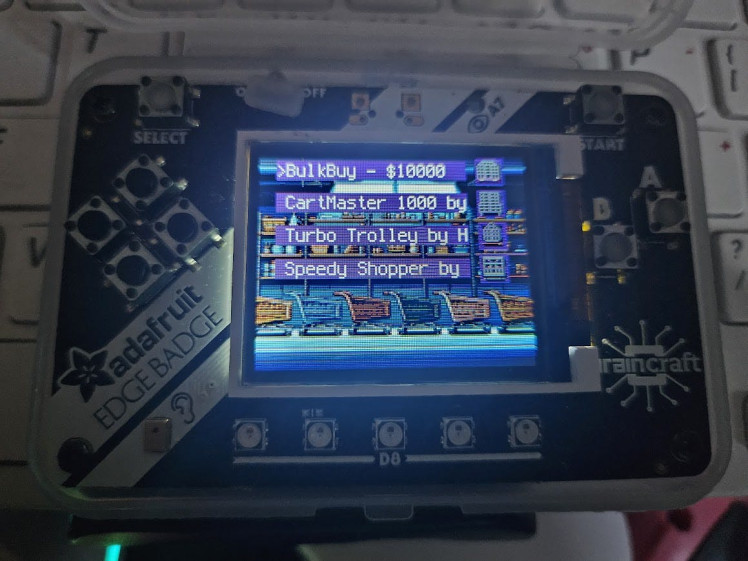
Here are the menus in action:
You can see the nice fading in/out when moving menus as well as how you can buy, select and upgrade trolleys and how the menu text scrolls nicely if the text goes off-screen.
And here is a more difficult race (Everyday Shopper) in action with an upgraded player trolley:
You can see many more obstacles being spawned in and a more advanced AI trolley opponent and eventually you can see where the player gets cornered by obstacles and crashes, requiring $250 to fix. During this you can see the player grabbing some cash icons, which would help pay for the repairs.
And some extra physics being shown off:

Here you can see the player trolley colliding with obstacles and even hitting some water causing a reduction of grip and sliding into the corner. Also physics interactions between the AI trolley and the player trolley can be seen, the player trolley bumps into the AI and the AI backs away.
As I play tested the game I found there were many ways to play - one thing I found was that due to how the AI works you can actually get in front of it and keep it pushed back to prevent it getting ahead of you, but then you have to balance avoiding obstacles with staying in front of the AI.
I find it quite fun and challenging as the difficulty raises and getting enough money for upgrades and new trolleys, while determining what's the most efficient upgrades/new trolley to buy, is really satisfying.
I am also really happy with the physics engine, which takes into account trolley weight, speed, grip, acceleration and deceleration. There is also a balancing act between hitting the accelerator and timing when to brake, the risk/reward factor really comes into play when a cash icon in a tricky spot comes along and you have to decide and plan how to get it and if its worth it.
Under the Hood: Code Mechanics
The full code can be seen here on my GitHub. It can be downloaded and run on the PyBadge, but there is also a zip release where the.py files have been compiled to.mpy files; which should use less memory and run faster.
I worked with ChatGPT heavily on this and it accelerated the creation of the code as well as helped me create some of the more complex functionality I needed.
One day I plan to port this code over to standard Python and use something like PyGame so that it can operate on any PC/RPi, which would greatly increase what can be done with the game, as I would no longer be limited by the RAM/CPU on the PyBadge.
It's split into several sections, in the root there is:
main.py
This file remains uncompiled on release as it needs to bootstrap the running of the compiled files, so all it does is import game.py and when running CircuitPython on a PyBadge the base file needs to be uncompiled Python that imports the compiled.mpy files.
game.py
This sets up the menu system, which enables switching of menus and items passthrough of items from one menu to another; such as win status and money won so that the next menu can display it.
It also sets up:
- root display
- player stats
- controls
- led controller
- audio engine
Which are instantiated as classes that can be accessed from other components.
It holds all of the menus as different classes within a dict, these menus are then instantiated as needed and can be switched between using functionality in menus.py it sits in a loop that checks whether the menu ID has changed and when it does it switches to that menu, clearing items from the last one.
utils/resource_manager.py
This contains manual garbage collection functionality - this is required because the default garbage collector within CircuitPython isn't good enough to keep the RAM clean when working with lots of labels, sprites etc. I found that I was getting memory fragmentation errors without calling gc manually at certain points; through testing I found that going below around 8KB of free RAM would result in this fragmentation even if the amount being allocated was below that.
This is because the automatic gc doesn't kick in until a certain point, which means that while there can be enough RAM left for new content its not contiguous and therefore throws the fragmentation error. I try to call the gc often, along with cleaning up other items from memory (for instance when switching between menus) to keep the RAM contiguous.
components/audio.py
This, of course, handles all audio; at the moment it is limited to just the opening theme to the game because I couldn't find a way to get audio to play without pausing the entire system. Otherwise I would have attempted to get engine noises and menu music etc.
It has a class where core functionality is stored such as play an individual note or play a tune. The theme tune is stored as a list containing the notes.
It makes use of the 'pybadger' library which is incredibly handy for abstracting away a lot of the functionality behind more simple code; if I ever make anything in future for the PyBadge I will make much more use of this.
components/controls.py
This handles all of the inputs as well as de-bouncing to ensure that the buttons don't cause too many inputs. It can also adjust the de-bounce setting on the fly as we don't want de-bouncing during the race, we want smooth inputs. On the menus however, we want a.4 second delay to make navigation easier and less slippery. I may reduce this in future though as the menu can feel a bit sluggish at times.
components/engine.py
Where all of the core mechanics are held, such as player statistics, trolley garage and trolley performance stats. It also handles the upgrade applications for each trolley and stores them in the garage so that each individual trolley in the garage can maintain its own upgrade stats.
This is also where the main track running code is held which handles the acceleration/braking of the trolley as well as collisions with obstacles, health of the trolley, win/lose/draw states.
I have tried to implement a physics system so that the trolley naturally speeds up and slows down, taking into account the weight of the trolley and other factors to ensure momentum as well as counter reactions to clashing into objects; making for a smooth and quasi-realistic approximation of how actual trolleys handle - which also makes for more interesting and engaging gameplay.
The factors taken into account for the physics system are:
- weight
- speed
- acceleration
- deceleration
- grip
- boost strength
- brake strength
There is a track generator class here which handles spawning objects on screen and moving them downwards to make it seem like the trolley is moving through the track. Obstacles are spawned slightly above the screen resolution so that they appear to be naturally coming into view and when they go below the screen they are de-spawned and the gc called to ensure that the memory is kept clear. It also ensures that the obstacles are spaced out and don't collide with each other, while staying below the max obstacle limit. It can also adjust the % chance of different obstacles from spawning; this is to primarily ensure that there aren't over-spawns of water and money.
In order to create a challenge for the player I wanted to implement an AI system that would avoid obstacles on the scene as well as try to get ahead of the player and win - this was the trickiest part the code and ChatGPT was key in helping me create it. Even then it still took a considerable amount of time to implement and test, with improvements that can be made still.
It essentially checks the area around it for the location of other sprites (obstacles) and maintains a certain distance from it. It checks through the list of obstacles plus the player trolley and adjusts its x and y speeds to avoid them; the order of checking is: obstacles, then the player trolley, then finally buffers from the top and bottom of the screen so it never gets to the very top (which would make it impossible for the player to pass). The player is checked last to ensure that its final movement prioritises avoiding hitting the player; as this would be very annoying to have the AI trolley crash into the player and cause a race loss.
The x and y directions are then put into a calculation similar to the player trolleys physics model, which then results in the AI trolley having a smooth movement with acceleration & deceleration. In future I plan to add in the ability for the AI to have upgrades applied as well as be affected by the pools of water that randomly appear so they slide like the player does. There was some path finding tech I tried to implement which would have had even more advanced movements, but this ate up too much memory on the PyBadge.
components/graphics.py
This has some cool stuff in, it has all of the main display libraries and instantiations that allow for interaction with the display from all other modules.
It has the ability to fade the display by adjusting brightness; which can give smooth transitions from menu to menu without having to do any expensive pixel functions, while hiding the menu labels loading in one-by-one.
It can clear everything off the screen and call the gc with a single function.
It can also show full screen images, using the display_on_disk_bitmap function; which is a way to save on RAM by not having to load the entire image into memory. This is how I was able to have lots of nice backgrounds without the RAM running out.
It also has a label creation function which of course is for creating text labels which we use as menu items.
It has a sprite loader that can be used to take the sprite map into memory and split it into individual sections that can be referenced easily by a string, for instance:
sprite_matrix["water_spill_1"]Will load sprite matrix location: (2, 0) from the bitmap.
There is a function loads each of the sprites from the matrix into memory and applies transparency to colour index 0 (making the white background see through).
Which can be used to slice that sprite out and load it using the 'get_sprite' function.
This is all loaded when the game is booted, to make sure sprites are available for use throughout the games runtime.
I wanted to add a bit of visual depth to the game by adding in shadows to the sprites, I could have baked the shadows into the sprites but I wanted something more dynamic and easier for trickier parts of the sprites; so I worked with ChatGPT to get a system where on sprite loading it clones the sprite, offsets it by a few pixels depending on a calculation then uses that as a mask to render black pixels. This results in a really nice little shadow system, which makes the objects on screen look a little less flat - this is still a work in progress however as setting the shadow angle to anything other than 135 results in the sprites getting a bit messed up. But in future I hope to enable different shadow angles and lengths, so it feels like an actual light source is on the objects.
There is also a colour shift function - I introduced this because I wanted the AI trolley sprite to have a different colour to the players trolley, so it was always clear what was the player and what was AI. I didn't want to add any more sprites to the sprite sheet to save on memory and also to reduce duplication, so the colour shift function allows for the sprites to be changed upon load; it just needs R, G, B values inputted to shift.
For instance - passing in:
color_shift=(85, 0, 50)Will add red and blue colour to the sprite, resulting in it being a more purple colour. This could also be used in future in conjunction with the shadow angles to from a dynamic lighting system.
When calling sprites they can have transparency on/off, any colour shift and shadows on/off. Meaning a great deal of representations of sprites on the matrix can be achieved, for instance; the menu items when buying trolleys/upgrades have a non-transparent background and shadows over that background so they are clearly represented in the menus in a little frame.
It is also possible to get almost per-pixel effects using the Adafruit shapes library and drawing tiny squares, I tried to make some cool effects like fireworks and smoke as well as a shine effect on menus etc. but unfortunately it would just take up too much memory and processing power on the PyBadge - again this is something that would be possible on more powerful hardware when porting the code over.
components/leds.py
A central location for handling the front-facing LED's that help indicate to the user the current progress of the race and how much time is left.
Has the ability to set LED's, clear LED's and I also added a colour interpolation function so that there can be a smooth gradient between green/red LED's, however, I wasn't able to get this to work and instead of a smooth gradient the LED's just turn red over a certain threshold rather than going from green > orange > red. I wasn't able to figure out why so I may revisit in future, if anyone can take a look and figure it out feel free to drop a comment!
components/menus.py
I have tried to design this in a clean way where menus can be added by using the BaseMenu class and adding in menu options, label positions etc. I wanted it to be more class based using ABC classes, but CircuitPython does not support this. When I move to porting this to standard Python + PyGame and away from the restrictions of the PyBadge I will be able to clean this implementation up and make it even easier to add menus.
For example setting up the main menu is as clean as:
class MainMenu(BaseMenu):
    def __init__(self, app):
        super().__init__(app, background_image='images/main_menu_background.bmp')
        self.menu_options = [
            TrackSelectMenuItem,
            TrolleyShopMenuItem,
            TrolleyGarageMenuItem,
            UpgradeShopMenuItem,
        ]
        cleanup()
In order to keep the memory usage under control there is a loop that runs that determines changes made to the items on screen, for instance; if you scroll downwards and the current top label moves off-screen then it needs to be removed. It will load objects that have been placed into a menu class from objects.py which we will go into below.
Essentially, the objects have certain attributes such as the label text, sprite ID, whether the sprite has a background shadows etc. and these are all loaded from the object class when rendering the menu via this loop. If a menu label has a sprite ID it will be rendered to the right of the label, this is so you can see the upgrade icons and trolleys within the menus when purchasing. It is always keeping a track of visible items to prevent re-rendering items unnecessarily.
All of this allows the menu items to change and move as you scroll while also allowing a cursor to move to select different items, ensuring that unless the menu scrolls the only thing being re-rendered is the cursor as it moves.
There is an action map present within the menu base class, which is where functions can be called from the actions attribute of menu object, for instance buying trolleys, upgrading trolleys, switching menus etc.
It also handles the showing of notifications (such as the amount of money the player has) as well as menu switching and passthrough of information from one menu to another.
When labels are too long (text going off the screen), the text will scroll so that it is all readable.
This is where I had to apply a serious amount of optimisations and hackery to stop the PyBadge from getting memory fragmentation errors - I have reduced the amount of functions to a minimum, while keeping the code DRY; as it seems to use less memory. Again in future when ported I will make the code cleaner and easier to read, as well as adding in extra customisations within the menu such as locations of labels/sprites etc.
Overall it works and it was fun to build my own menu system for the game.
components/objects.py
Objects and their functions are held here, trolleys, upgrades, objects and menu items; along with their text, their sprites and any additional attributes. Some are held as class-vars such as the names and basic attributes, some are instance vars like the cost of repairs which is a variable passed along from the engine.py module.
There are some hardcoded values here such as the prize money items, I did have a config file where all of these things where held for displaying in the menus as well as for the difficulty selection within the engine module - but I had to remove this to save on memory. Again, in future after porting the code to Python + PyGame, I will reinstate this config file and ensure that things like the difficulty settings, trolley stats and other config are all contained in one place.
Trolleys are loaded with their upgrades stored as an instance of a class so that when you upgrade a trolley and switch to another trolley the upgrades are kept in place, this is also where their sprites are loaded.
Upgrades and their sprites, stats etc. are kept here as well and used as part of the engine module to apply the upgrades to trolleys.
The sprites are all loaded through the sprite_extractor superclass which allows for inputs into the functions within graphics.py to give the sprites different attributes.
Actions can be assigned to objects here as well for instance:
actions = ['switch_menu']Which when activated by being selected and hitting 'A' will call that function from the function map within menus.py. Additional instructions can be passed in via the objects object_id attribute, so with the action 'switch_menu' and the id 'main' this menu item will switch to the main menu when selected. In future I will clean this up so that there is a separate variable to be passed in for the action, but it was at this point the memory usage was so on the edge I was trying to keep things down to a minimum.
Each object has its own unique menu_id which is hard-coded at the moment but is used to ensure that the menu loop is always able to determine whether the menus visible items have changed or not (by checking if the ID's within visible items are different). In future I will try and make these be dynamically generated rather than hard-coded.
.github/workflows/release.yml
A GitHub actions workflow that runs compilation of the.py files to.mpy whenever a push is made to main branch, it also creates a dated release, this runs when there are pushes to the main branch.
I wanted a way for this to automatically download the required CircuitPython libraries but I wasn't able to get this working and I'm not sure if I should include the raw libraries within the repo, so unfortunately the libraries have to be manually installed on a PyBadge after the code has been dropped onto the badge.
As a whole, working within the restrictions of the PyBadges limited memory really helped me gain an appreciation for memory management, when you're working with large amounts of RAM on a desktop or even a RPi with 512MB you don't really notice how the memory usage builds up or how the tiniest of changes can really help with memory usage. Even increasing the size of a string within a text label could cause increased memory usage and memory fragmentation errors, which is why to get all the labels and sprites on the menu screens I even had to cut down on some of the label text.
Of course this won't really matter much at all when ported over to PC/RPi but it definitely helps give me knowledge for future work on smaller devices with RAM in the KBs.
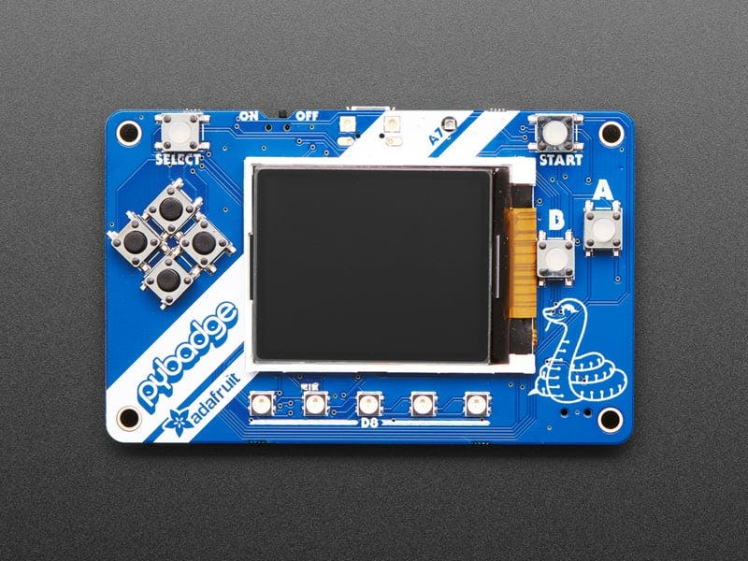
Steering Wheel: Hardware
The PyBadge is a nice little board but ideally it is meant to be put inside of a case, it can also have a LiPo battery installed that it can charge when plugged into USB.
I found an old component box that came with some stuff I purchased a while back and found it fit perfectly, it just needed a small hole cut out for the USB and a small switch added in for turning it on/off.
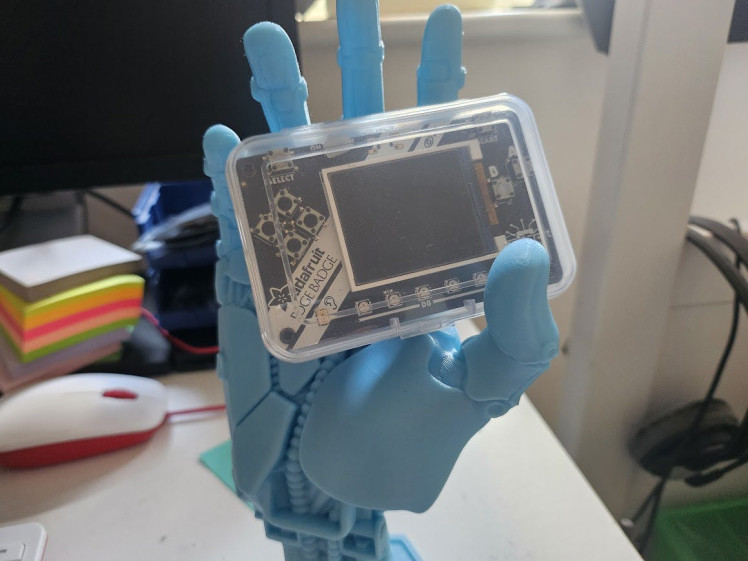
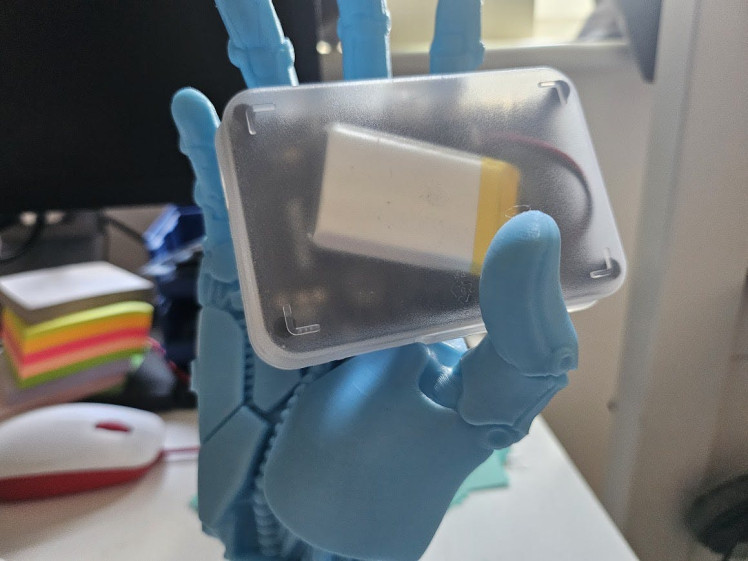
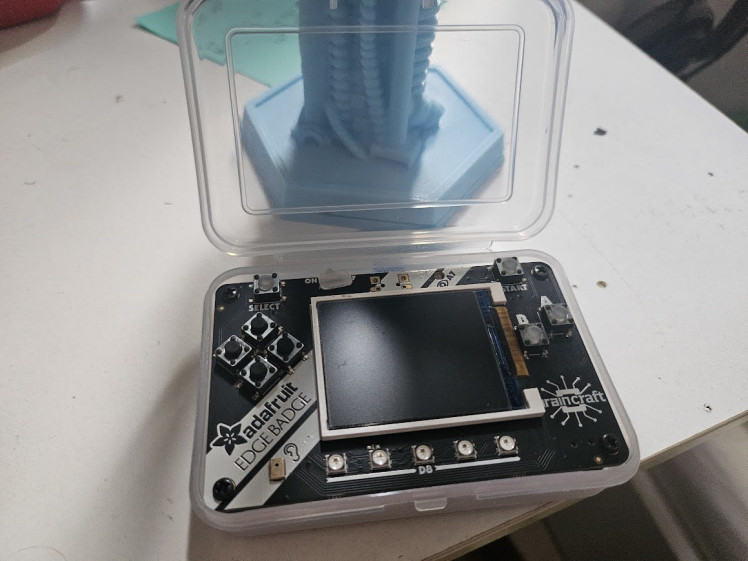
It means that Checkout Challenge can be taken out for trolley racing on the go and the screen is protected from damaged with the folded lid.
Checkout Lane: Final Thoughts
As mentioned above the next thing to do would be to port this code over to a generic PyGame framework game and have it be able to run on nearly anything rather than just the PyBadge. Which would also enable cooler graphical features, more objects more backgrounds and overall just a more polished game.
I could also add more aggressive AI trolleys, many more types of track to race on and even AI vs AI modes.
I'd love to enhance the shadowing system and add in some 2d style lighting, possibly utilising hardware acceleration (sort of like the effects seen in Factorio).
So there is a lot to think about for a sequel/enhanced edition.
I'd also like to get sound working throughout the game with different music tracks, effects for the trolleys, crashing sound effects and nice sounds when navigating the menus.
It's been really fun working on this and I've learnt a lot and I enjoy randomly picking the game up and playing it; so hopefully, other people will enjoy the game too! I also keep finding new upgrade paths for the trolleys and different ways to advance up the difficulties, although I am starting to think the very top difficulty is impossible... so this may need to be adjusted in future.
I will also be noting down any balancing changes that may need to be made to the trolleys, I think its entirely possible the best trolley with all upgrades is a little overpowered.
Feel free to fork the code and make a pull-request to fix any bugs or add anything you think would be cool.
Thanks for reading this far, let me know what you think of the game and any enhancements/suggestions are welcome.
Code
Credits
Related products


g