Boldly Building My Own Droid: A Journey Inspired By Star War
About the project
A DIY Adventure Through Droid Design, 3D Printing, and electrical engineering.
Project info
Difficulty: Easy
Platforms: NodeMCU, Raspberry Pi, MicroPython
Estimated time: 3 hours
License: Creative Commons Attribution CC BY version 4.0 or later (CC BY 4+)
Items used in this project
Hardware components
Story
As an avid Star Trek fan, I never thought I'd find myself caught up in the world of Star Wars. But, life has a funny way of throwing surprises at us. When I volunteered at this year's Star Wars Celebration in London, I encountered the Droid builders and embarked on a journey filled with laughter, excitement, and the construction of my very own, slightly unconventional, Droid. I'm excited to share my entire Droid-building process with you in my YouTube video
While exploring the convention floor (or should I say, "Boldly going where no one has gone before"), I stumbled upon a Droid designed by the talented Michael @mrbaddeley This robotic marvel instantly captured my heart, and I knew I just had to build one for myself – a testament to the power of good design transcending the boundaries of fandom.

Thanks to Michael's generosity, the model files were available on his Patreon page, and I eagerly started 3D printing the main body pieces. However, my journey would not be without its unique challenges and humorous twists.
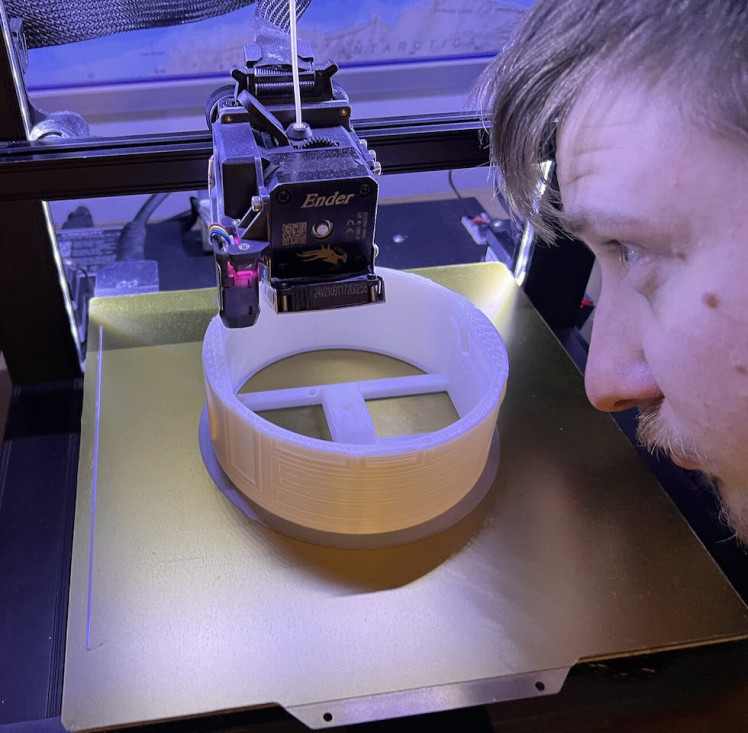
Since I wasn't using the exact same servo motors Michael designed the Droid for, I found myself modifying the wheels and headgear to accommodate my 9G servo attachments. I also had to modify the front caster, as my ball bearing was a different size than the one Michael used.
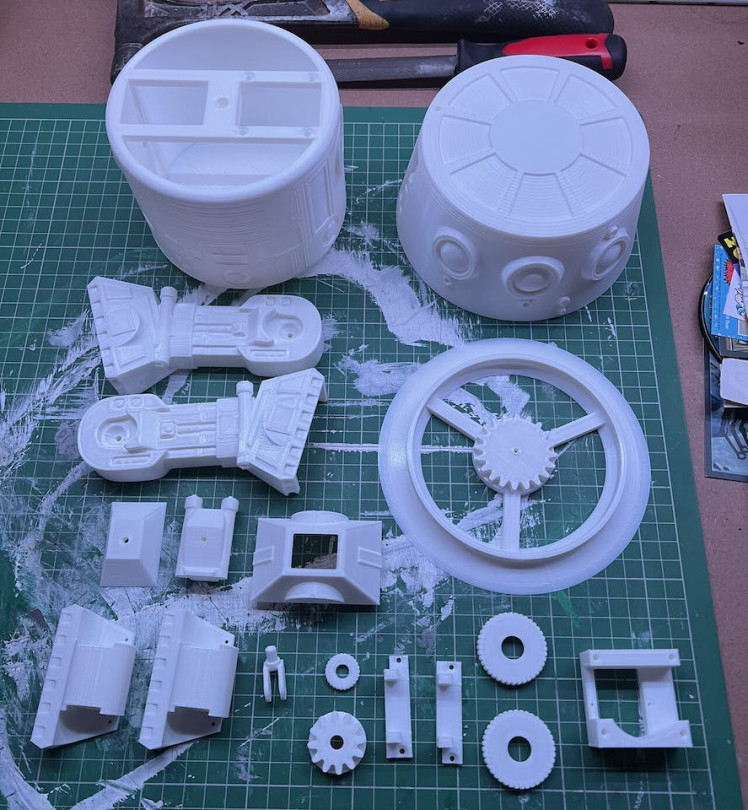
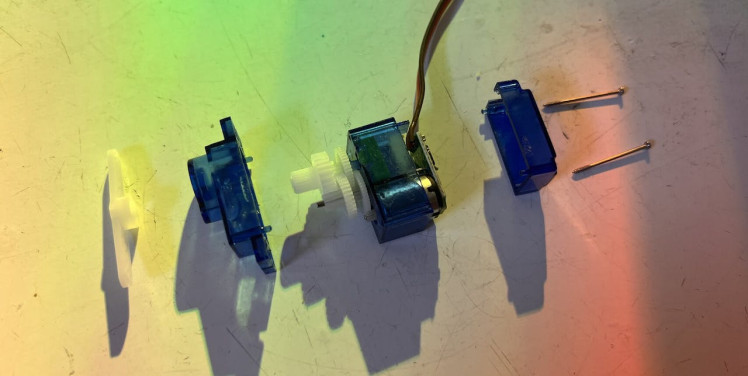
The electronic components required for this project were somewhat pricey, with a £90 radio and receiver and £25 continuous servo motors. My inner DIY spirit (and wallet) led me to choose regular 9g servos, two of which I modified to be continuous. While this meant my Droid's head wouldn't rotate a full 360 degrees, I was perfectly fine with that endearing quirk.
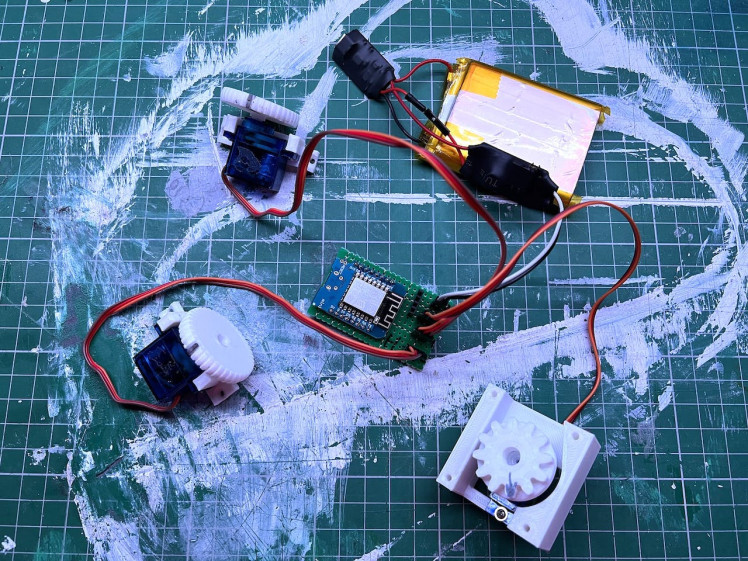
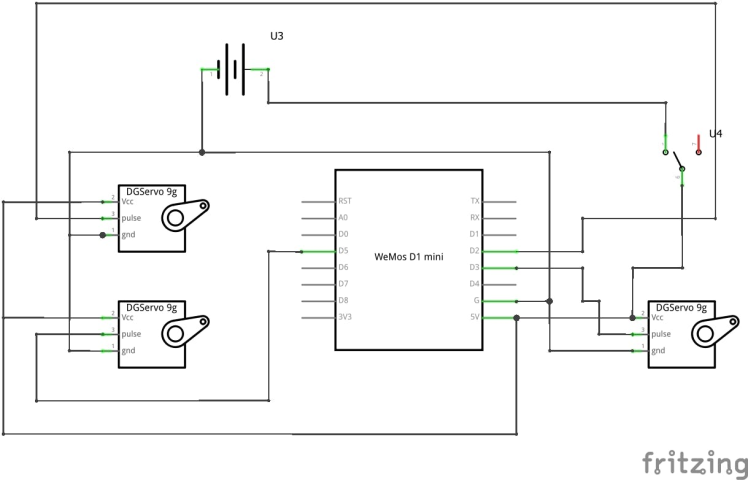
Instead of the pricey controller and receiver, I opted for a D1 mini with a web interface. I also crafted an offline controller for those moments when Wi-Fi is but a distant dream. To power my Droid, I repurposed a battery from an old battery bank, complete with a USB battery management system for charging.
1 / 2
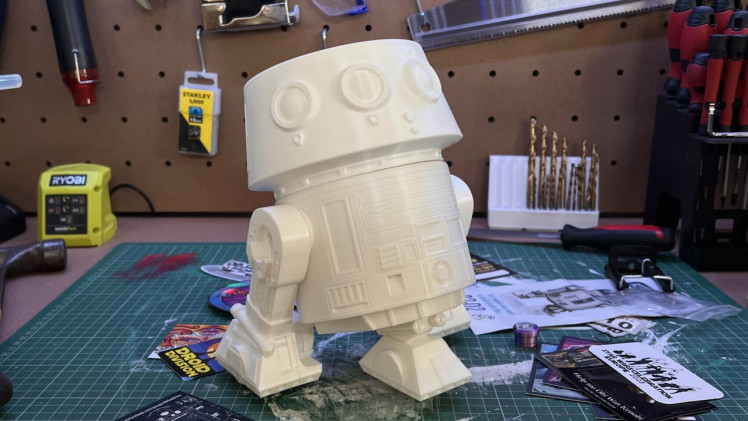
The assembly process was a journey in itself. Fueled by enthusiasm (and perhaps a dash of overconfidence), I dove into the task without consulting the instruction manual. Though this resulted in a slightly longer assembly time, my adorable little Droid eventually came to life.
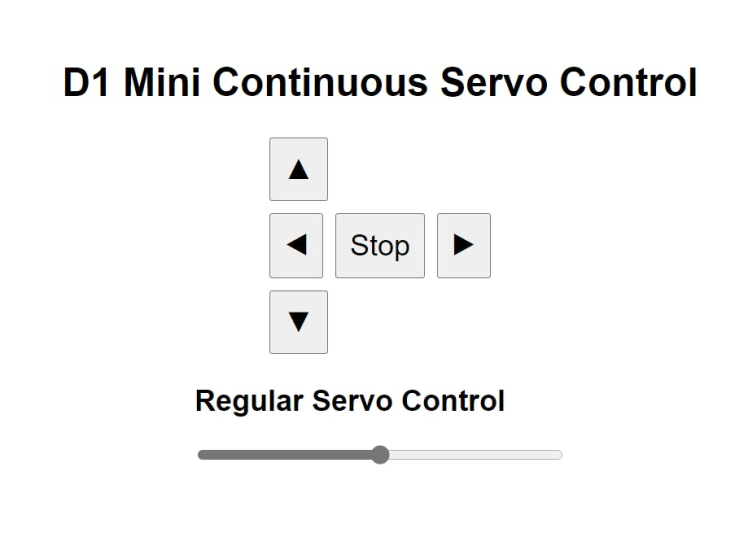
The web interface was quite basic, with a few buttons for movement and a slider for head rotation. However, the Droid's response time was slightly delayed, so I would recommend this setup for testing purposes only.
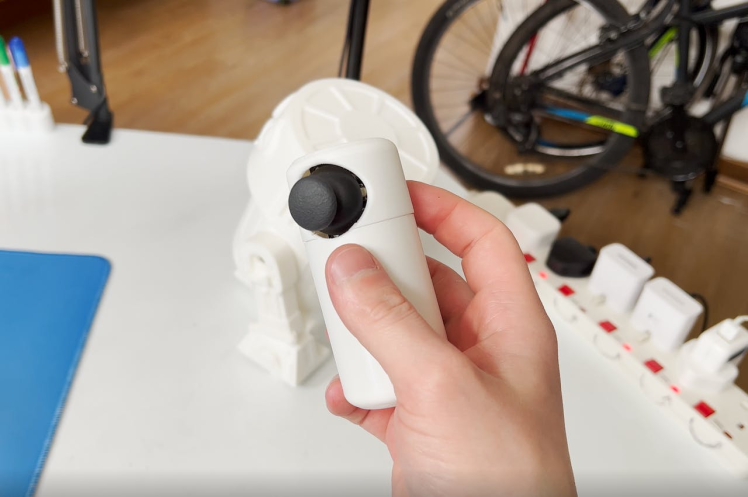
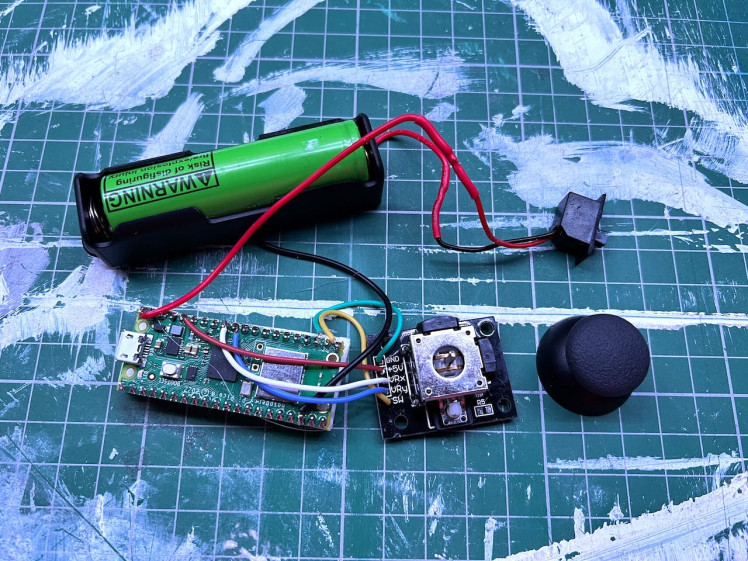
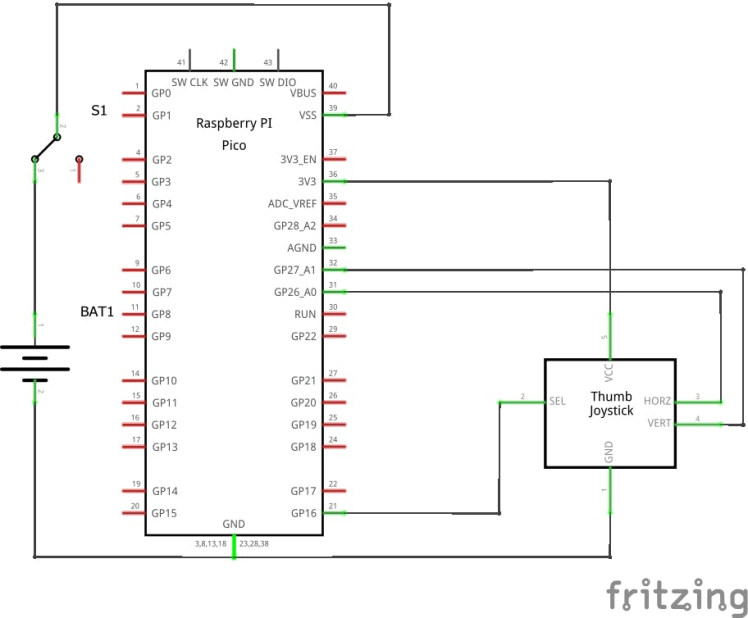
Fear not, though, for the custom remote I created proved to be an excellent solution. Utilizing a joystick module, Raspberry Pi Pico, an 18650 battery holder, and an on/off switch, the two microcontrollers connected via Wi-Fi and communicate using the UDP protocol. The result? A highly responsive remote with ample room for future enhancements, such as adding sound effects or even a mini-phaser.
1 / 3
In the end, my unexpected adventure at the Star Wars Celebration led to an unforgettable journey of creativity, laughter, and triumph. By channeling the spirit of exploration and innovation found in both Star Wars and Star Trek, I built an adorable Droid companion that will forever remind me of the magic that exists within these beloved universes and the power of DIY ingenuity.
If you enjoyed following my journey and want to support my future creative endeavors, consider becoming a patron on my Patreon page Mellow_labs | Improve the mundane | Patreon. Your support will help me continue to create engaging content, inspire fellow fans, and explore the limitless possibilities of DIY projects.


Leave your feedback...