Automatic Hotspot For Your Raspberry Pi Using Iot Bit
About the project
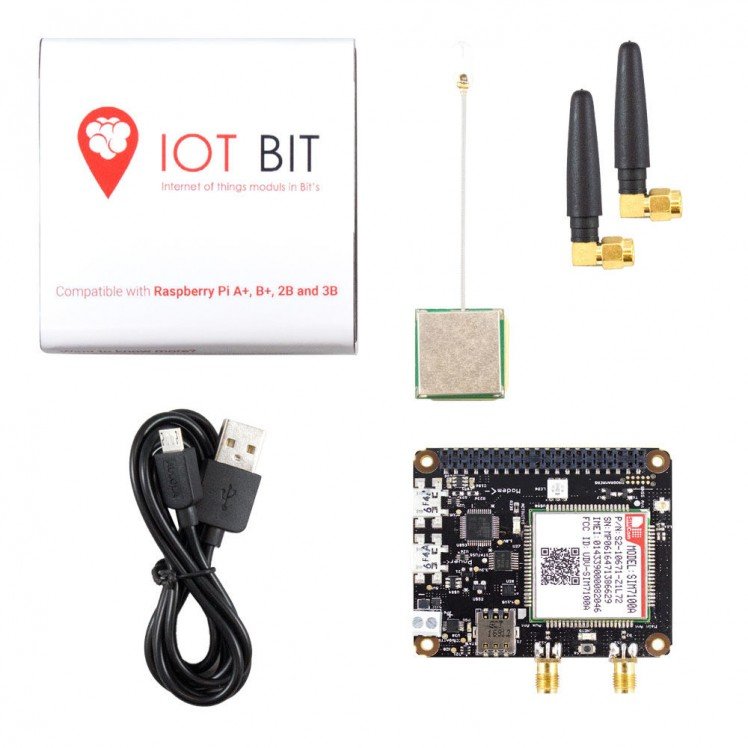
For this instructable, we will set up an automatic hotspot using the Raspberry Pi and other minicomputers. Heres a list of the computers which are compatible: Raspberry Pi 1-2-3, Raspberry Pi Zero, Asus Tinkerboard Rock 64, Orange P Samsung Artiks Eagleye
Project info
Difficulty: Easy
Platforms: Arduino, Home Assistant, Qualcomm, Raspberry Pi, Samsung IoT
Estimated time: 1 hour
License: Creative Commons Attribution-ShareAlike CC BY-SA version 4.0 or later (CC BY-SA 4+)
Items used in this project
Hardware components
Story
Step 1: Materials Needed & Previous Requirements

1 x IoT Bit package
1 x Raspberry Pi
1 x SD card
1 x Screen Keyboard & Mouse (only for setup)
Before starting the setup it's imperative to have installed the appropriate packages for the IoT Bit board and setup a network using the IoT Bit. when starting the setup you should be using raspbian and have the IoT Bit with a mobile >http://forum.iiot.co.za/discussion/15/free-bash-sc...
Save it to "/home/pi", make sure to save it as a .sh file, after downloading it open the script and modify the file to suit your preferences, like for example network id, password, etc.
Then to make it executable simply run in the terminal:
- $ chmod +x /home/pi/(name of your file).sh
The next step will be to make the bash script run every time the system boots. To do this you need to :
To modify the file type in the terminal:
- $ sudo nano /home/pi/.config/lxsession/LXDE-pi/autostart
Then at the end of the file under "@point-rpi" type:
- sudo bash /home/pi/(name of your bash script)
After this steps reboot your pi and you will have a working automatic mobile hotspot.
Code
Credits

Altitude_Tech
Altitude Tech LTD is founded by professionals and students in the area of robotics, electronics and product design, which makes the team the heart of the company.


Leave your feedback...