Automatic Flying Bug Killer
About the project
A solar powered, cloud-connected device to dispatch annoying summertime pests efficiently.
Project info
Difficulty: Moderate
Estimated time: 1 hour
Items used in this project
Hardware components
Story
I decided to build this to both solve a problem and learn about Helium. In the hot summer, mosquitos like to fly around and bite everyone, especially in the afternoon. This means I have to choose between going outside in the 100 degree temperatures of high noon, or not sweat as much but get attacked by swarms of the flying insects. The main killing mechanism is a repurposed Glade fragrance sprayer that cost 5 dollars, so the only not so accessible part is the helium equipment. It takes temperature and humidity data as well and sends it to the cloud for you to pick the best place to put this trap.
Hardware
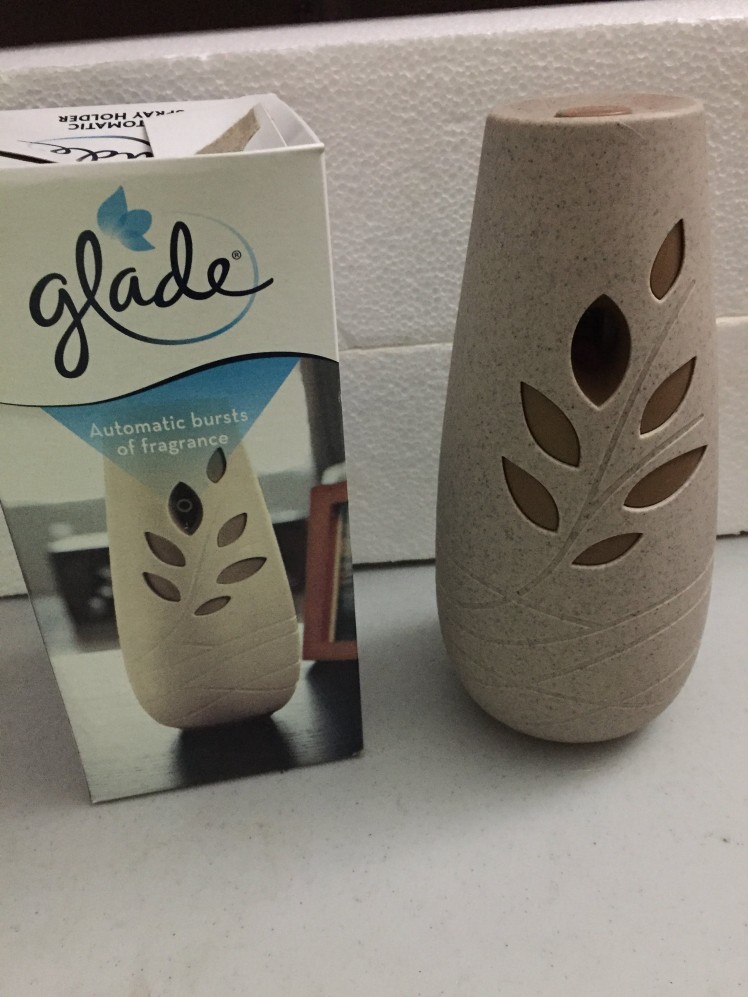 1 / 4 • Cost <$5
Take a compatible Glade fragrance can and remove the plastic spraying nozzle. Remove the default nozzle from the bug spray and replace it with the one from the Glade can. Now open up the automatic Glade sprayer and remove the decorative lid. Since our bug spray can won't fit entirely in the container, we will need to remove the bottom piece of plastic.
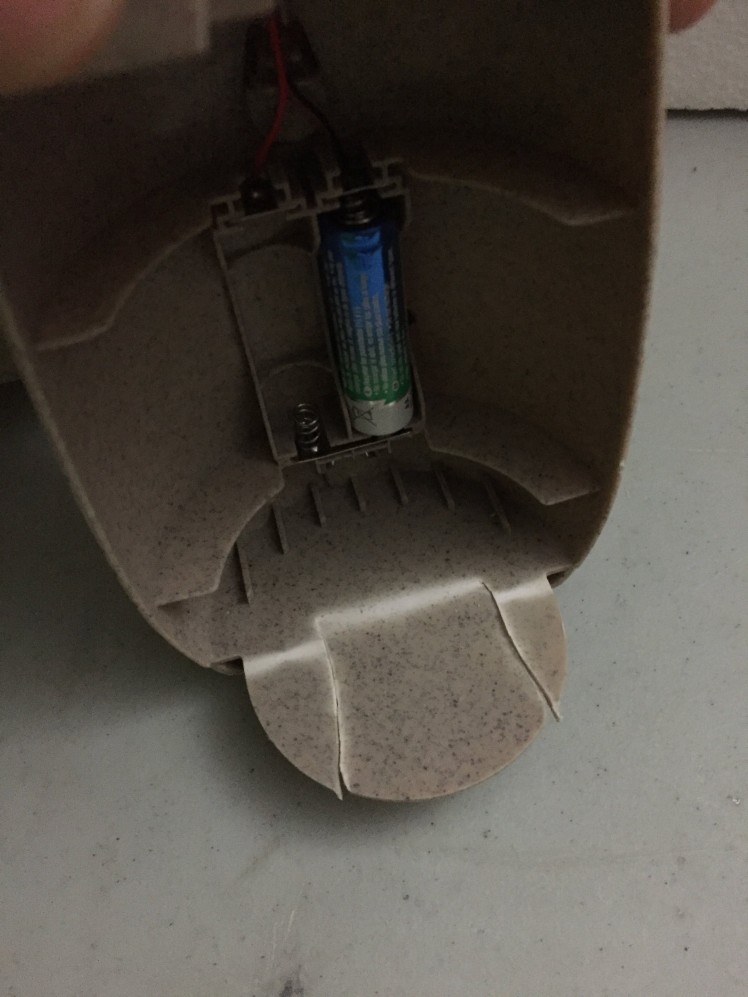 1 / 2
1 / 2
The spray can should now fit snugly in the hole we created. Set the timer to your preference. Use some good old-fashioned duct tape if your can is too big for the decorative cover to fit on top of it.
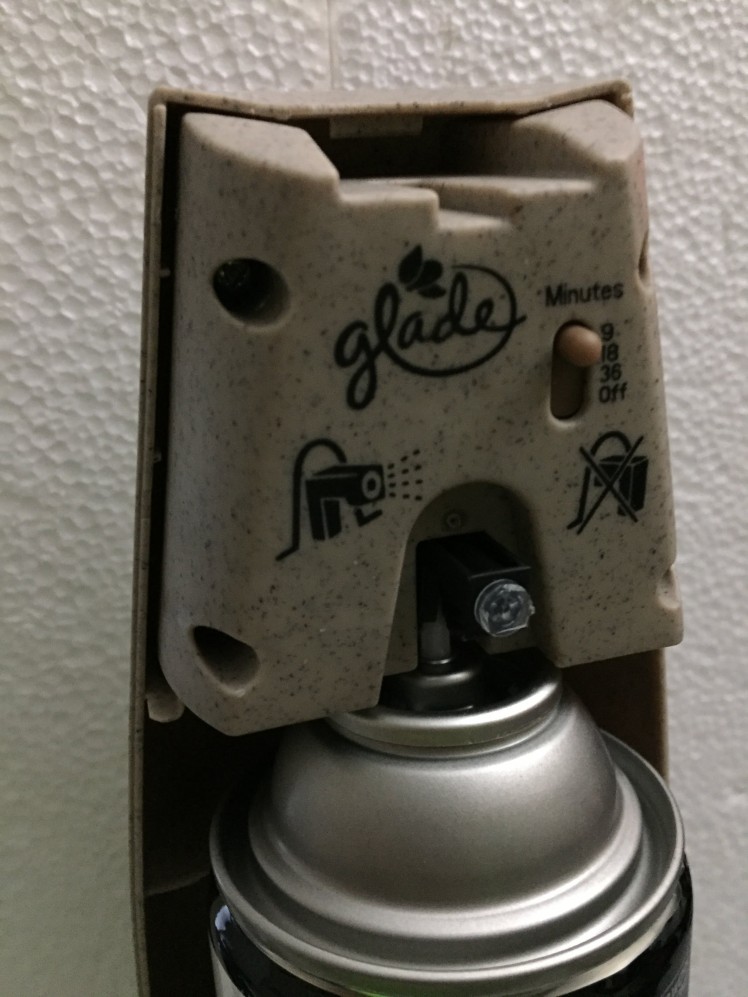 1 / 2
1 / 2
This will kill mosquitos in its vicinity every 9-36 minutes, but what will attract them? For the bait, we'll be using an LED flashlight. Mine used to go on a bike, so it's pretty bright an only needs 3v to work. This works perfectly with our Arduino Uno's default voltage. Simply solder ground and power to their respective positions in the flashlight. I always check on mine in the morning and unplug it then, but for further automation you could hook it up to a photoresistor and have it turn off at the first signs of daylight.
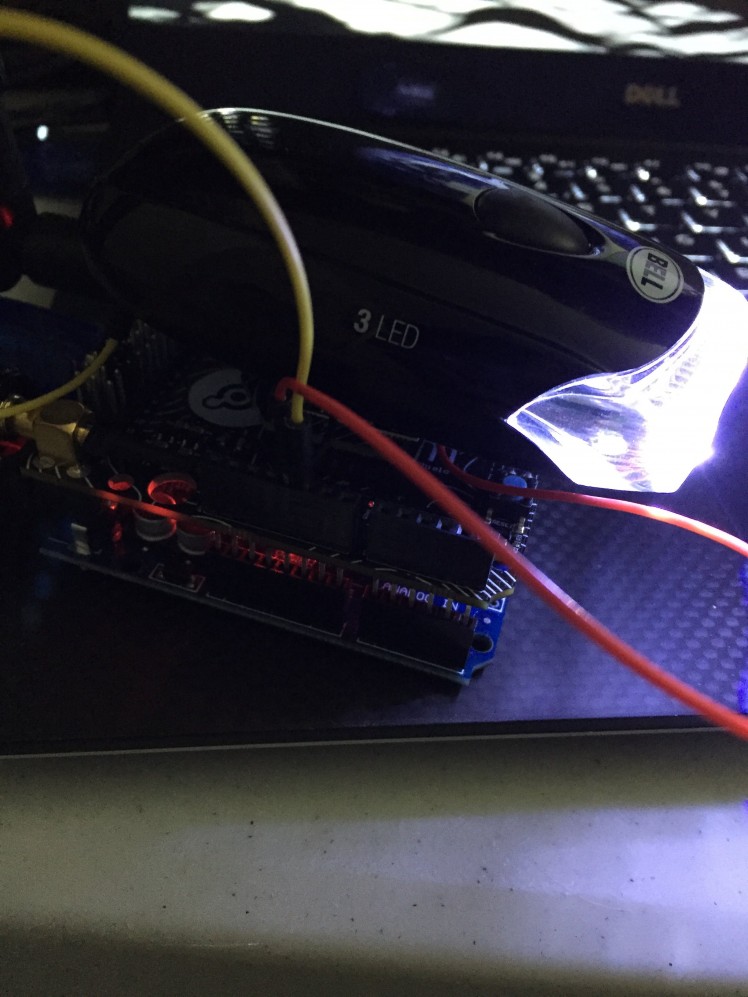 1 / 2
1 / 2
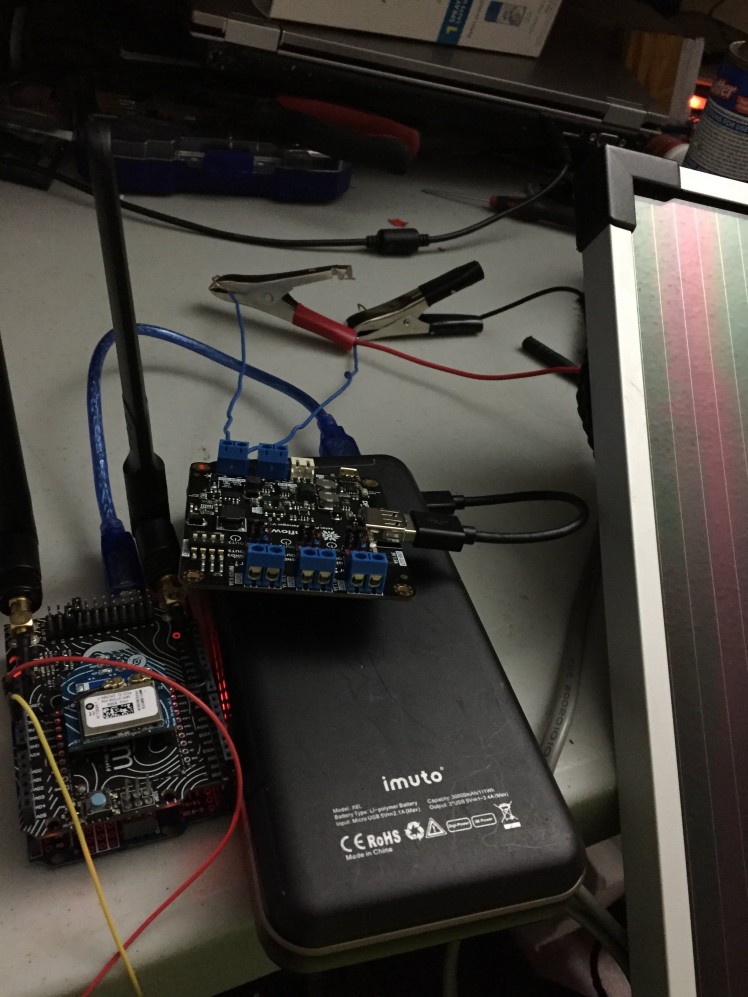
This doesn't power itself though, so we'll need a source of power. For this I decided to use a 5W solar panel and hooked it up to the Sunflower control circuit by DFRobot. It was pretty easy to use and I really liked the multiple configurable outputs. This charges our power bank (li-ion) during the day so it can be ready to use at night when mosquitos are more active and more attracted to light. The power bank can also power the spraying mechanism if you don't want to waste any AA batteries. Just remember to solder it well as it will reset the internal timer if unplugged. Alternatively, you could trigger the mechanism yourself with the Arduino, but the default intervals seemed good to me.
 1 / 2
1 / 2
Software
This has gone pretty long already due to the hardware portion, so I will link to the excellent Helium and Google Cloud tutorials that I followed. Essentially, you will need to go to the Helium Dashboard to create an account. You will then register your Atom and Element to the network. You'll create a channel on Helium and connect it with Google Cloud. My only advice here is to remember to give your Helium service account ALL the permissions it needs or else you won't be able to see any data on Google.
https://www.helium.com/dev/hardware-libraries/arduino
https://www.helium.com/dev/data-channels/google
The Arduino code can be uploaded to your device as is, but remember to change your channel name. Update your DHT pin if you aren't using digital pin 2 as well. You can also include the Helium libraries from your Arduino IDE so that you won't need to copy paste.
Special thanks to DFRobot for providing me with the Sunflower and to Jeff Gensler for referring me to this great opportunity. Check out his project here.


Leave your feedback...