Ads-b Flightaware Aircraft Tracker
About the project
This is a simple project and can be completed in a day or two. Once finished you will can track aircraft around your location up to 250 NM
Project info
Difficulty: Easy
Platforms: Raspberry Pi
Estimated time: 1 day
License: GNU General Public License, version 3 or later (GPL3+)
Items used in this project
Hardware components
View all
Software apps and online services
Hand tools and fabrication machines
Story
Here is the Step by Step.
I did a write up on Imgur. It's a long post and I tried to add it here but it disappeared.
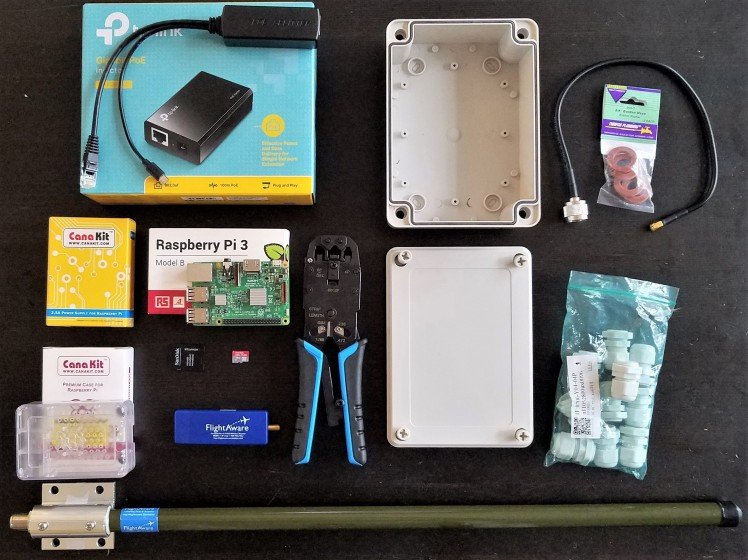
I have been into radio hobbies for a few years and recently I started playing around with SDR. First came the RTL-SDR $20 USB dongle, then came the AirSpy & SpyVerter. Both of those set-ups used a discone antenna with gave great results for most of the freq I was interested in. One of the things I would do is hop around the "AirBand" or "MilitaryAir" bands listening to local aircraft talk with traffic control. I figured I could step up the game a little and build a ADS-B tracking station. So I started to gather my components and give it a shot. Here is a parts list if anyone else is somewhat interested.
CanaKit Raspberry Pi with case and power - $49.99 http://a.co/jgzNiaO
FlightAware Pro Stick Plus - $18.95 http://a.co/7ssfJ11
TP-Link POE injector - $15 http://a.co/8ZNlL27
POE Splitter - $11 http://a.co/dJmNQiK
N Male to SMA Male Adapter - $6 http://a.co/golaF5R
PG11 Waterproof Cable Gland - $6 http://a.co/eW3s4Jf
uxcell 7.1"x5.12"x2.3" Junction Box - $15 http://a.co/0DGzCEm
1090MHz ADS-B Antenna - $40 http://a.co/gFyXa9h
32 Gig SD card /w adapter - $12 http://a.co/7SIqePR
Standard garden hose washer - $1 at local hardware store RJ45 crimper - $15-$50 http://a.co/1TZf9II
100' Ethernet cable (Not Pictured) $15 http://a.co/2a1dkmI
Also not pictured above is my mast setup. I live in a townhouse, so no antennas attached to the house. My way around this is a simple 5 gallon bucket from Home Depot filled with one bag of Quikrete and a PVC pipe in the center that will fit a 25' telescoping fiberglass painters pole. More Info to help with the build; Short step by step - https://flightaware.com/adsb/piaware/build
PiAware - http://piaware.flightcdn.com/piaware-sd-card-3.5.3.img.zip
Enjoy, Maverick 73
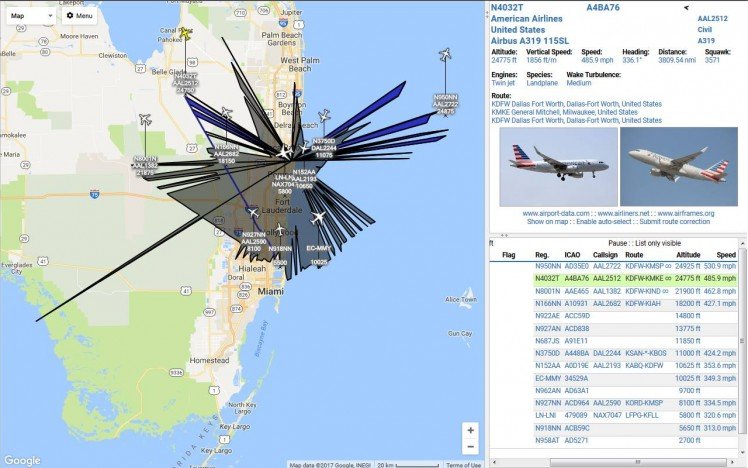
Before I started the build I figured I would test a nowhere near perfect setup to see if it is possible to receive 1090 Mhz from my discone without a band-pass filter or a LNA (Low Noise Amplifier). The results were enough for me to want more and pushed me to build a streamlined setup.
In a couple tests I was able to reach out to almost 80 miles. ADS-B works by line of sight and in the above photo you can see my environmental obstructions. To North my reports are blocked by my building, to the south-east I have a 5 story building and to the west I have palm trees. Two out of three of those I could overcome if I could get the height I need and better positioning.
On this build I had a TRAM 1411 discone about 15 feet off the ground being fed through 30' of low-loss RG58 (honestly its pretty crappy Radio Shack cable) to a FM Band-Pass filter then to the AirSpy. The attenuation of the RG58 is about 5dB loss or basically 33% efficiency.
What I was looking to achieve was the lowest losses from insertion and attenuation. I set out to fit everything into one compact enclosure.
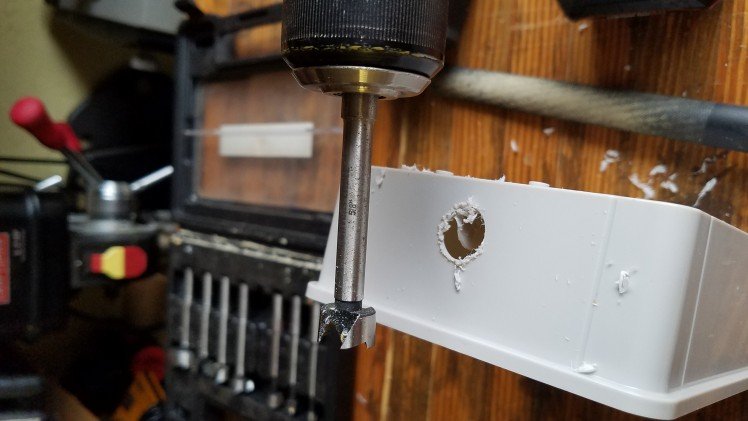
5/8 hole to fit the N-Connector. This shot is a mess but make sure to file and clean the opening for later waterproofing.
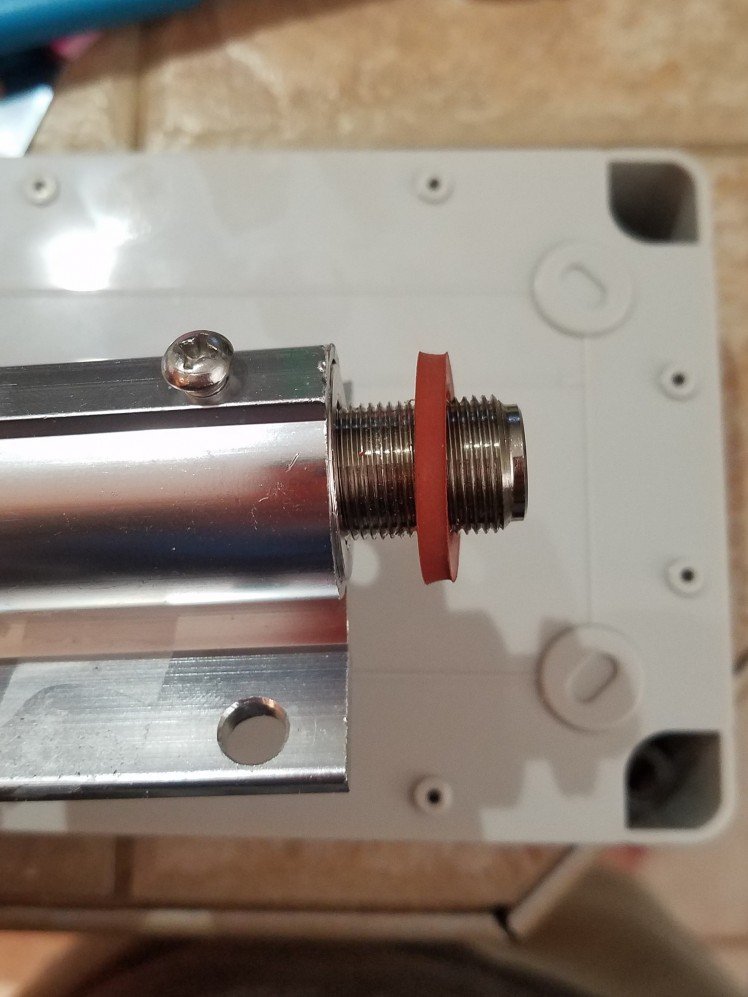
This is a standard rubber washer for a garden hose.
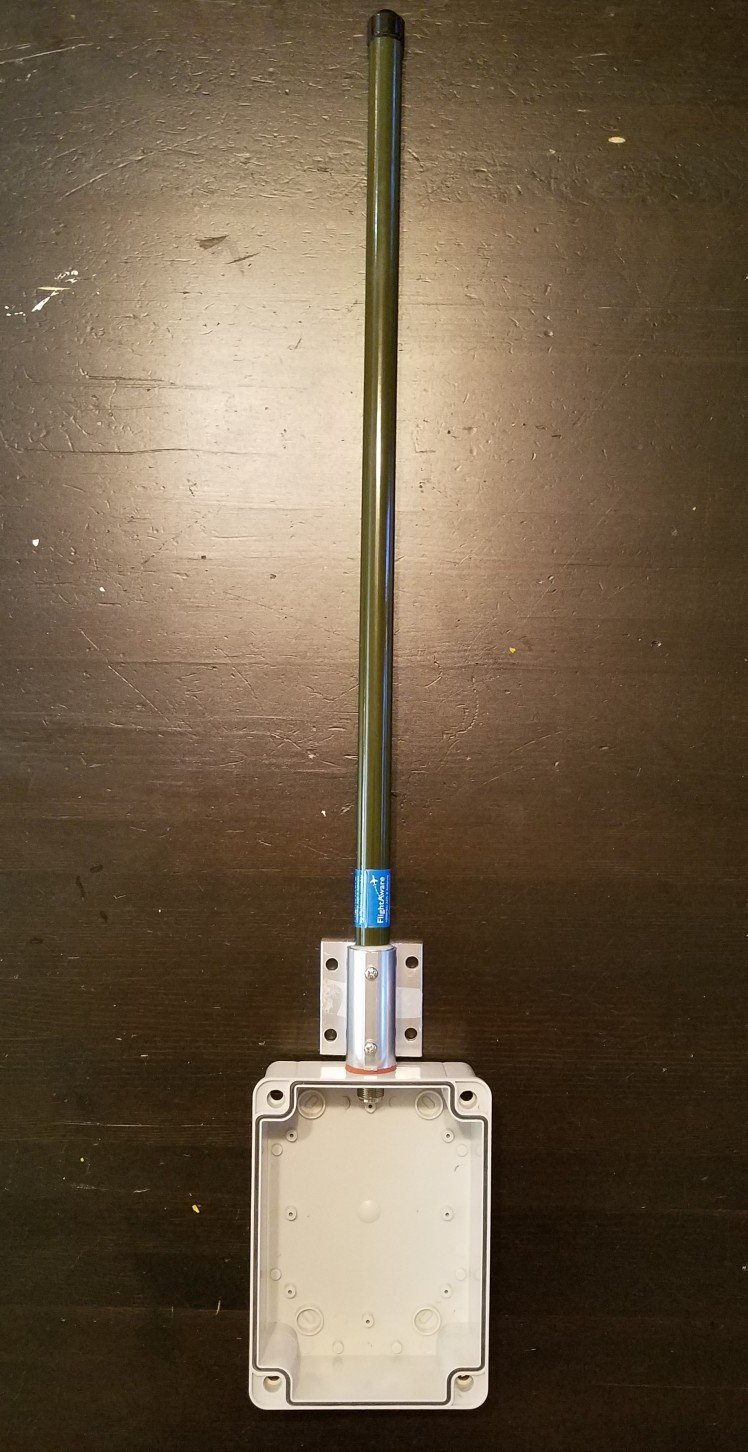
Antenna, washer and enclosure together.
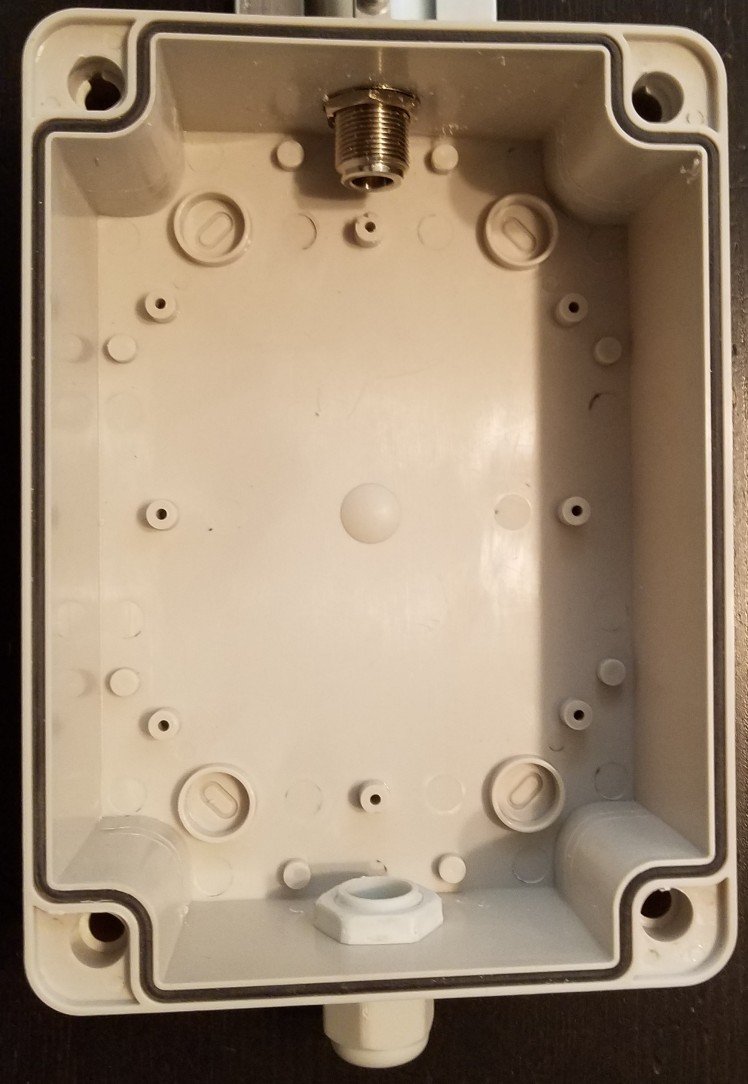
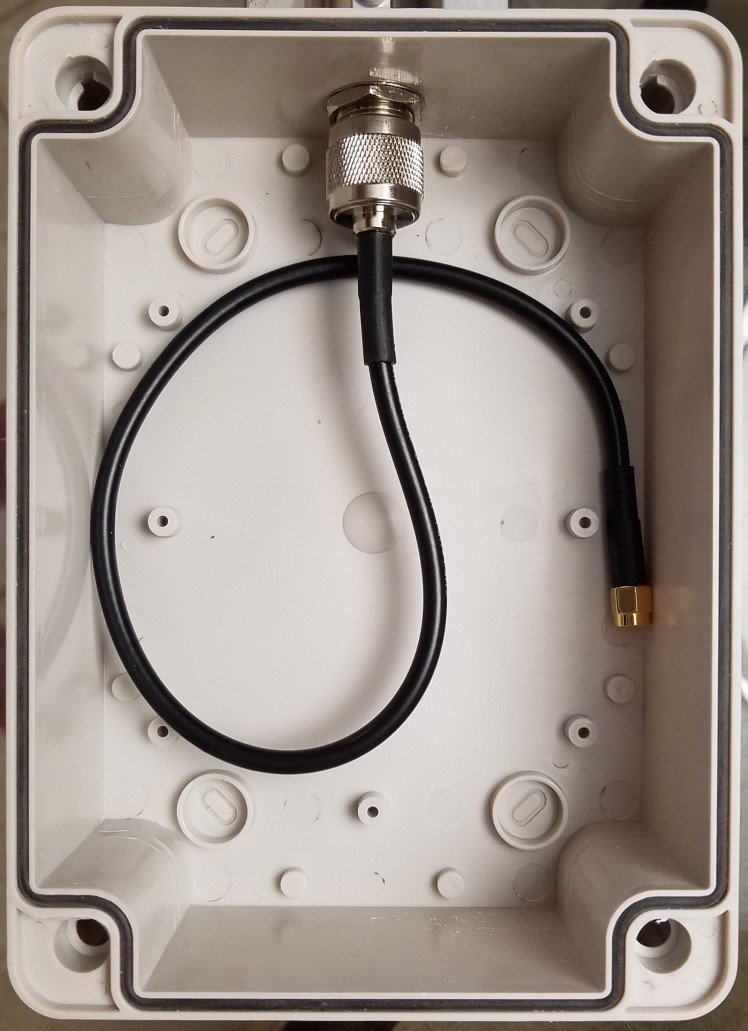
N-connector to SMA pigtail adapter.
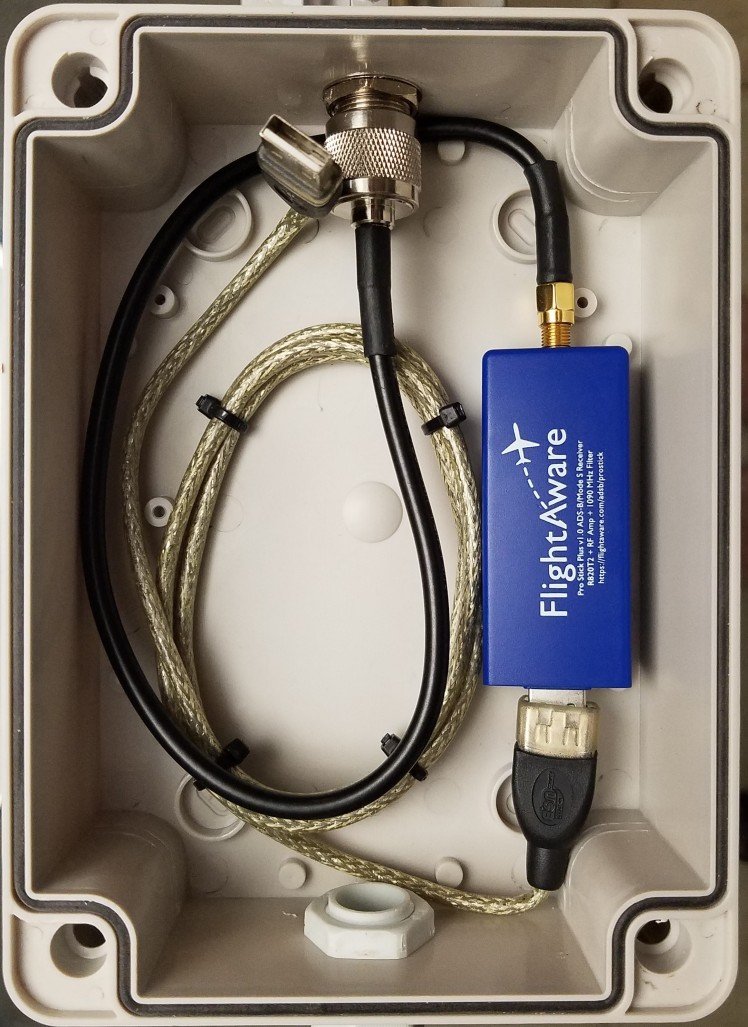
Adding in the FlightAware Pro Stick Plus dongle. The Pro Stick is a fantastic piece of hardware. It is build on a R8208T chipset and has a build in 20dB LNA and 1090 filter. If you live in a congested area or have strong FM broadcast in the area a filter is a must have.
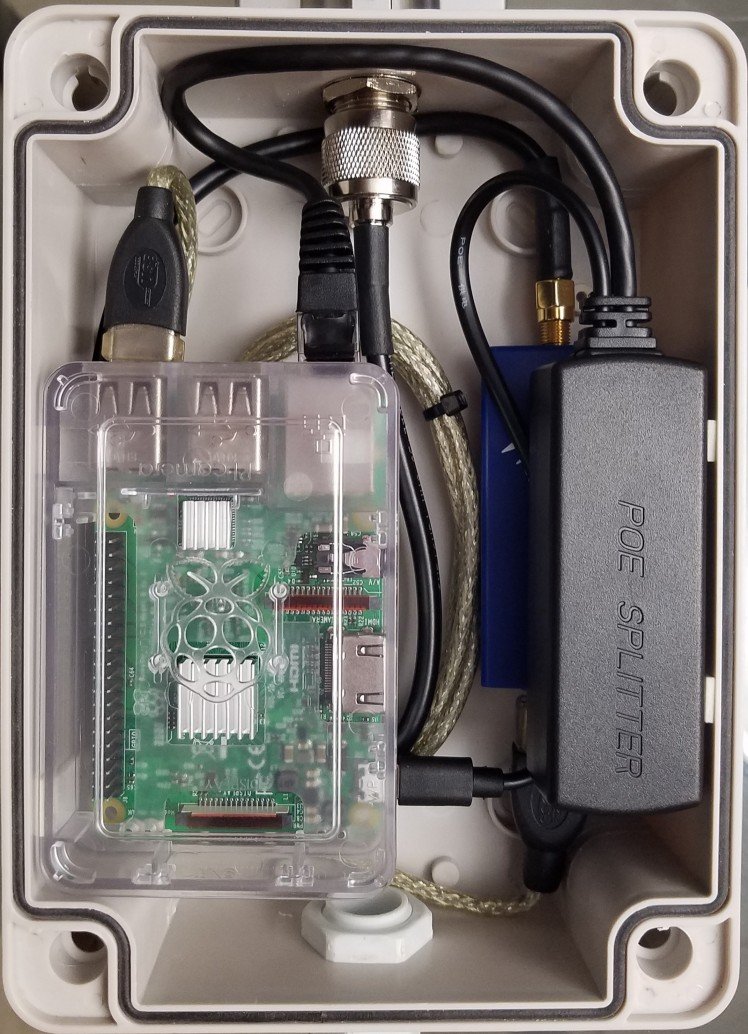
Adding the Raspberry Pi loaded with PiAware 3.5 OS. I added two heat sinks but in the long run I don't think they won't help much for heat dissipation in the summer South Florida sun. In which case I will most likely have to remove the Pi to another enclosure and power the dongle with an active USB extension.
Adding the POE splitter. At this point I'm pretty happy that everything even fit in the case.
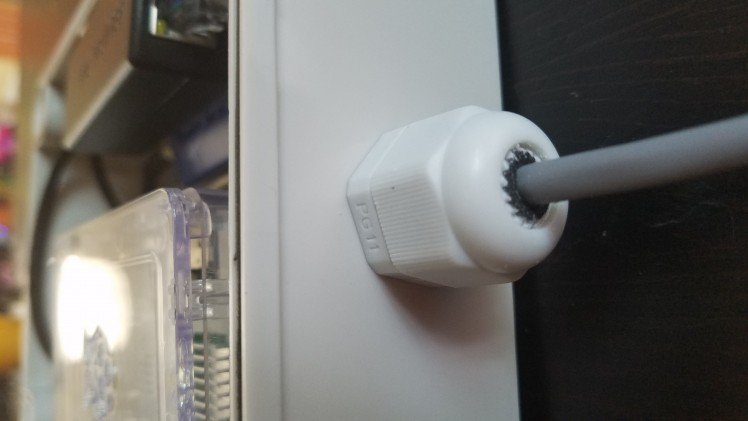
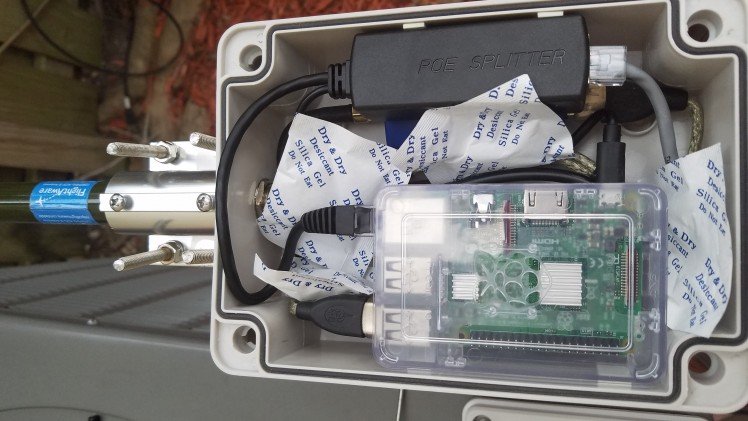
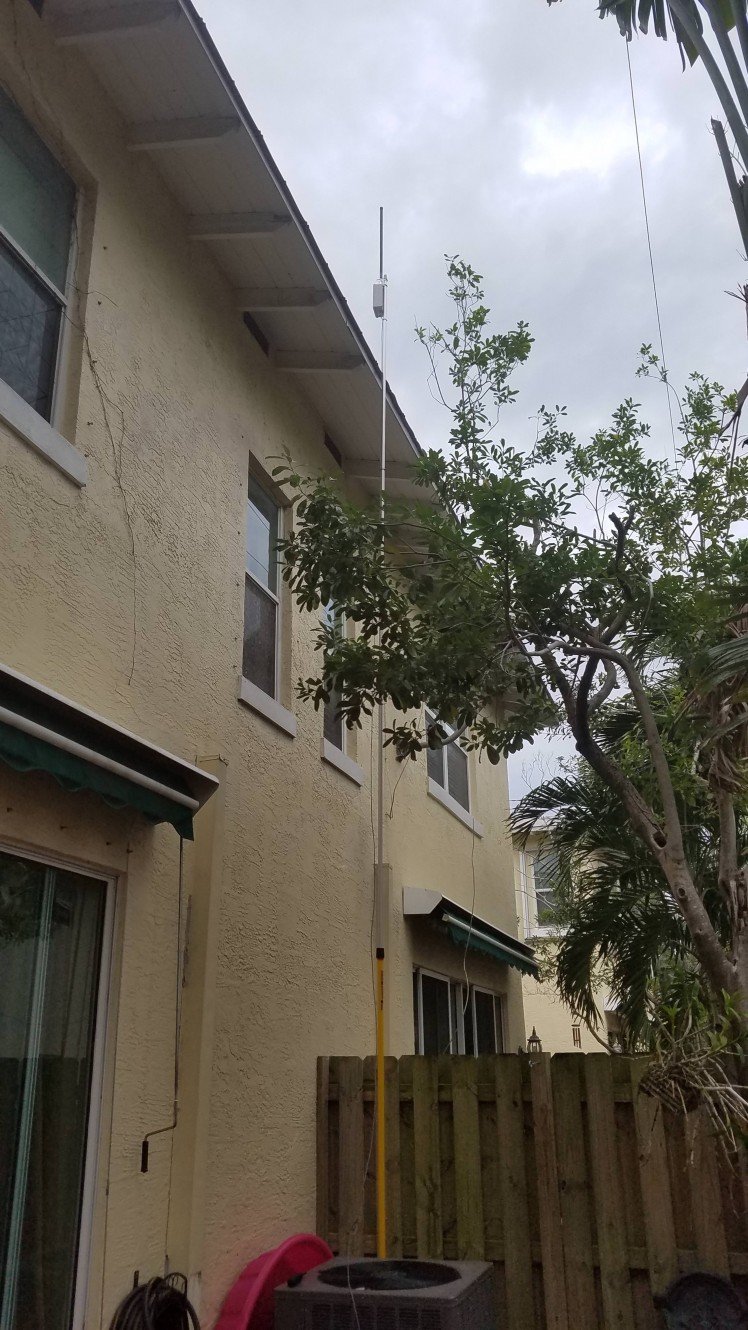
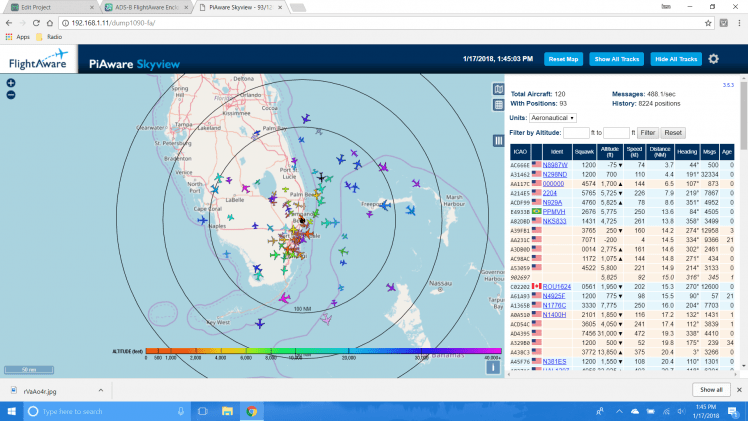
The setup has been in place for about an hour and I have jumped from a 80 mile range to just over 200 miles. It is overcast with rain which will degrade signal propagation so hopefully I'll see better results tomorrow.
Credits

Maverick NOS
I've always enjoyed being a fixer and a maker. My grandfather gave me that spark and I will pass that onto my daughters. I like working with wood, electronics and radio freq.


Leave your feedback...