Adjustable Led Weight Limit Indicator With Hx711 Scale
About the project
This smart weighing scale, built with Visuino, allows you to set a custom weight limit using a rotary encoder.
Project info
Difficulty: Moderate
Platforms: Arduino, DFRobot, Visuino
Estimated time: 1 hour
License: GNU General Public License, version 3 or later (GPL3+)
Items used in this project
Hardware components
View all
Story
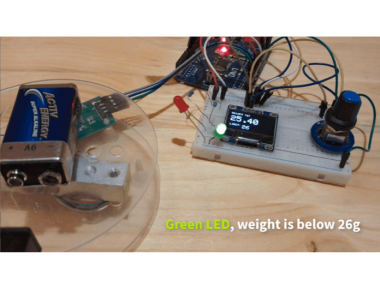
As you weigh an item, the scale’s intuitive LED system indicates whether the weight is within the limit (green LED) or exceeds it (red LED). This project combines the HX711 load cell with the user-friendly Visuino platform for quick and seamless assembly and operation.
Watch the video!
Step 1: What You Will Need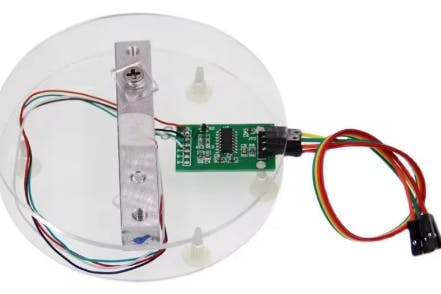
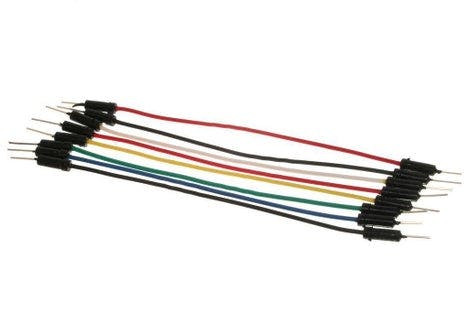
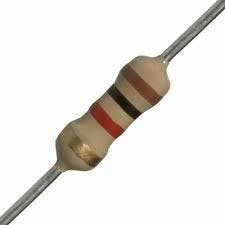
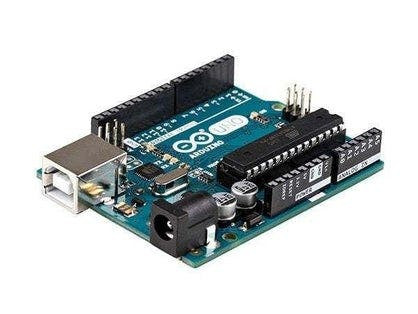
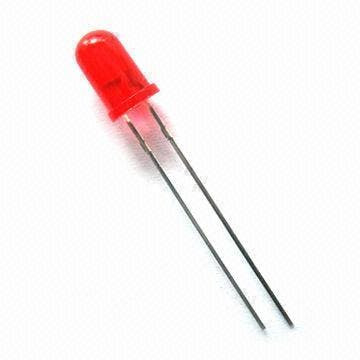
- Arduino board (or any other board)
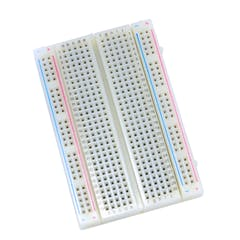
- Breadboard
- One Weight Load Cell
- One HX711 ADC Sensor Module for Load Cells
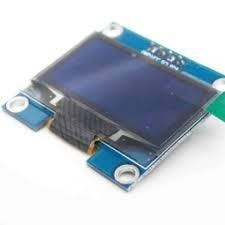
- OLED Display
- Breadboard
- Rotary encoder
- Green LED
- Red LED
- 2X 1K ohm resistor
- Jumper wires
- Visuino program: Download Visuino
Note: You can purchase online Weight Load Cell and HX711 ADC Sensor Module together already as a kit.
Step 2: The Circuit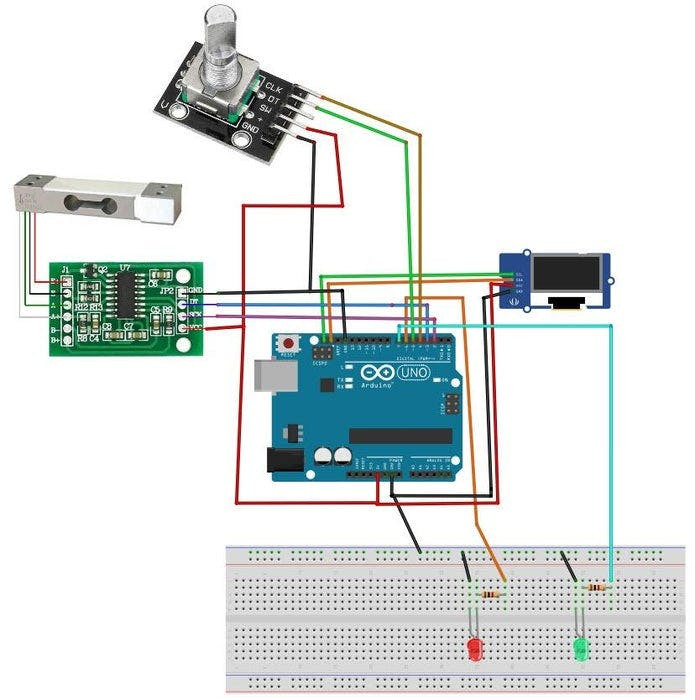
- Connect the Red wire from the Load Cell (Picture 1) to the E+ pin of the HX711 module
- Connect the Black wire from the Load Cell (Picture 1) to the E- pin of the HX711 module
- Connect the White wire from the Load Cell (Picture 1) to the A- pin of the HX711 module
- Connect the Green wire from the Load Cell (Picture 1) to the A+ pin of the HX711 module
- Connect HX711 ADC Sensor ModuleGround wire(Black wire) to Ground pin of the Arduino board
- Connect HX711 ADC Sensor ModulePower wire(Red wire) to 5V pin of the Arduino board
- Connect HX711 ADC Sensor ModuleDT wire(Green wire) to Digital pin 3 of the Arduino Nano board
- Connect HX711 ADC Sensor ModuleSCK wire(Yellow wire) to Digital pin 2 of the Arduino Nano board
- Connect OLED Display pin [SCL] to Arduino pin [SCL]
- Connect OLED Display pin [SDA] to Arduino pin [SDA]
- Connect OLED Display pin [VCC] to Arduino pin [5v]
- Connect OLED Display pin [GND] to Arduino pin [GND]
- Connect Arduino pin [5V] to breadboard positive pin [Red line]
- Connect Arduino pin [GND] to breadboard negative pin [Black line]
- Connect Arduino Digital pin [6] to Resistor1 on the breadboard
- Connect other side of the Resistor1 to the Red LED positive pin
- Connect Red LED negative pin to breadboard pin [GND]
- Connect Arduino Digital pin [7] to Resistor2 on the breadboard
- Connect other side of the Resistor2 to the Green LED positive pin
- Connect Green LED negative pin to breadboard pin [GND]
- Connect Encoder module pin [CLK] to Arduino digital pin [4]
- Connect Encoder module pin [DT] to Arduino digital pin [5]
- Connect Encoder module pin [+] to Arduino pin [5v]
- Connect Encoder module pin [-] to Arduino pin [GND]
Please check this tutorialon how to calibrate the scale, especially Part 8: Set the Weight Zero Offset for the HX711 Component
Step 4: Start Visuino, and Select the Arduino Board Type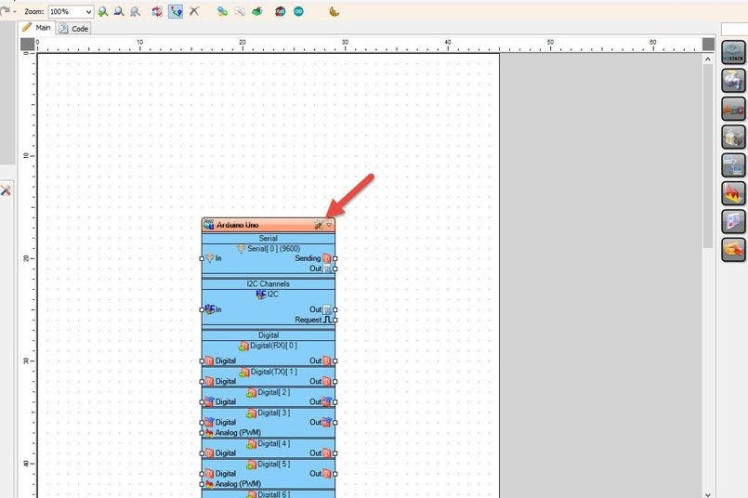
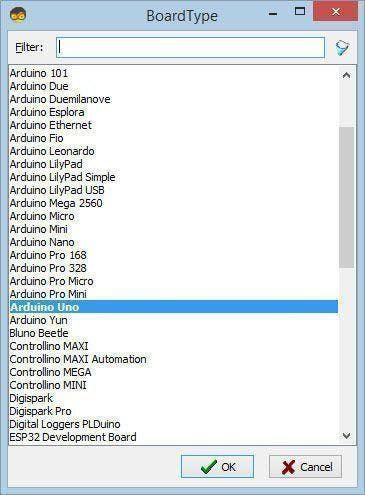
Start Visuino as shown in the first picture Click on the "Tools" button on the Arduino component (Picture 1) in Visuino When the dialog appears, select "Arduino UNO" as shown on Picture 2
Step 5: In Visuino Add & Set Components
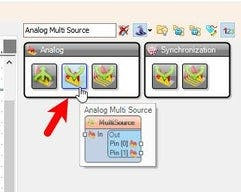
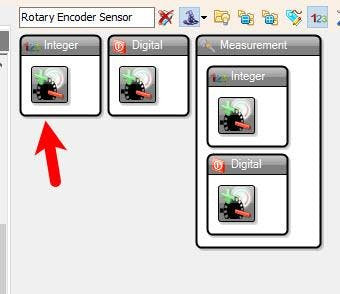
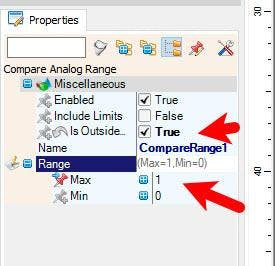
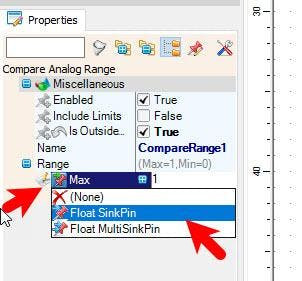
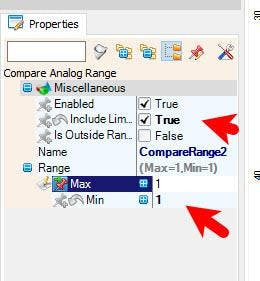
- Add "Weight Scale HX711" component and do the calibration like in this tutorial
- Add "Analog Multi Source" component
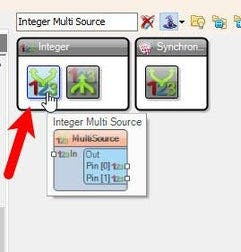
- Add "Integer Multi Source" component
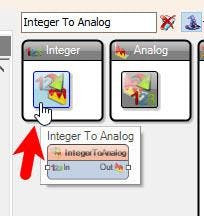
- Add 2X "Integer To Analog" component
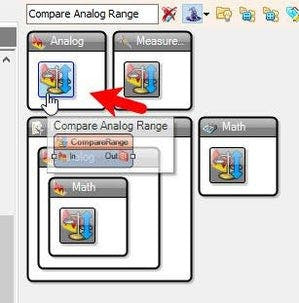
- Add 2X "Compare Analog Range" component
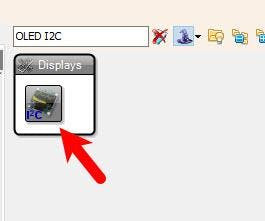
- Add "OLED I2C" component
- Add "Rotary Encoder Sensor" component
- Select "MultiSource1" and in the properties window set "Output Pins" to 3
- Select "MultiSource2" and in the properties window set "Output Pins" to 3
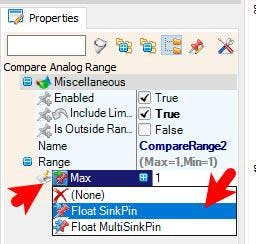
- Select "CompareRange1" and in the properties window set "Is Outside Range" to True, "Range" > "Max" to 1, select "Range" > "Max" and click on the pin icon and select "Float SinkPin"
- Select "CompareRange2" and in the properties window set "Include Limits" to True, "Range" > "Max" to 1 and "Range" > "Min" to 1, select "Range" > "Max" and click on the pin icon and select "Float SinkPin"
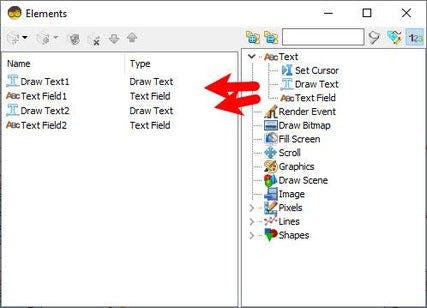
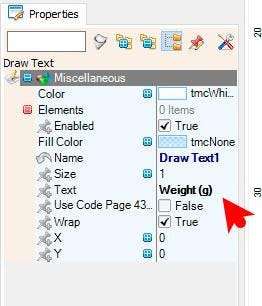
- Double click on the "DisplayOLED1" and in the "Elements" window drag "Draw Text" to the left side and in the "Properties" window set "Size" to 1 and "Text" to "Weight (g)"
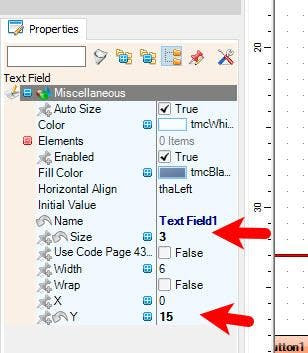
- In the "Elements" window drag "Text Field" to the lefty side and in the "Properties" window set "Size" to 3 and "Y" to 15
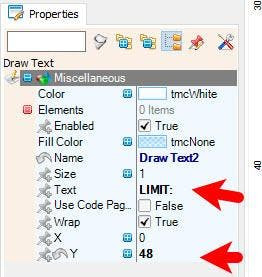
- in the "Elements" window drag "Draw Text" to the left side and in the "Properties" window set "Size" to 1 and "Text" to "LIMIT:" and "Y" to 48
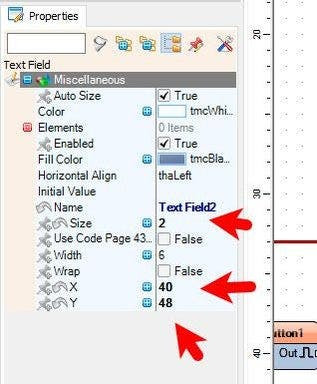
- In the "Elements" window drag "Text Field" to the lefty side and in the "Properties" window set "Size" to 2 and "Y" to 48 and "X" to 40
- Close the "Elements" window
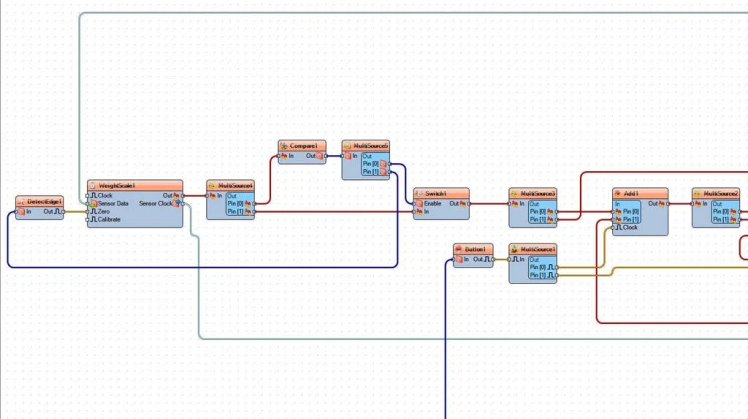
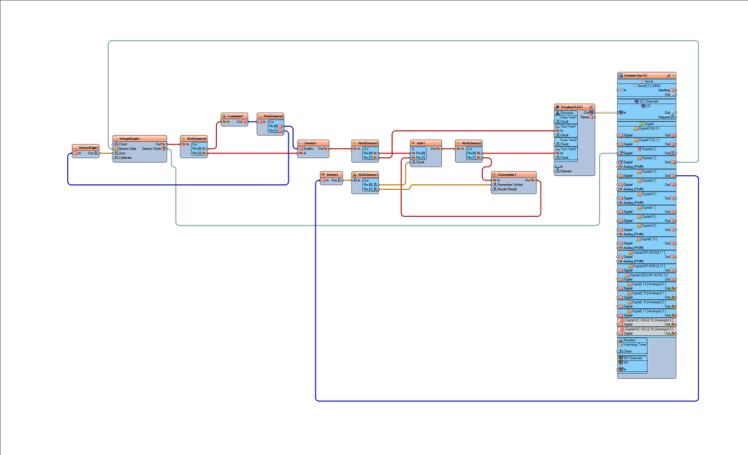
- Connect Arduino Digital pin [3] to "WeightScale1" pin [Sensor Data]
- Connect "WeightScale1" pin [Sensor Clock] to Arduino Digital pin [2]
- Connect Arduino digital pin [5] to "RotaryEncoderSensor1" pin [Direction]
- Connect Arduino digital pin [4] to "RotaryEncoderSensor1" pin [Clock]
- Connect "RotaryEncoderSensor1" pin [Out] to "MultiSource2" pin [In]
- Connect "WeightScale1" pin [Out] to "MultiSource1" Pin [In]
- Connect "MultiSource2" pin [0] to "IntegerToAnalog1" pin [In]
- Connect "MultiSource2" pin [1] to "IntegerToAnalog2" pin [In]
- Connect "MultiSource2" pin [2] to "DisplayOLED1" > "Text Field2" pin [In]
- Connect "MultiSource1" pin [0] to "CompareRange1" pin [In]
- Connect "MultiSource1" pin [1] to "CompareRange2" pin [In]
- Connect "MultiSource1" pin [3] to to "DisplayOLED1" > "Text Field1" pin [In]
- Connect "IntegerToAnalog2" pin [Out] to "CompareRange1" pin [Max]
- Connect "IntegerToAnalog1" pin [Out] to "CompareRange2" pin [Max]
- Connect "CompareRange1" pin [Out] to Arduino digital pin [6]
- Connect "CompareRange2" pin [Out] to Arduino digital pin [7]
- Connect "DisplayOLED1" pin I2C [Out] to Arduino pin I2C [In]

In Visuino, at the bottom click on the "Build" Tab, make sure the correct port is selected, then click on the "Compile/Build and Upload" button.
Step 8: PlayCongratulations! You have completed your project with Visuino. Also attached is the Visuino project, that I created for this tutorial, you can download it and open it in Visuino: https://www.visuino.eu




Leave your feedback...