3. Controlling Outputs With The Ra8m1 Feather Som
About the project
This project walks you through controlling motion and visual outputs with the RA8M1 Feather SoM, enabling more advanced robotic systems.
Project info
Difficulty: Easy
Platforms: Renesas
Estimated time: 2 hours
License: GNU General Public License, version 3 or later (GPL3+)
Items used in this project
Story
Hardware requirements:
Software requirements:
Introduction
Outputs in robotics enable machines to interact with their environment and perform tasks. The most fundamental are motion outputs, such as DC motors, servos, and stepper motors, which allow robots to move and manipulate objects. Visual outputs, including LEDs and displays, provide status information and user interfaces. Audio outputs like speakers or buzzers are used for alerts and communication. Furthermore, specialized outputs such as haptic ones can provide tactile feedback in human-robot interaction scenarios.
The choice of outputs depends on the robot's intended function and design constraints. Advanced platforms like the RA8M1 Feather SoM offer the versatility to control a wide range of these outputs, making it possible to create complex, multi-functional robotic systems. As robotics continues to evolve, new types of outputs are being developed, expanding the possibilities for robot-environment interaction.
The RA8M1 Feather SoM, with its Arm Cortex-M85 core, offers an excellent balance of processing power and energy efficiency, making it an ideal choice for a wide range of robotics projects. By leveraging this board's capabilities, we'll explore how to precisely control motors for movement and LEDs for visual feedback. We'll cover the basics of interfacing motor drivers and LEDs with the RA8 Feather SoM, provide practical code examples, and discuss best practices for implementing these outputs in your robotics projects.
By the end of this tutorial, you'll have a solid understanding of how to integrate and control motor drivers and LEDs using the RA8M1 Feather SoM, enabling you to bring more sophisticated behaviors and interactions to your robotic creations.
DC Motors
DC (Direct Current) motors are one of the most fundamental and versatile actuators in robotics. These electric motors convert electrical energy into mechanical energy, providing rotational motion essential for many robotic applications.
DC motors are characterized by their simple design and operation, availability in a wide range of sizes and power outputs, easy control of speed and direction, and relatively low cost. They are ideal for powering the wheels of mobile robots, from small educational platforms to larger autonomous vehicles. DC motors also provide the rotational force needed for joint movements in robotic arms. In industrial robotics, they drive conveyor belts for material handling. Additionally, they are used in creating rotating sensors or displays with turntables and rotating platforms, powering cooling systems or fluid handling in pumps and fans, enabling smooth camera movements in camera gimbals, and actuating robotic grippers for precise object manipulation.
The versatility of DC motors, combined with their ease of control using microcontrollers like the RA8M1, makes them a go-to choice for many roboticists. We'll explore how to effectively control these motors using a motor driver interfaced with our development board.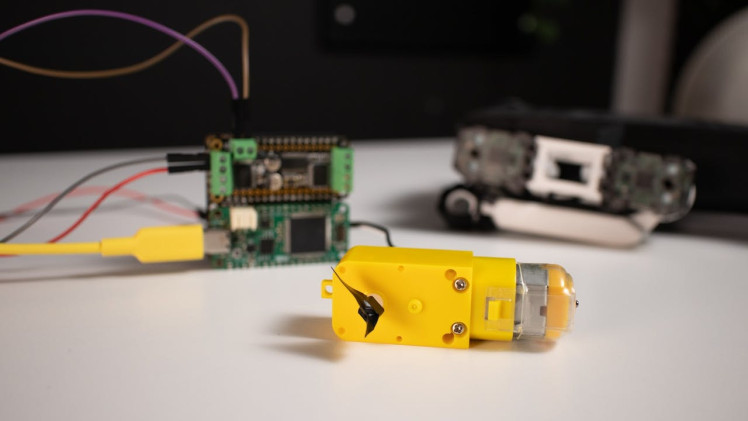
Stepper Motors
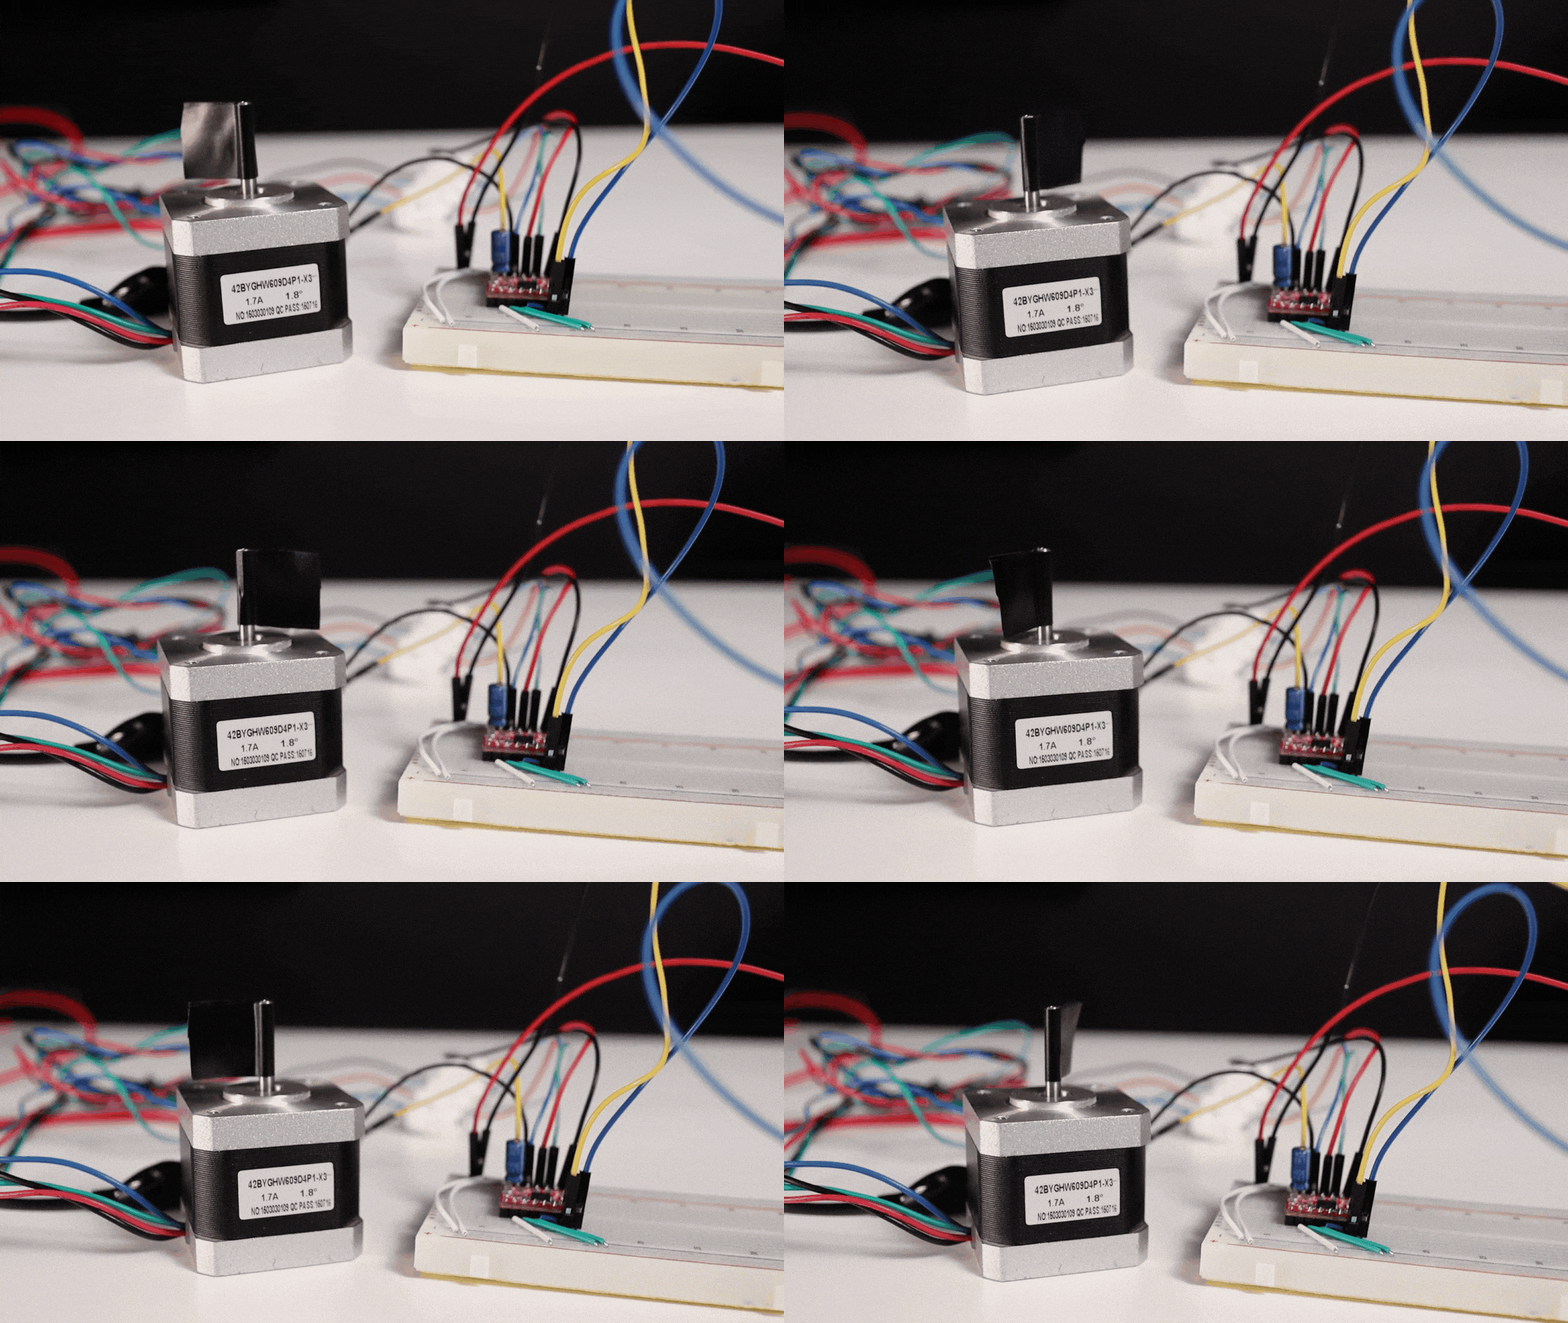
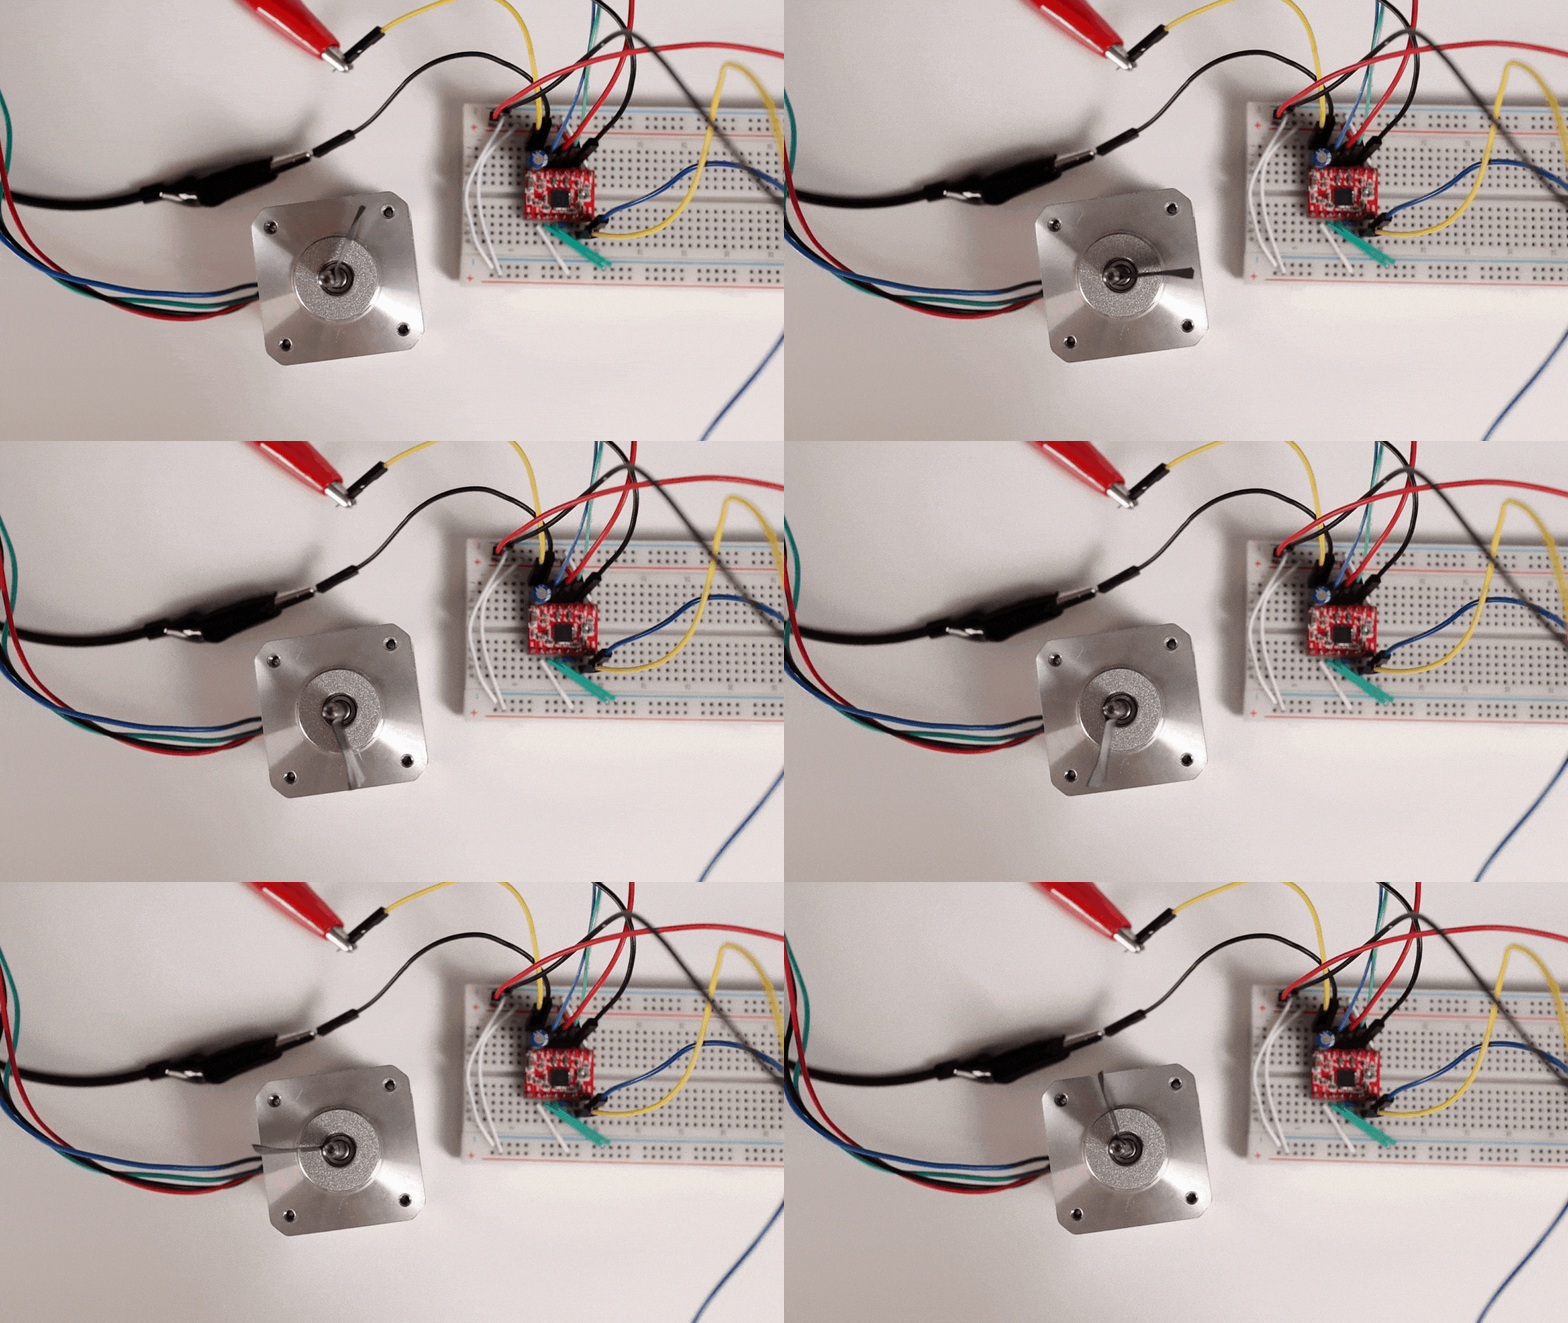
Stepper motors occupy a unique niche in the world of robotics, offering precise positioning capabilities that bridge the gap between simple DC motors and more complex servo systems. These motors rotate in fixed angular increments or "steps, " providing accurate control over rotation without the need for complex feedback mechanisms.
In robotics applications, stepper motors shine in scenarios requiring exact positioning or controlled, repeatable movements. They're commonly found in 3D printers, where they control the precise motion of print heads and build platforms. CNC machines also rely heavily on stepper motors for accurate tool positioning.
For mobile robots, stepper motors can offer advantages in certain designs. They excel in applications where exact control over wheel rotation is crucial, such as in robots designed for mapping or precision navigation. Some small wheeled robots use stepper motors to achieve highly controlled movements, allowing for intricate patterns or precise positioning.
In robotic arms or manipulators, stepper motors provide a cost-effective solution for joints that don't require the speed or torque of larger servo motors. They're particularly useful for end effectors or grippers where precise, repeatable movements are essential.
However, stepper motors aren't without drawbacks. They typically offer less torque than similarly sized DC motors, especially at higher speeds. They also consume power even when holding a position, which can be a concern for battery-powered robots.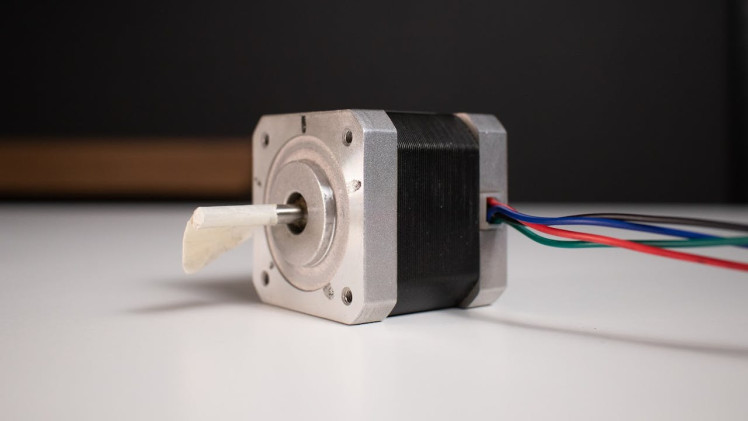
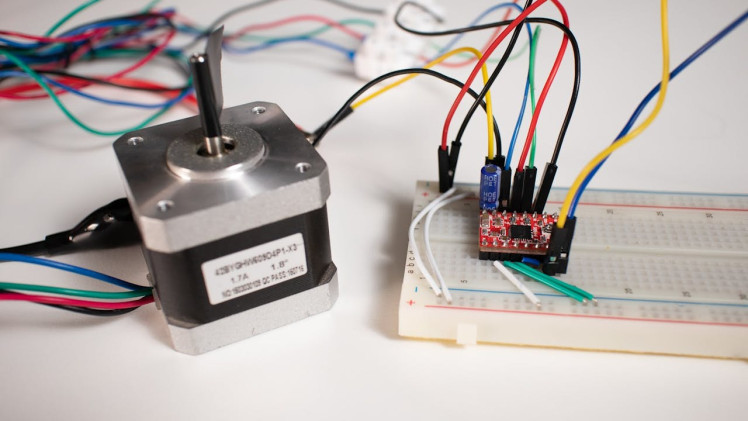
Using the Adafruit DC Motor + Stepper FeatherWing with the RA8 Feather SoM
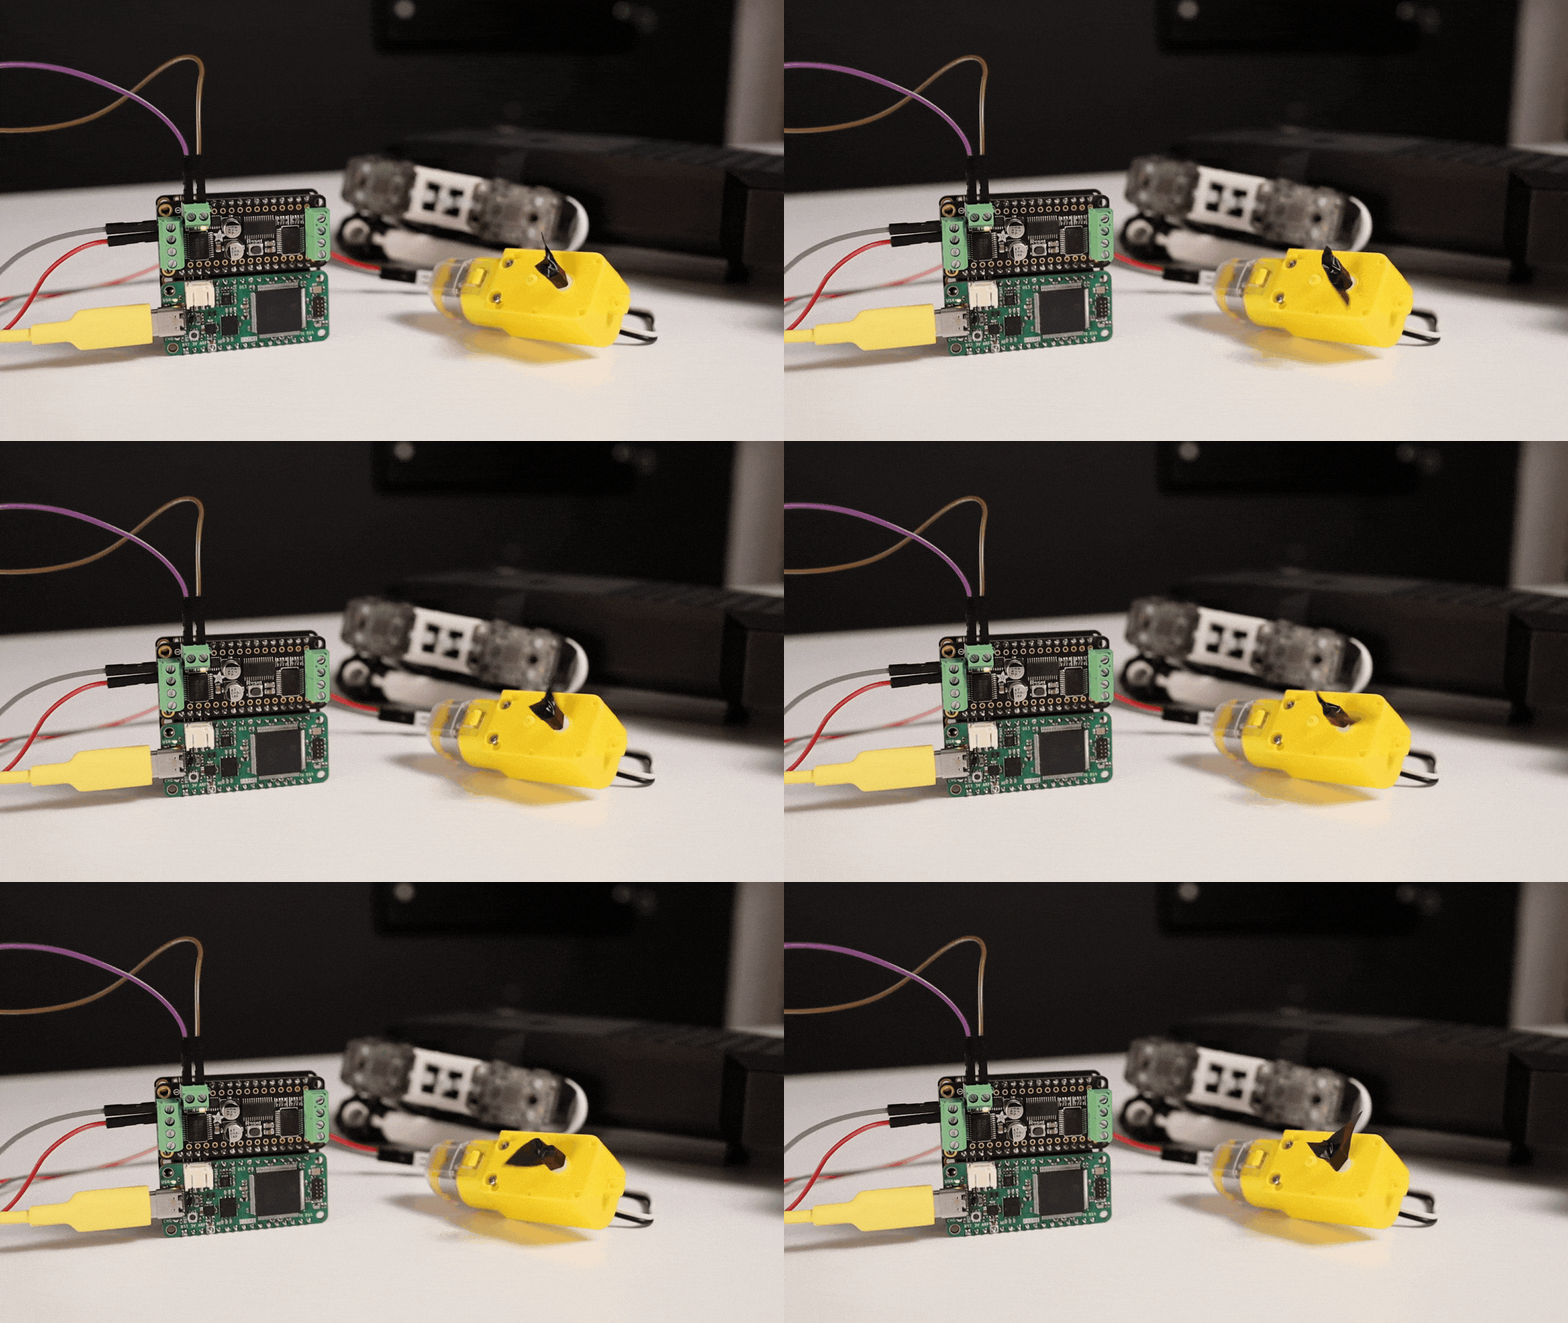
For this example, we will use the Adafruit DC Motor + Stepper FeatherWing which supports up to 4 DC motors or 2 stepper motors. This add-on board is designed to seamlessly stack on top of Feather-compatible boards, including our RA8 Feather SoM.
This combination allows you to easily control multiple motors without the need for separate driver circuits, streamlining your robotics build. The RA8 Feather SoM's processing power enables complex motor control algorithms, while the FeatherWing handles the power delivery and motor interfacing.
Interfacing with the FeatherWing is done through an I2C connection, with the RA8 Feather SoM acting as the Master. This is reflected in the code by the use of the I2C Master Stack configured to use the available I2C channel, channel 1.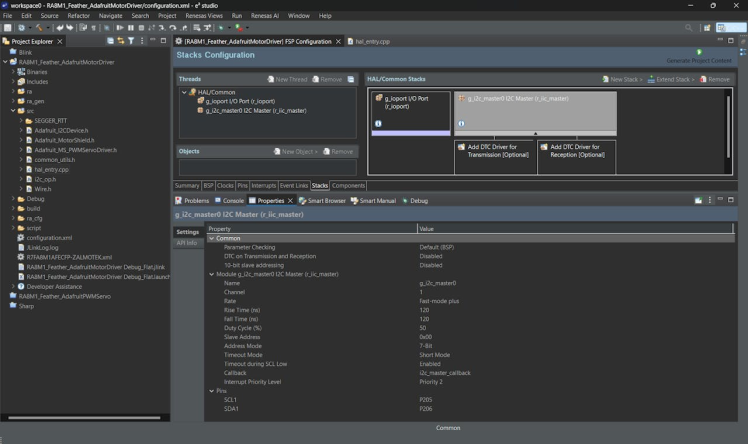
Servo Motors
Servo motors are a critical component in many robotics applications, offering precise position control in a compact package. Unlike standard DC motors that rotate continuously, servo motors are designed to move to a specific angular position and hold that position against an opposing force.
The typical servo motor consists of a DC motor, a gear reduction system, a position sensor, and a control circuit. This integrated design allows for accurate positioning without the need for external encoders or complex feedback systems.
In robotics, servo motors find widespread use due to their versatility and ease of control. They're particularly valuable in applications requiring precise angular positioning or limited-range motion. Common uses include:
- Robot joints: Servo motors excel in robotic arms and humanoid robots, providing controlled movement for elbows, wrists, and other articulation points.
- Steering mechanisms: In wheeled robots, servos often control steering, allowing for precise directional changes.
- Camera platforms: Servos enable smooth pan and tilt movements for robot vision systems.
- Gripper actuation: Many robotic grippers use servos to control opening and closing actions with precision.
When interfacing servo motors with the RA8M1 Feather SoM, you typically use PWM (Pulse Width Modulation) signals to control the servo's position. By varying the pulse width, you can command the servo to move to specific angles, usually within a range of 0 to 180 degrees.
However, it's important to consider the limitations of servo motors. They typically have a limited range of motion, usually less than a full rotation. They also tend to draw more power when holding a position against a force, which can be a consideration in battery-powered robots.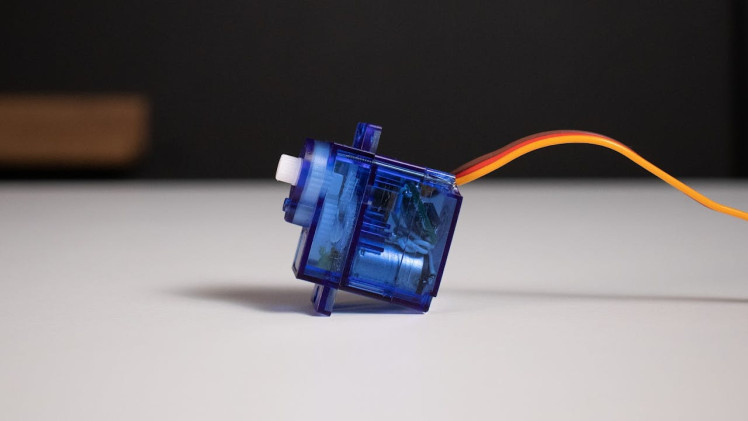
Using the Adafruit 8-Channel PWM or Servo FeatherWing with the RA8 Feather SoM
The Adafruit 8-Channel PWM or Servo FeatherWing is a versatile add-on that significantly expands the servo control capabilities of your RA8M1 Feather SoM. This FeatherWing is designed to seamlessly integrate with Feather-format boards, including the RA8 Feather, providing an easy way to control multiple servos or other PWM-driven devices.
Key features of this FeatherWing include:
- Control up to 8 servo motors or PWM outputs
- Built-in PCA9685 PWM driver chip
- I2C interface for easy communication
- Onboard 3.3V regulator for logic power
- Optional external power input for servos
This combination allows you to easily control up to 8 servo motors without taxing the RA8's onboard PWM resources. The PCA9685 chip on the FeatherWing handles the PWM generation, freeing up the RA8's resources for other tasks.
The RA8 Feather SoM's processing capabilities enable complex servo control algorithms, such as smooth interpolation between positions or coordinated multi-servo movements. This makes it ideal for applications like robotic arms, animatronics, or any project requiring precise control of multiple servos.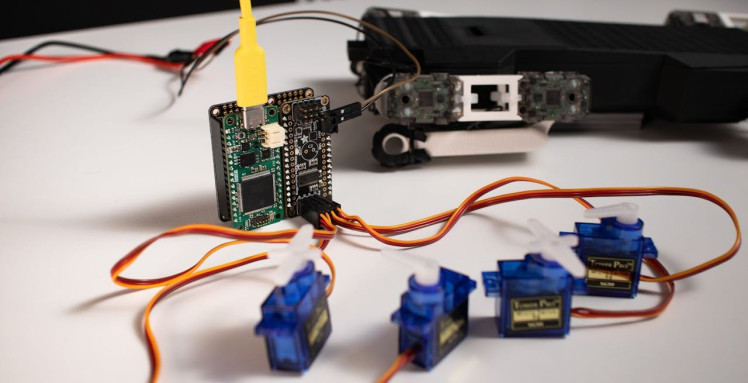
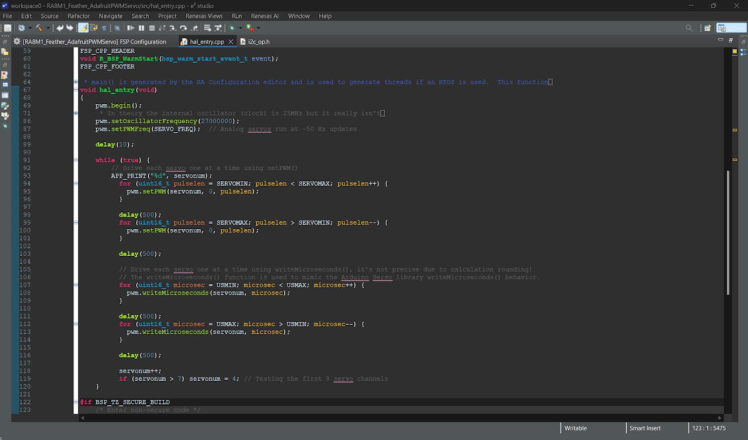
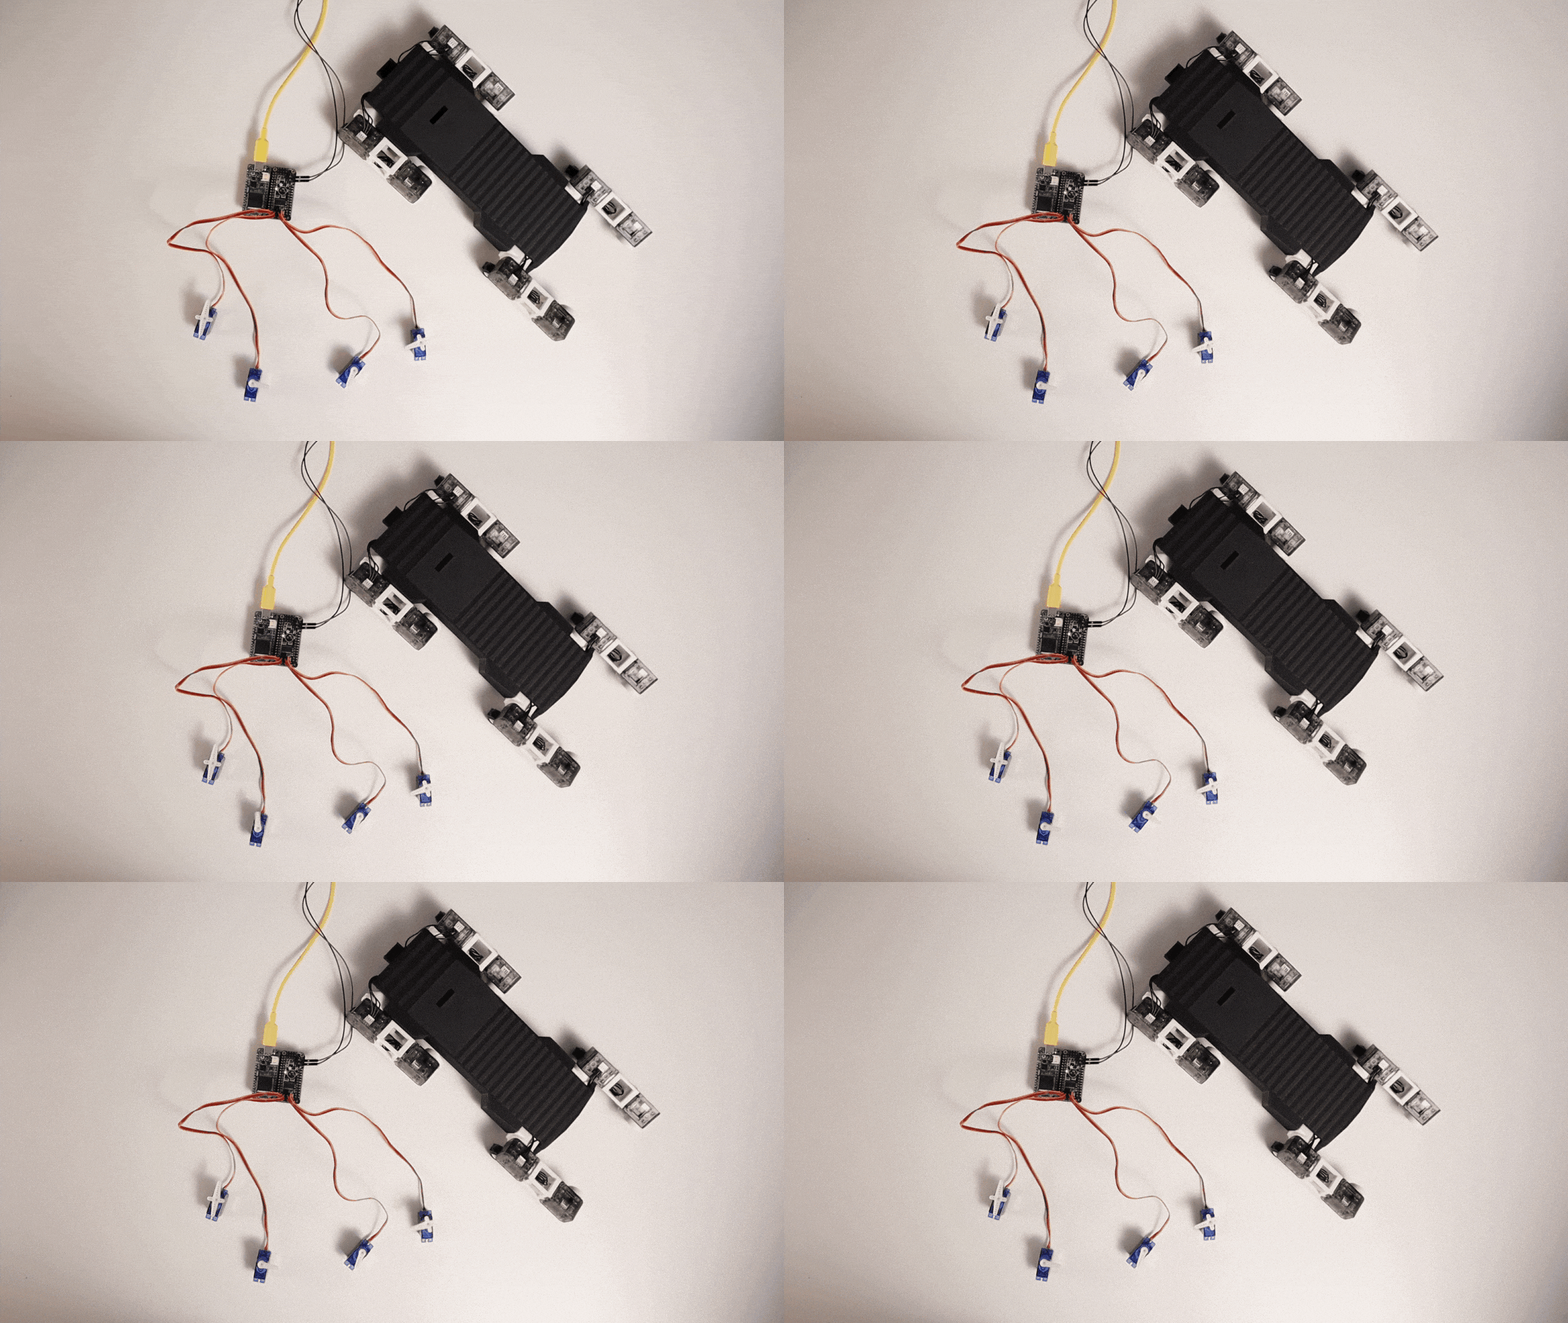 For Servo Motors, the configuration is identical to that of the Adafruit DC Motor + Stepper FeatherWing. The code shown below goes through all the PWM pins and controls each servo.
NeoPixel Control with the RA8 Feather SoM
NeoPixels, Adafruit's brand of individually addressable RGB LED products, are a popular choice for adding colorful, dynamic lighting to robotics projects. The RA8M1 Feather SoM is well-suited for controlling these versatile LEDs, offering both the processing power and the necessary I/O capabilities.
NeoPixels operate on a specific timing-sensitive protocol, which the RA8 Feather SoM can handle efficiently. Here's how you can integrate NeoPixels into your RA8-based robotics projects: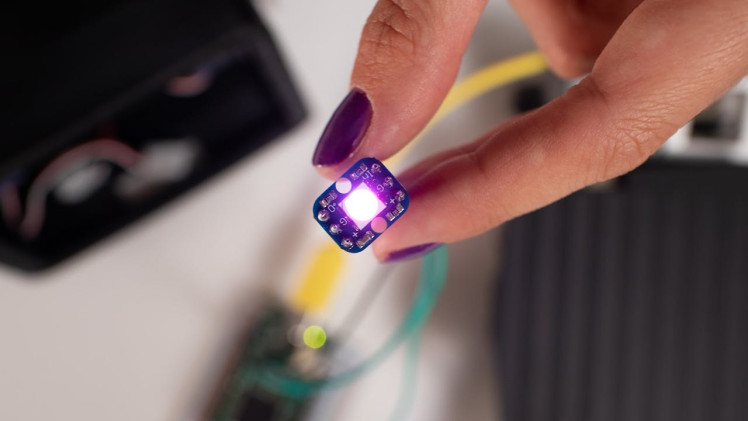
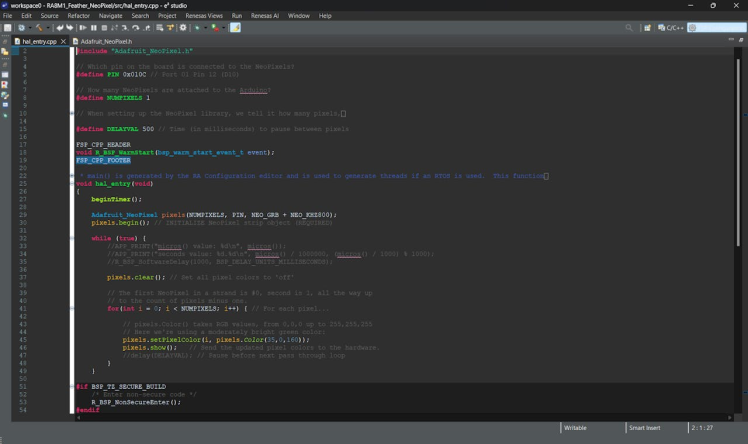
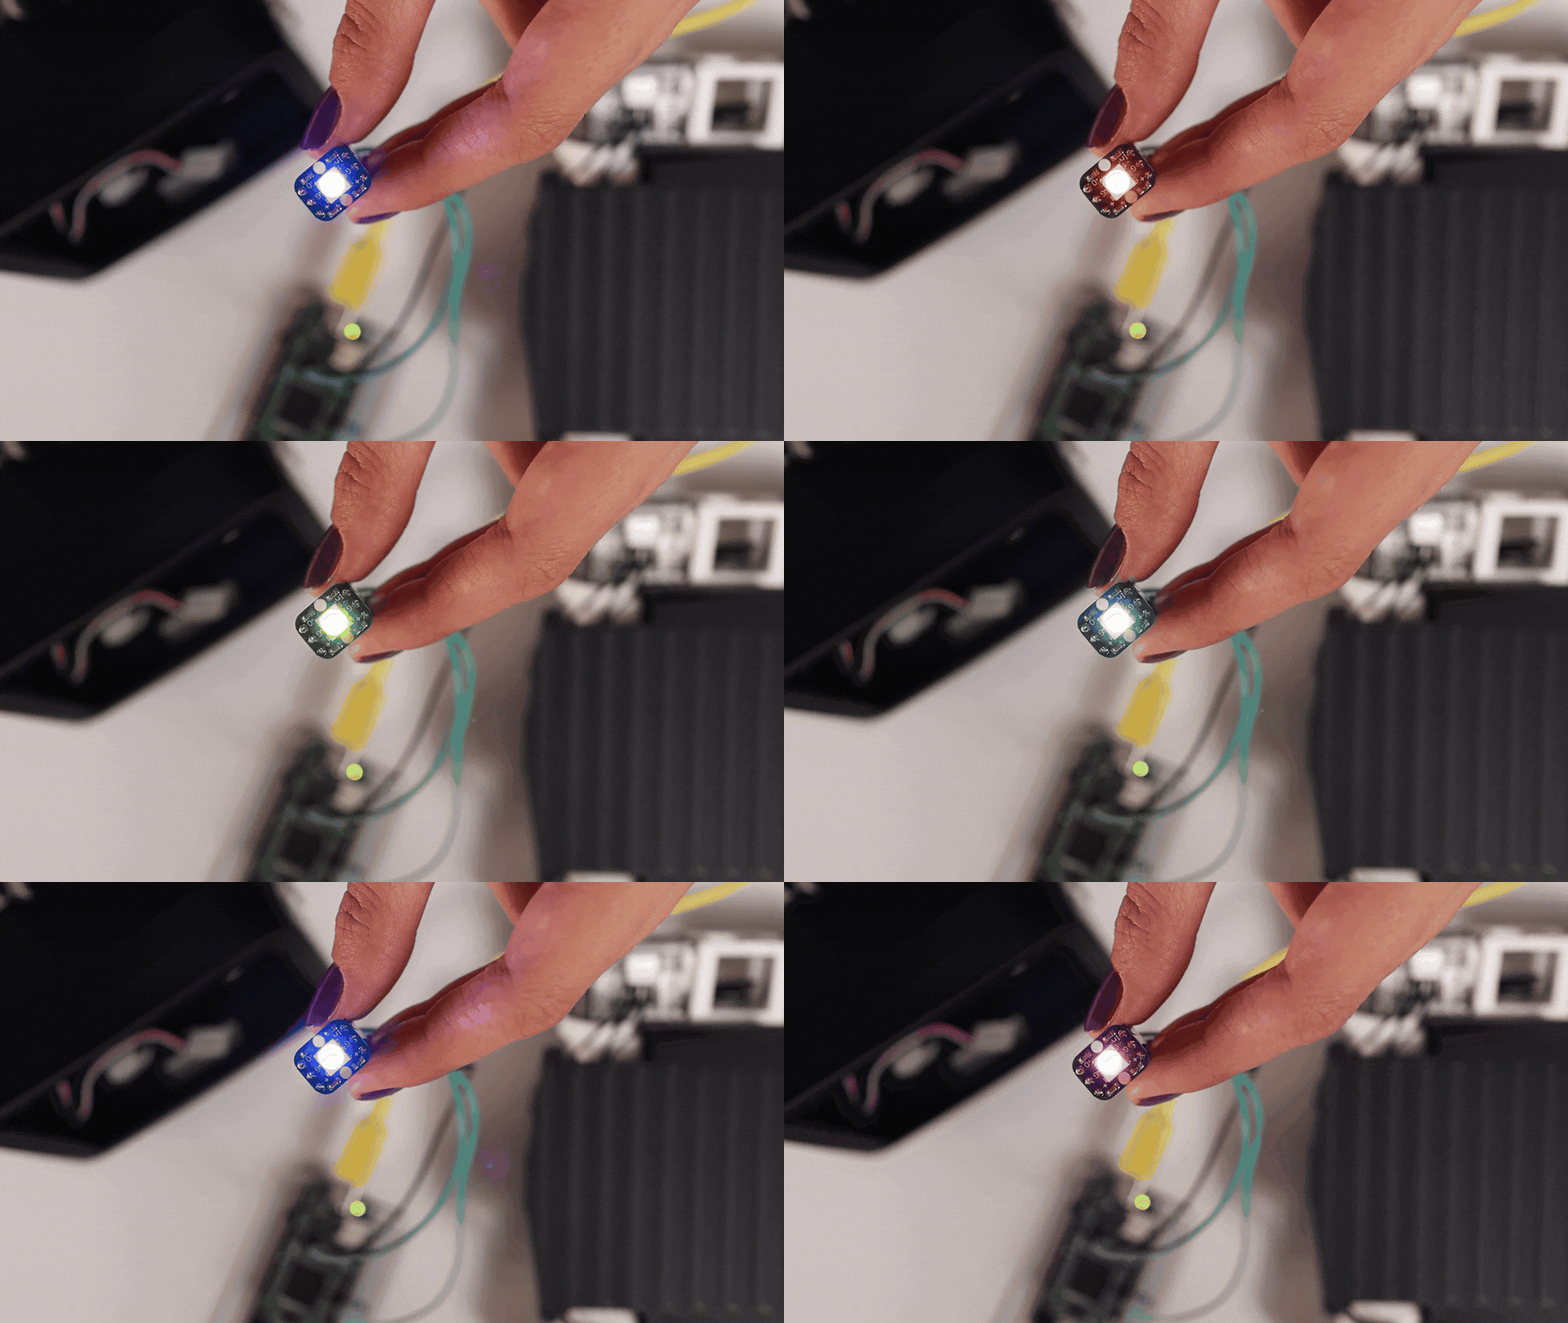 The code shown below manages a single NeoPixel compatible microcontroller (an individually addressable RGB LED). The sample uses the Adafruit NeoPixel library to initialize and control a single NeoPixel LED, setting its colour in a continuous loop.
What's next?
As we wrap up this exploration of output control using the RA8M1 Feather SoM, you're now equipped with the knowledge to bring motion and light to your robotics projects. But this is just the beginning of what you can achieve with this powerful platform.
To continue your journey with the RA8M1 Feather board, check out these related tutorials:
- Robotics Sensors with the RA8M1 Feather SoM
- Connectivity and Remote Control in Robotics with the RA8M1 Feather SoM
- Edge ML with the RA8M1 Feather SoM
- RA8M1 Feather SoM-Powered Robotic Dog



Leave your feedback...