
Items used in this project
Hand tools and fabrication machines
Story
What's the point of this project?
I saw this blog post about a PCB business card that runs Linux. After seeing the components that were used I was curious whether it could fit on my previous tux badge PCB which was just art. Sure enough, they were able to fit. I placed just enough components to try to get the board running Linux.
Sadly due to the chip shortage, some parts like the buck regulators that he used were a bit rare to find. I managed to find alternatives to them which you can refer to in the schematic.
The original F1C100 was not available and instead, I used the F1C200 ( basically the same chip ).
Getting the PCBs made
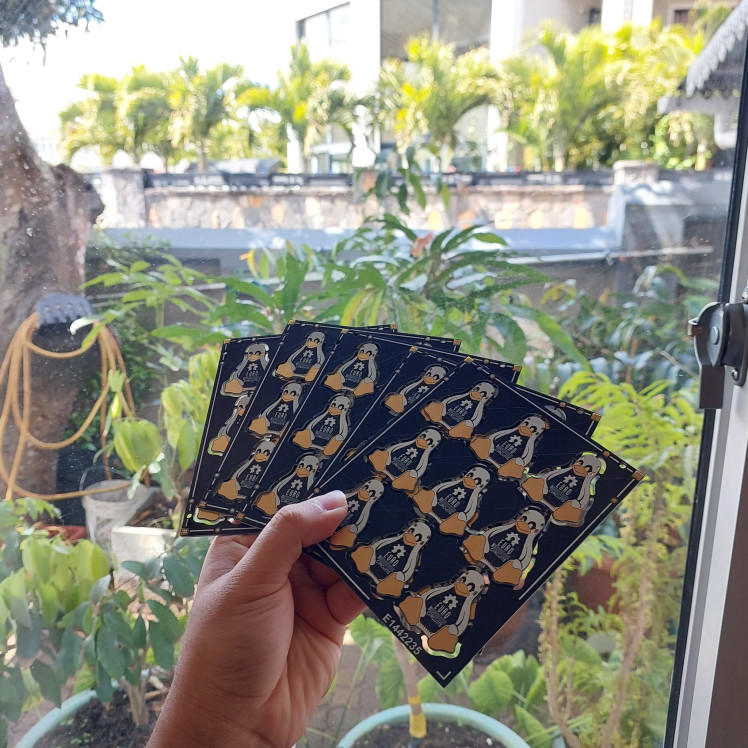
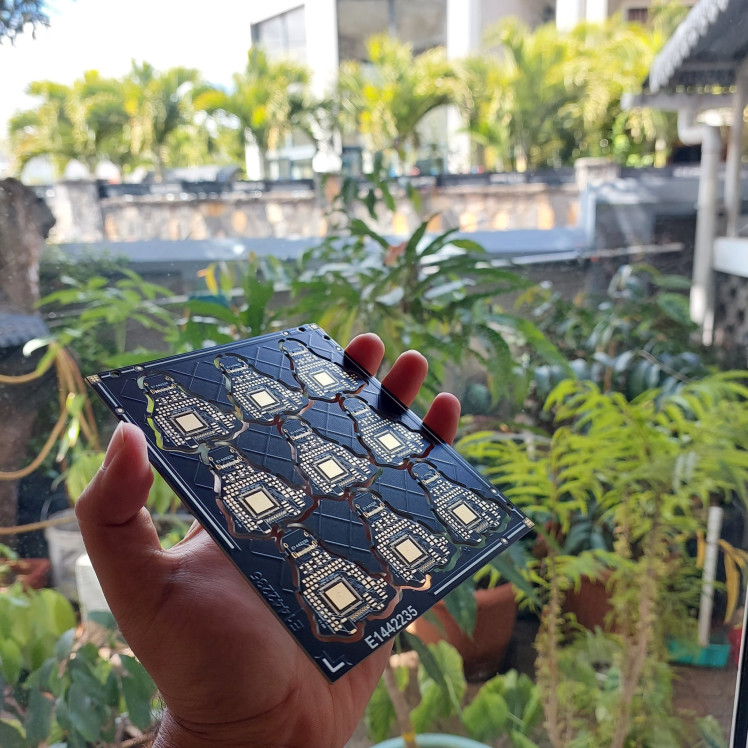
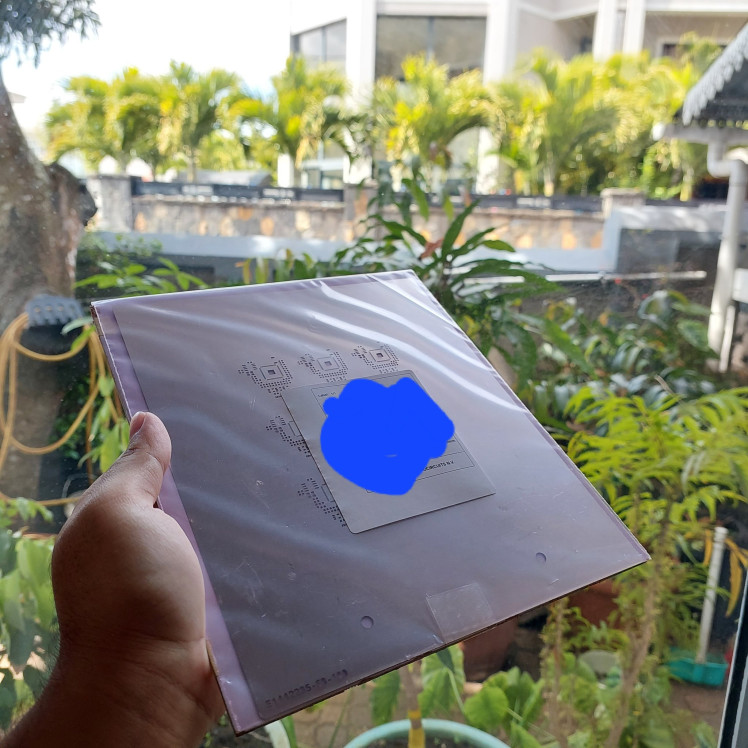
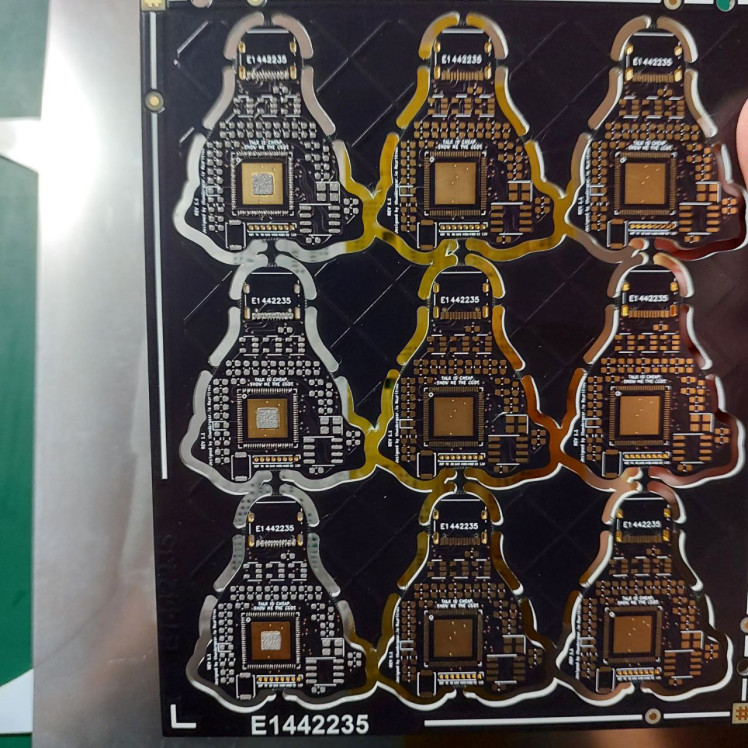
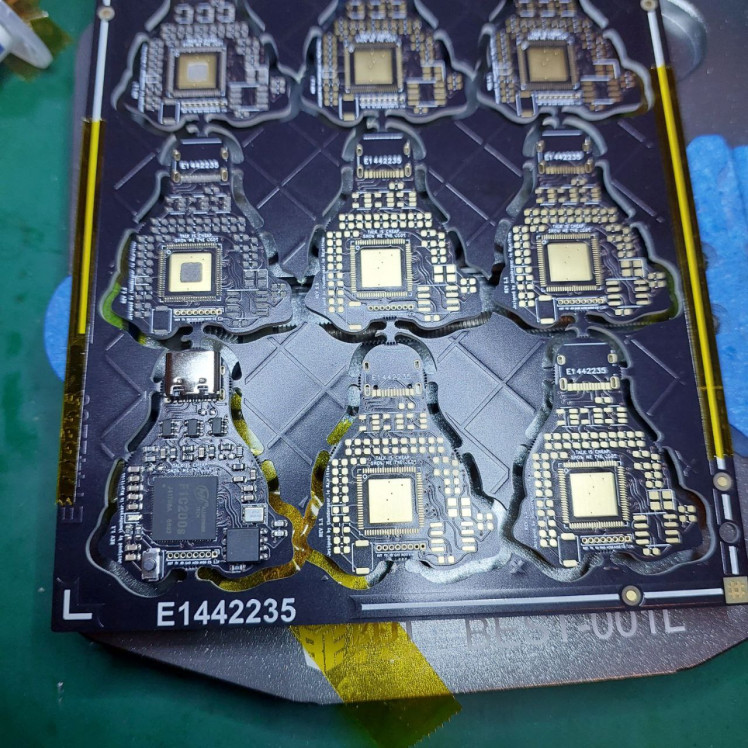
Thankfully the PCBs and stencil were given by Eurocircuits. After receiving them I was impressed with the quality. The boards and stencil were really clean.
Assembling the PCB
Step 1 - Make the stencil frame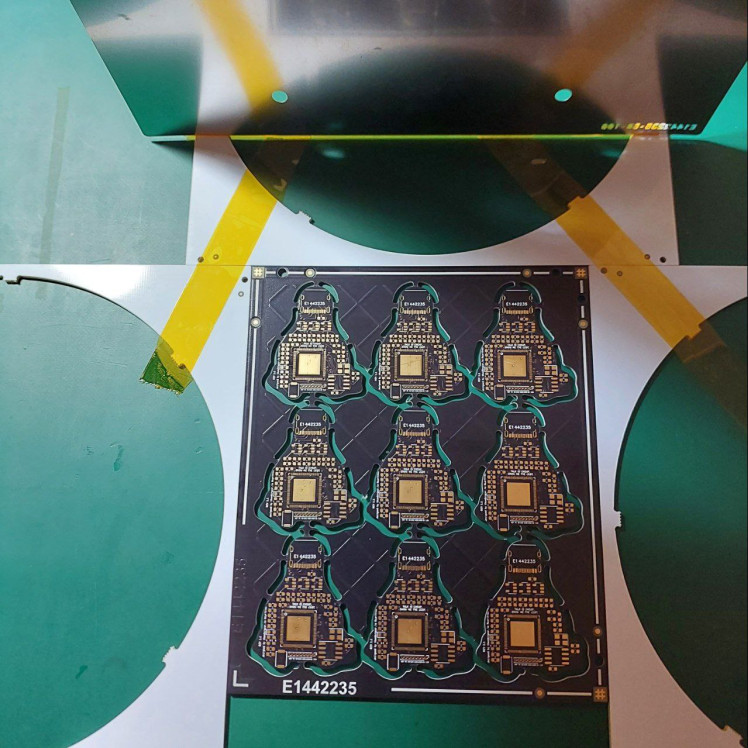
Step 2 - Apply the solder paste
Step 3 - Place and solder components
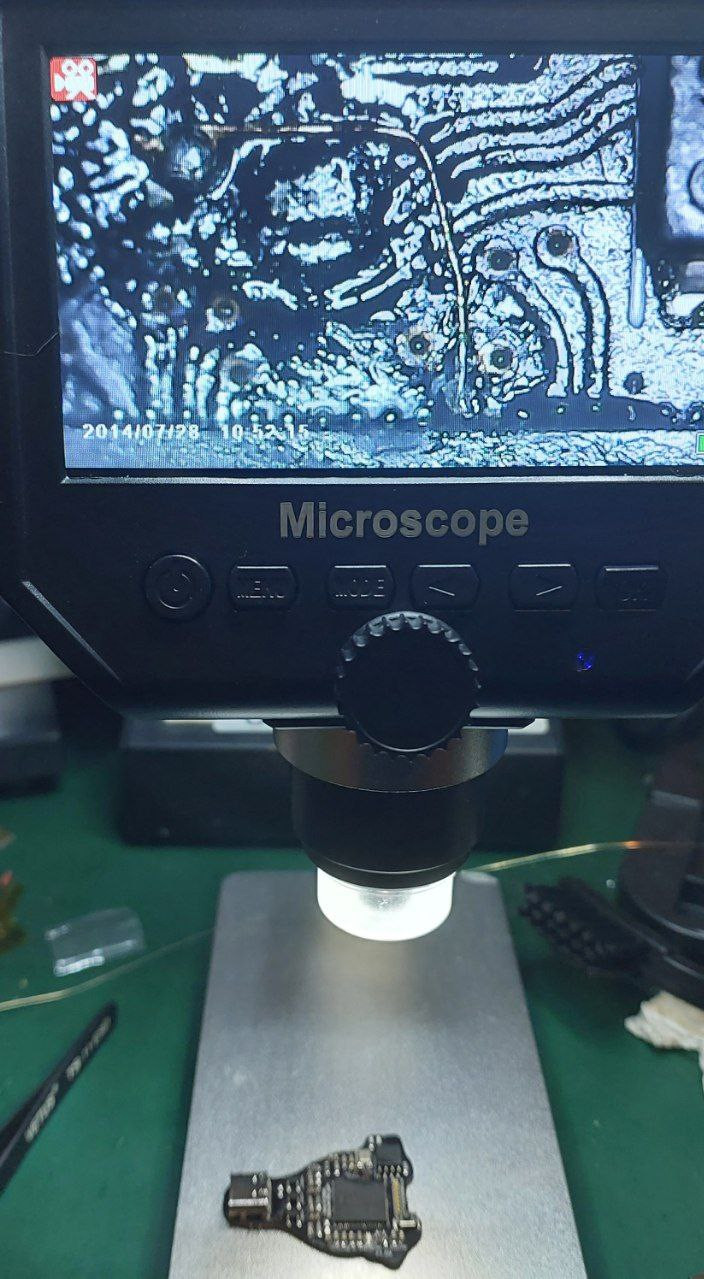
Step 4 - Fixing some issues on the copper tracks
Tragedy strikes
Sadly I wasn't able to get the board to run Linux. Long story short one of my multimeter probes slipped while troubleshooting a previous issue and damaged the F1C200s chip. I only had one at the time and getting them from would take a while. I made a video giving a brief explanation of the issue.
What's next?
Even if the contest is over, this little tux badge will run Linux someday and also be open source. You can currently have a look at the design files if you're curious about assembling them yourself but do it at your own risk.


