We get hands-on with the new Sony Spresense board
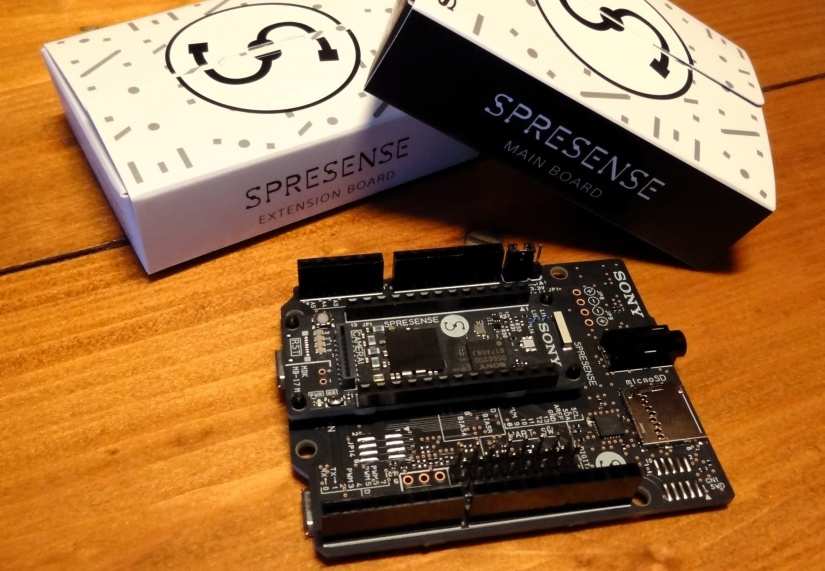
Sony is perhaps not the first company that you think of when looking for a new single board computer. But at Makerfaire Rome we were lucky enough to get hands-on with Sony’s latest entry into the community.
The Spresense is a tiny board measuring only 50mm by 20.6mm, but yet it has a hexacore ARM Cortex CPU, plenty of grunt for embedded projects.
Technical Specifications
Model Name - CXD 5602 PWBMAIN 1
Size - 50.0 mm x 20.6 mm
CPU - ARM® Cortex®-M4F x 6 cores
Maximum clock frequency - 156 MHz
SRAM - 1.5 MB
Flash memory - 8 MB
Digital input / output - GPIO, SPI, I2C, UART, I2S
Analog input - 2 ch (0.7 V range)
GNSS - GPS(L1-C/A), QZSS(L1-C/A), GLONASS(L1), WAAS, QZSS(L1-S)
Camera input - Dedicated parallel interface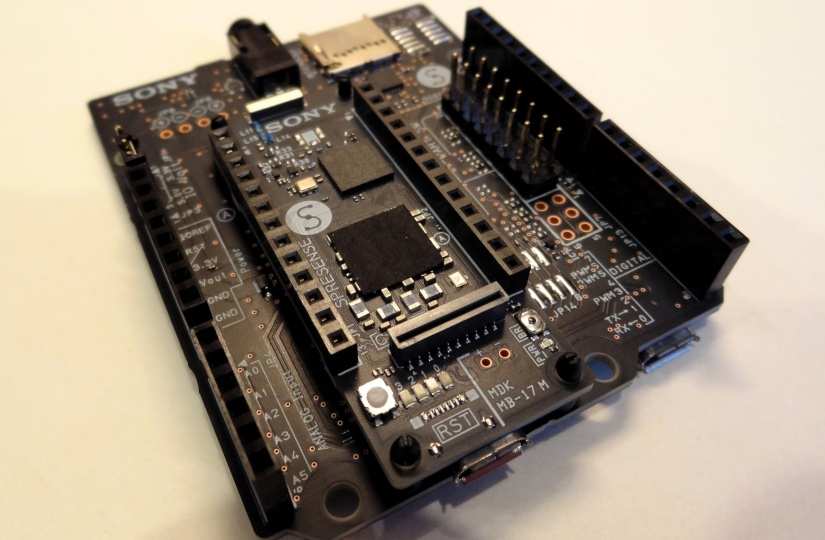
The main board can be plugged into an extension board, measuring 68.3mm by 53.3mm and it an Arduino compatible layout, but it features a 3.5mm TRRS audio jack for audio output. Just along from there, we find a micro SD card slot.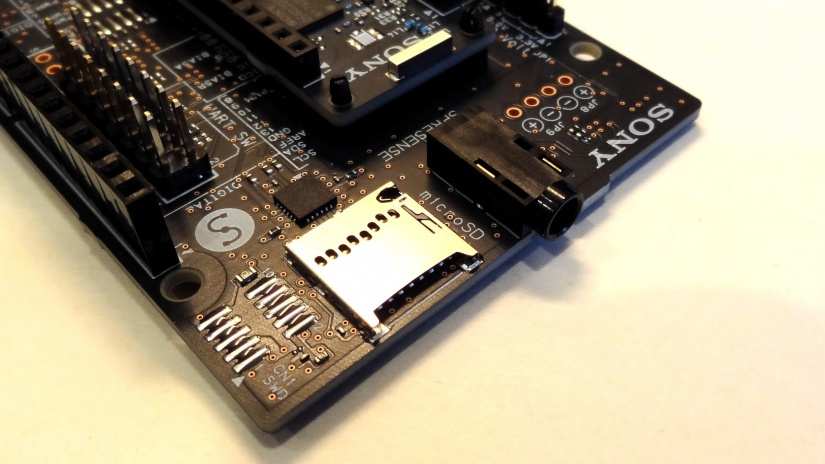
There is also a Sony camera module designed to connect to the main board, and the camera can be used to take video/images and for OpenCV/computer vision projects.
So what can we do with it?
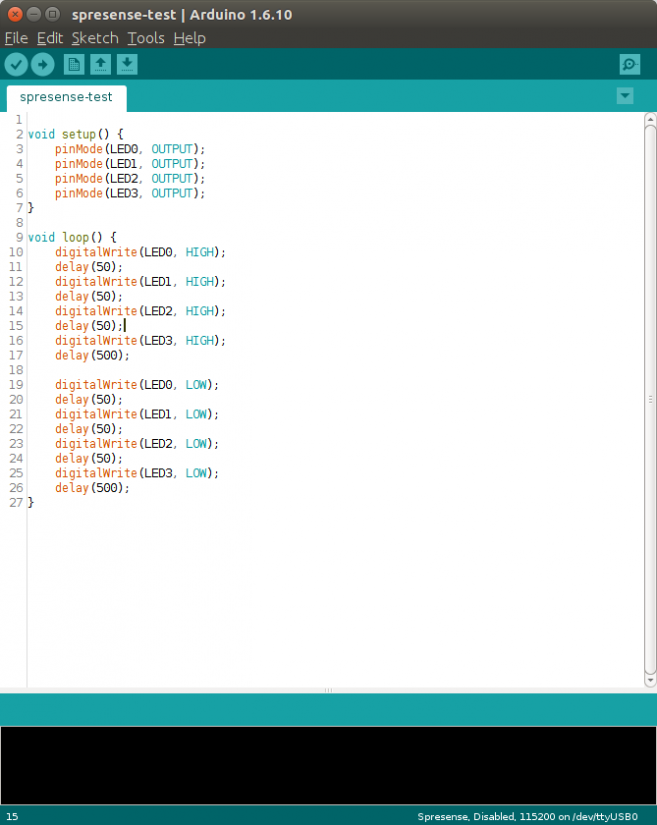
Well, here is where it gets a little interesting in that we can control the board in two ways. The first and most simple way is to use the Arduino IDE. Here we can add the Spresense board, and libraries and control the board as if it were just a typical Arduino compatible board. The caveat for this is that we need to setup the board to use a custom bootloader, but this is explained in the developer documentation hosted on Sony’s own developer website.
Once the bootloader is on the board we can start flashing Arduino code on to the board, and of course the first test has to be flashing LEDs, luckily there are four on the main board that we can blink and confirm successful communication, if you can already program an Arduino then you can also program the Spresense. Using components with the extension board is as easy as with an Arduino, but pay attention to the required voltage for components, as the default setup of the extension board is 5V, but this can be changed using a jumper on the board.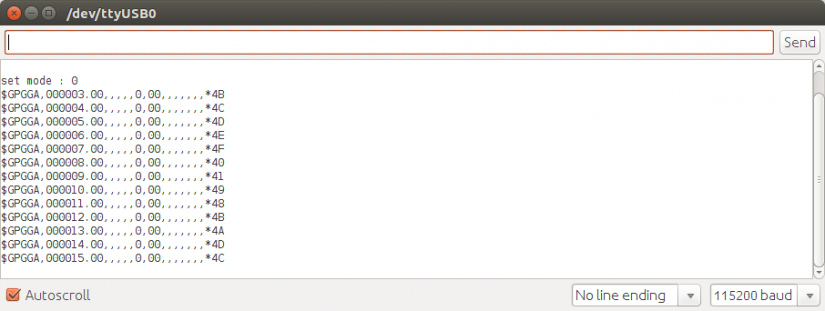
A further test saw us load up some code to utilise the built-in GPS chip and spit out the location data to the serial monitor. This worked but sadly we were unable to obtain a lock even when we braved the outdoors.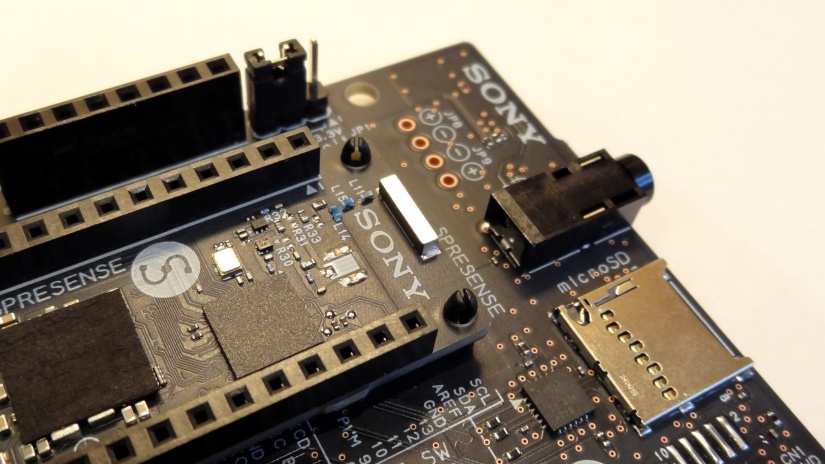
The GNSS antenna is a small rectangle just above the Sony logo.
The other way to control the board is to load a custom *nix operating system called nuttx. This requires following the Spresense SDK guide to set up your work environment ready to flash nuttx to your board. And this is where it gets a little complicated. The workflow requires us to build a nuttx kernel, not difficult thanks to a handy Python script, and then we can try out one of a number of example projects, before starting our own. The true power of the hexacore CPU is utilised with the Spresense SDK, and so if you really need that much power in a small package, then a little homework is required. The Spresense SDK and documentation are still a living document, so expect to see a more streamlined process as the board matures.
Conclusion

Spresense is a remarkably small board which is densely packed with interfaces for cameras, GPS and audio. So we can easily create projects using this diminutive board and the Arduino IDE. The Spresense SDK is a little complex, but it provides more power for your projects so a little reading and tinkering is required to get the most from the board.
This is a great board for those willing to put the work in, solid and robust with a growing developer support website offering documentation covering the Arduino IDE and the Spresense SDK and API reference.
If you need a six core ARM CPU that is also an Arduino compatible board, then the Sony Spresense is a serious contender for your money!
Electroscore: 3.5/5 ![Electroscore: 3.5]()
Pros:
- Powerful six core CPU
- Compact Size
- Built-in GPS
Cons:
- Spresense SDK requires homework
- Cost




Leave your feedback...