Gigglebot by Dexter Industries Review
Building robots has gotten easier in the past few years. We now have motor control boards, robot platforms and languages that now support every level of user wishing to build a robot.
But for children, building a robot can be difficult. How do we connect the motors? How do we control it?
Well, Dexter Industries have come up with a simple robot called Gigglebot that can be programmed using the micro:bit. So we took one for a test drive!
Gigglebot Spec
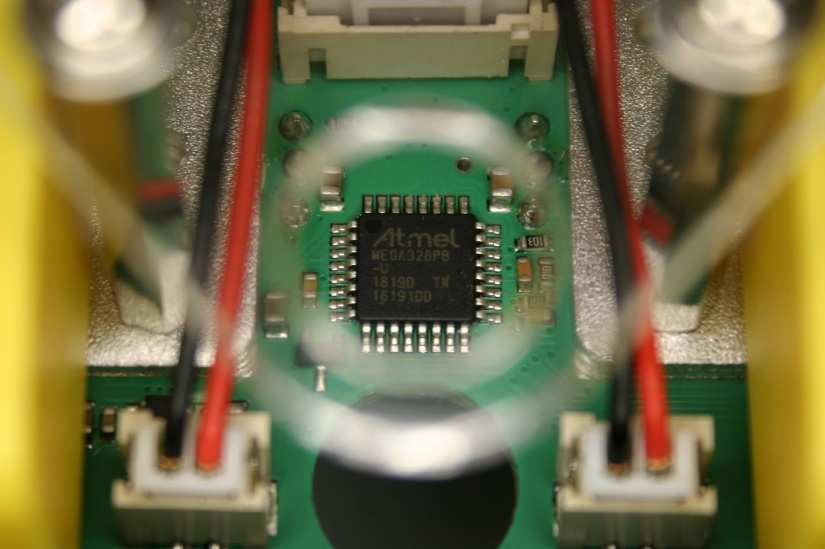
- ATMega328PB microcontroller
- DRV8837C 1A motor controller (H Bridge)
- 2 x DC Motors
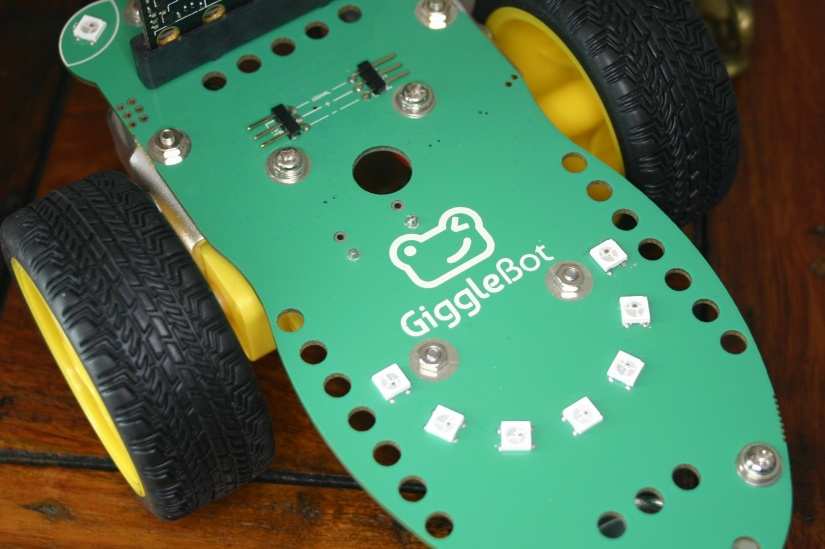
- 9 x WS2812 Neopixels
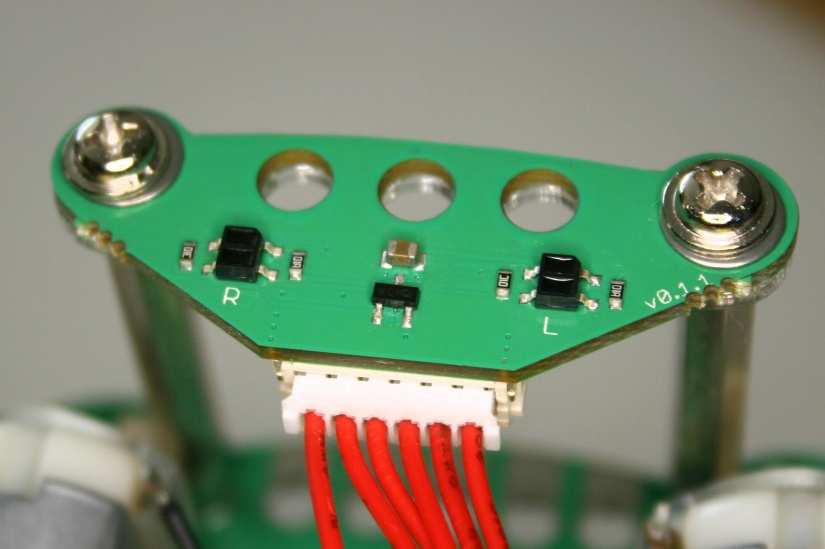
- 2 x Line following sensors
- A pen-hole right between the wheels that supports drawing with the robot.
- Two light sensors are in front on each side so the robot can play "follow the light."
- Servo mounts on the side so you can attach two servos.
- 2 x Grove style connectors for I2C addons
- AA battery holder for 3 x AA, also powers micro:bit
Building Gigglebot
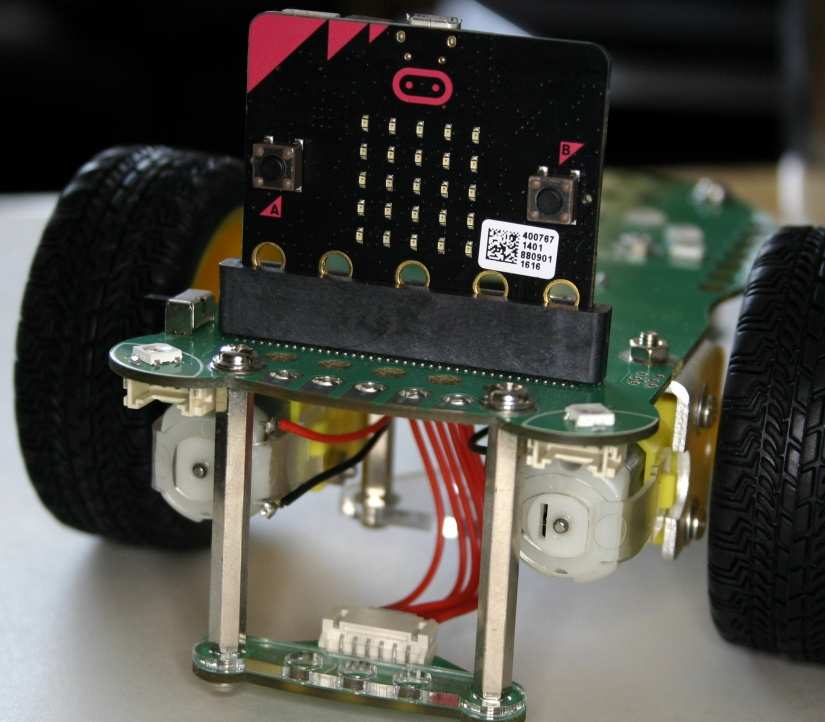
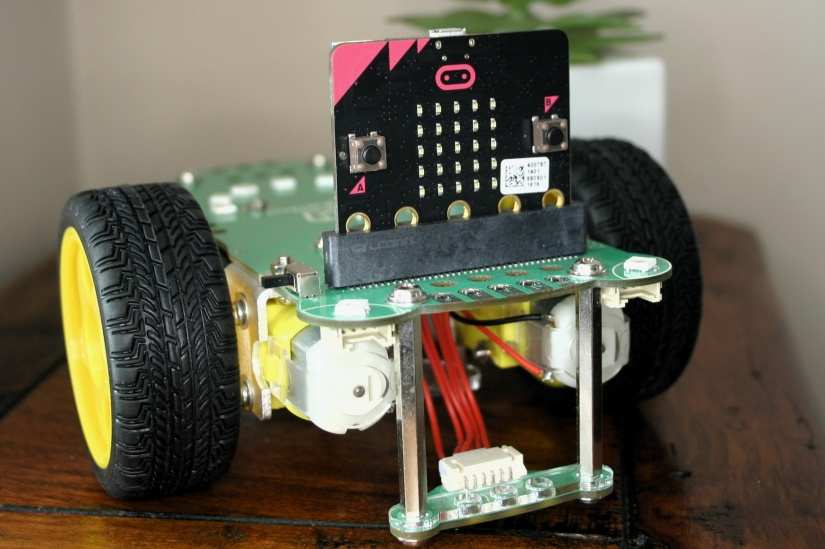
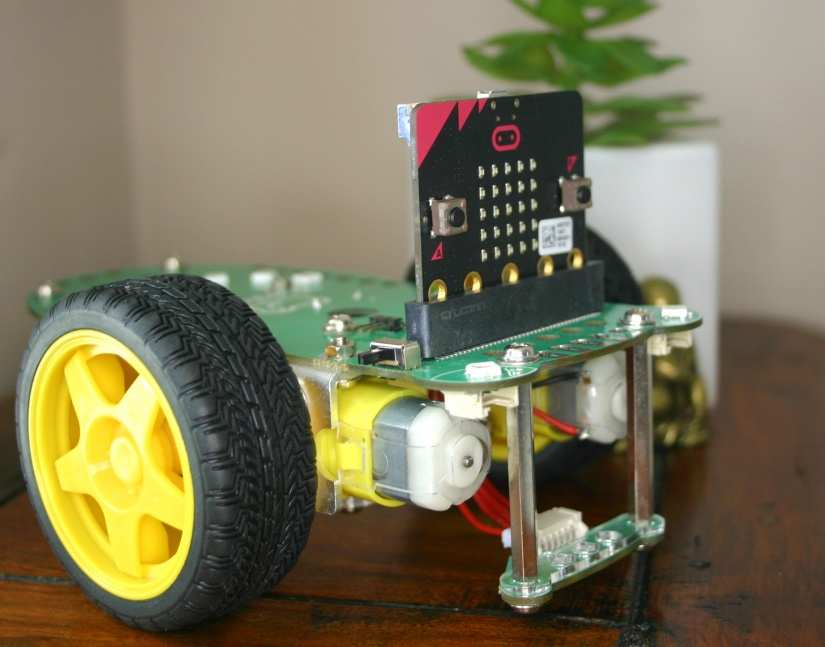
The first thing that struck us with Gigglebot, is that it is exceptionally easy to build. In fact, it comes almost fully built, all we need to do is push on the wheels and put in some batteries. Then we can connect our micro:bit and be ready to make a robot!
Programming Gigglebot
As Gigglebot is powered by a micro:bit we can program the robot in three ways. MakeCode, a block-based language created for the micro:bit. MicroPython, via the Mu editor. Code Gigglebot using Python. EduBlocks, a block-based Python editor created by 14-year-old Joshua Lowe.
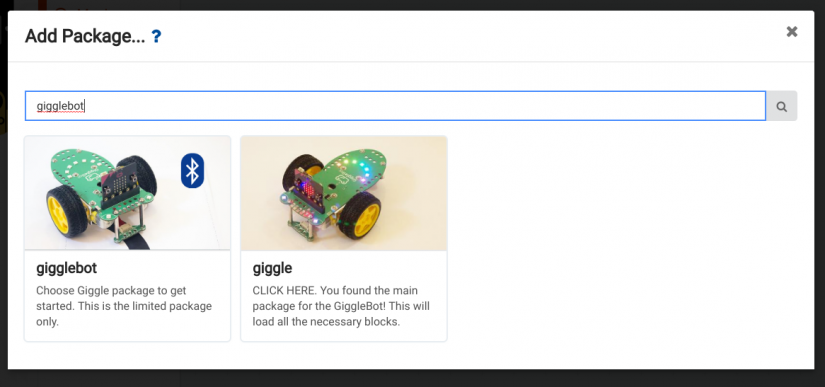
Gigglebots main focus is that it is made for children, so we created our robot using MakeCode the block language developed for the micro:bit, and we are happy to report that it is super simple! The first step is to open the MakeCode editor in your browser, and then click on Advanced, and then Add a Package. In the search box type in Gigglebot and press Enter to search. Click on the ‘Giggle’ package and after a few seconds we have three new sections of blocks that we can use to program the robot.

We opted to create a simple test script in MakeCode. We used a loop to continuously change the colour of the Neopixel ‘smile’ so that we see a smooth rainbow cycle while our robot is powering around the lounge chasing the dog. (No dogs were harmed in the making of this review, in fact, our dog is used to robots.)
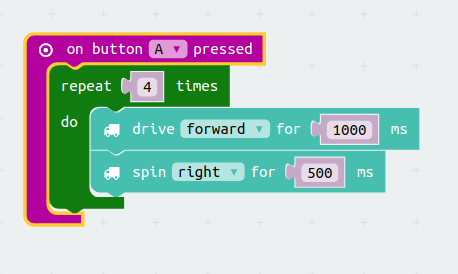
In another section of code we created an event, when button A is pressed. On this event a loop runs four times. It moves the motors forwards for one second ( 1000 milliseconds) and then spins Gigglebot right for 0.5 seconds (500 milliseconds) before repeating the process again. This will navigate the car in a square, but the surface that you are running on may affect the speed and rotation, but fear not! In the Gigglebot section, there is a ‘More’ section that offers tools to fine tune the motors and ensure that your robot drives in a straight line.
What makes this so easy is that the Gigglebot package creates three entries in the blocks for controlling the robot (Gigglebot), controlling the Neopixels (lights) and enabling remote control from another micro:bit (Remote) and each of these entries has blocks designed to easily control Gigglebot. For example, typically we need to understand that to spin right, the left wheel needs to move forwards, and the right wheel moves backwards. This might seem simple to makers, but to a child that might be too complicated. So Gigglebot has blocks to spin the robot on the spot and turn the robot in an arc. These blocks remove the complexity that new users may face and that means that they can concentrate on building a great robot.
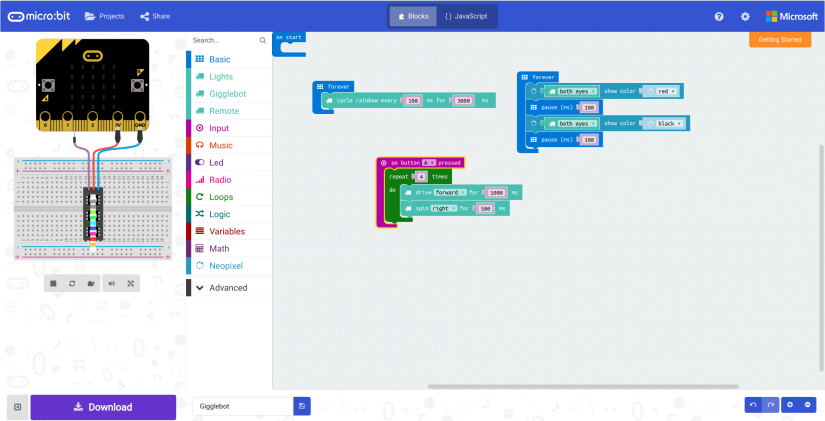
We also added two forever loops! Now our Gigglebot can drive around, with a rainbow smile and flashing red eyes!
So Gigglebot passes the first test, it is accessible and easy to use for new users and children. But how does it far with Micropython? Well, let's give it a try.
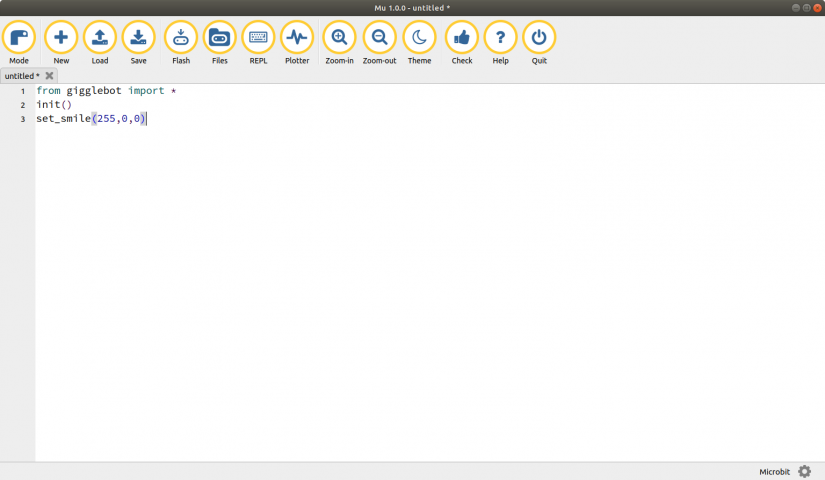
We followed the guide on the Gigglebot website, which includes copying the gigglebot.py library to the micro:bit using the Mu file manager, something that is simple to do, but requires the user to pay careful attention to the instructions. But after following the instructions, and within a few moments, we had the Neopixel ‘smile’ lit red showing that our connection and control of the Gigglebot was done correctly.
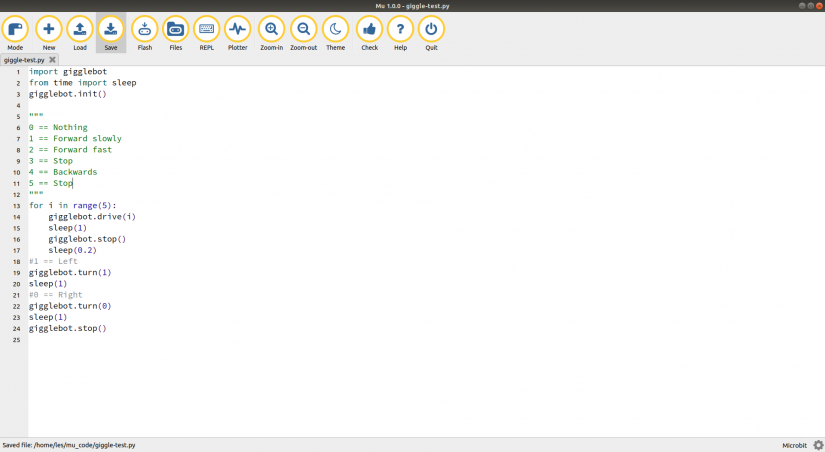
Now that we can flash the lights, we then turned our attention to controlling the motors, and after a false start (pun intended) we found how to control the motors using the gigglebot.py library. The library offers plenty of scope for Pythonistas (Python users) to develop their own scripts using the micro:bit library as well as the Gigglebot.
So the Python library may not be as ready to go as the MakeCode library, but at the time of writing the Dexter Industries team are writing the documentation that will make the Python aspect much simpler for new users.
Conclusions
So the Gigglebot has passed the tests, but is it any good? The simple answer is yes it is. This is the simplest robot for the micro:bit that we have come across and it would be ideal in the home and classroom. Children can visualise how loops work, all we need is a pen attached to the Gigglebot and some paper!
The MakeCode library is simplicity and offers a frictionless approach to using and coding the robot. Children can get started exceptionally quickly and enjoy building a robot in next to no time. The Python library is well featured, and while at the time of writing it is missing key documentation, this will be remedied by the time that Gigglebot reaches you, dear reader.
For sheer fun in a short amount of time, Gigglebot and micro:bit are a match that will delight young eager makers and older makers for that matter.
Electroscore: 5/5 ![Electroscore: 5]()
Pros:
- Super simple to build.
- Ready to go MakeCode library.
- Neopixels!
Cons:
- Python library is a little rough, but functional.









Leave your feedback...