DIY Soldering Robot: Automate Soldering with a 3D Printer and Raspberry Pi
The DIY soldering robot is an innovative project designed to automate the repetitive task of soldering, making it especially useful for makers and hobbyists. By repurposing a 3D printer and pairing it with a TS100 soldering iron mounted in a custom 3D-printed holder, this setup transforms routine soldering into a more efficient, hands-free process. Using modified components and accessible materials, this unique project showcases a practical approach to automating through-hole soldering, opening up new possibilities for those tackling multiple soldering tasks.

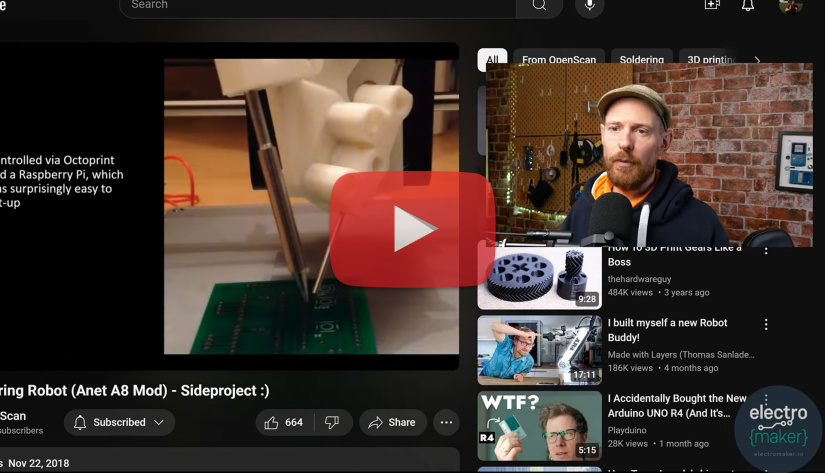
Watch Ian talk about a DIY soldering robot in this episode of The Electromaker Show
Building the Soldering Robot – Key Components and Setup
Main Components Used
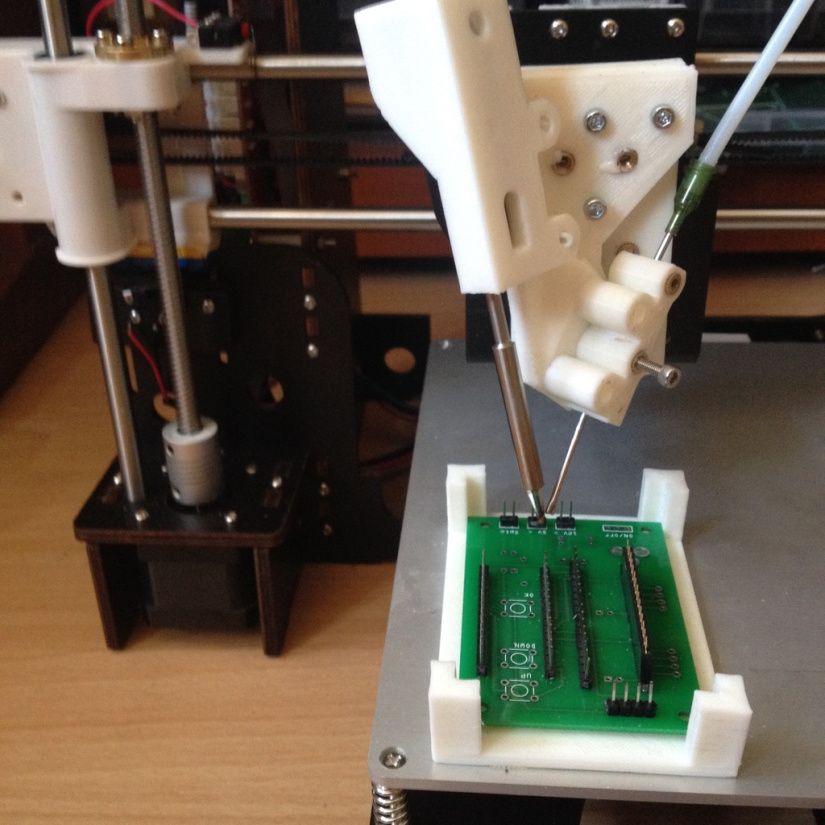
The DIY soldering robot relies on several key components to achieve its functionality. At the core is a TS100 soldering iron mounted in a 3D-printed holder, customized to fit securely onto the 3D printer's print head. Solder wire is fed through a modified filament extruder and guided via a PTFE tube, ensuring precise solder placement. Each component plays a critical role in automating the soldering process, allowing for consistent, reliable performance with minimal manual intervention.

Software Control and Automation
This setup is controlled through OctoPrint, running on a Raspberry Pi, which allows for easy management of the soldering robot's operations. By using G-code, the soldering sequence is pre-programmed, specifying each solder point's location and timing. Although the code can be manually written, software like Cura can also assist in generating it, making the setup process more straightforward for those familiar with 3D printing workflows.
Testing and Success Rate – Challenges and Early Results
Initial Testing and Adjustments
The initial testing phase of the DIY soldering robot has shown promising results, with a success rate of around 60-80%. This early stage involved refining movements and solder placement accuracy, highlighting the iterative nature of DIY projects. Despite only 20 hours spent on development, the robot has quickly become a viable tool, with further adjustments expected to enhance reliability and precision over time.
Challenges in Solder Automation
Automating soldering presents unique challenges, from achieving precise timing and alignment to ensuring proper solder adhesion. The project has also sparked ideas, such as exploring solder paste application for surface-mount components as a potential future adaptation. These initial challenges provide learning opportunities, making the project an evolving experiment in efficient DIY automation.
The DIY soldering robot is an impressive project that demonstrates the potential of automated soldering using accessible tools like a 3D printer. By combining a TS100 soldering iron with custom 3D-printed components and automated control via Raspberry Pi, this setup showcases an effective approach to reducing the repetitive nature of through-hole soldering tasks. For makers and hobbyists, this project opens up a world of possibilities for streamlining workflows and exploring DIY automation.
Did you enjoy this article?
Make sure you subscribe to The Electromaker Show for similar content and subscribe to our monthly newsletter!


Leave your feedback...